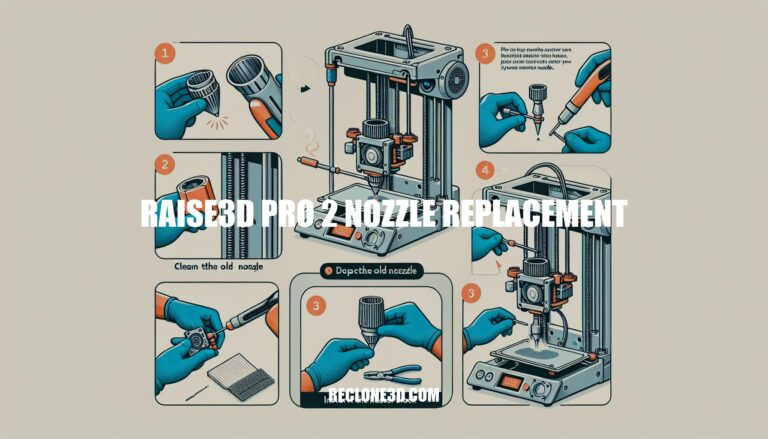
Are you looking to enhance the performance of your Raise3D Pro 2 3D printer by replacing the nozzle? Understanding the intricate process and importance of proper maintenance is key to achieving optimal printing results. In this comprehensive guide, we will delve into the step-by-step instructions and essential tips for nozzle replacement on your Raise3D Pro 2.
Let’s unlock the secrets to successful nozzle maintenance and get your printer running smoothly for impeccable prints.
How to Replace the Nozzle on a Raise3D Pro2 3D Printer
Replacing the nozzle on your Raise3D Pro2 3D printer is a straightforward process. Here are the steps you need to follow:
Check the Hot End:
First, verify if the hot end is covered with a silicone sleeve. If it is, remove the silicone sleeve from the hot end.
Next, use an 8mm socket wrench to remove the old nozzle from the heating block. Be gentle and avoid exerting force on the throat tube to prevent damage to the components.
Clear the Throat Tube:
Insert a cleaning rod completely through the hot end to ensure that the tube is entirely clear of any blockages.
Install the New Nozzle:
Screw the new nozzle into the heating block, but do not tighten it completely. Ensure there is a visible gap between the nozzle and the heating block.
Tighten the Throat Tube:
Hold onto the heating block and tighten the throat tube by rotating the heat sink. Rotate it until the nozzle “catches” on the tube (meaning it will begin to spin). It’s normal if the heat sink appears askew at this point.
If the heat sink is loose on the throat tube, secure the fixing screw before tightening the throat tube.
Final Adjustments:
Hold the heating block with an Allen key and tighten the nozzle completely using an 8mm socket wrench. Ensure that a gap between the nozzle and the heating block is maintained.
Reattach the silicone sleeve if you have one. Then, loosen the fixing screw on the heat sink.
Lay the hot end assembly on a flat surface, rotating the heat sink so that the fixing screw faces outward. Move the heat sink down so that it rests on the silicone sleeve (or adjust it to be flush with the bottom of the large cylinder if you don’t have a silicone sock).
To reinstall the hot end assembly into the extruder head, refer to the instructions in the Manual Pro2 Series -032: How to Replace the Hotend.
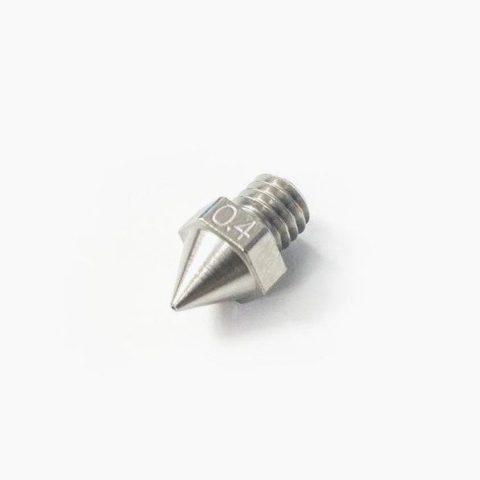
Raise3D Pro2 Nozzle Replacement
Replacing the nozzle on your Raise3D Pro2 3D printer is a straightforward process. Here are the step-by-step instructions:
Remove the Silicone Sleeve (if present):
Check if the hot end is covered with a silicone sleeve. If it is, remove the silicone sleeve from the hot end.
Remove the Old Nozzle:
Use an 8mm socket wrench to unscrew and remove the old nozzle from the heating block.
Be cautious not to exert force on the throat tube to prevent damage to the hot end components.
If there’s any remaining filament in the nozzle or heating block, preheat the hot end to melt the filament. Then use a spatula and tweezers to remove it.
Clear the Tube:
Insert a cleaning rod completely through the hot end to ensure the tube is entirely clear of any blockages.
Install the New Nozzle:
Screw the new nozzle into the heating block, but do not tighten it completely. Leave a visible gap between the nozzle and the heating block.
Tighten the Throat Tube and Nozzle:
Hold the heating block with an Allen key.
Rotate the heat sink until the nozzle “catches” on the tube (meaning it begins to spin). The heat sink may appear askew, which is normal.
If the heat sink is loose on the throat tube, secure the fixing screw before tightening the throat tube.
Finally, tighten the nozzle completely using an 8mm socket wrench, ensuring the gap between the nozzle and the heating block is maintained.
Reattach the Silicone Sleeve (if applicable):
Reattach the silicone sleeve.
Loosen the fixing screw on the heat sink.
Lay the hot end assembly on a flat surface, rotating the heat sink so that the fixing screw faces outward.
Move the heat sink down to rest on the silicone sleeve and tighten it into place.
If you don’t have a silicone sock, adjust the heat sink to be flush with the bottom of the large cylinder.
For more detailed instructions, you can refer to the Raise3D Academy guide on nozzle replacement for the Pro2 Series
!Raise3D Pro2 Nozzle Replacement
IMG Source: raise3d.com
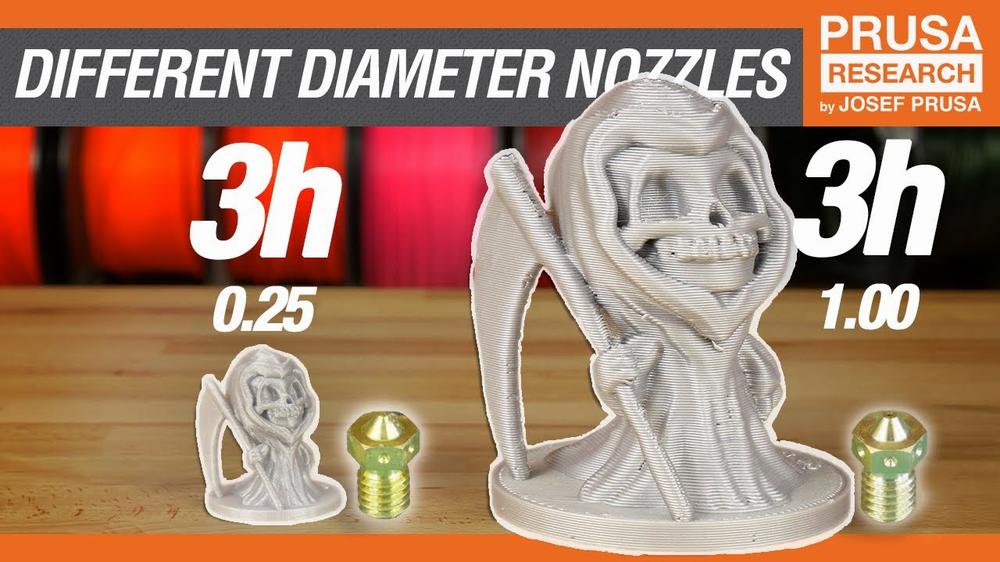
Importance of Nozzle Size in 3D Printing
The nozzle size of a 3D printer plays a crucial role in determining the quality of your prints. Let’s delve into the details:
Nozzle Size Effects:
The nozzle size directly affects several aspects of your 3D prints:
Print Time: Smaller nozzles generally result in longer print times due to finer details.
Print Quality: Nozzle size impacts the level of detail and precision in your prints.
Strength: Larger nozzles can produce stronger parts.
Additionally, the nozzle size determines:
Layer Height: Smaller nozzles allow for smaller layer heights, enhancing precision.
Extrusion Width Settings: The nozzle size influences the width of each extruded line in your print.
Common Nozzle Sizes:
The most prevalent nozzle size is 0.4 mm. It strikes a good balance between speed and detail.
However, you can explore other sizes based on your specific needs:
Smaller Nozzles: Ideal for intricate models and detailed prints.
Larger Nozzles: Better for practical prints prioritizing strength and faster production times.
Layer Height vs. Nozzle Size:
Smaller nozzles allow finer layer heights, resulting in improved precision.
Larger nozzles produce thicker layers, which can be advantageous for certain applications.
Choosing the Right Nozzle Size:
Consider your printing goals, filament type, and desired resolution.
Adjust nozzle height and flow rate as needed.
Keep nozzles clean, especially when using smaller sizes or composite filaments.
IMG Source: ytimg.com
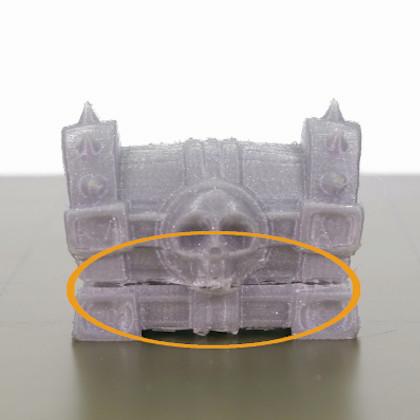
Troubleshooting 3D Printer Nozzle Issues
Troubleshooting 3D printer nozzle issues can be a bit tricky, but I’m here to help. Let’s dive into some common problems and their solutions:
First Layer Issues:
The first layer is crucial for proper adhesion. If you’re facing issues like the print not sticking to the bed or excess filament squishing, here’s what you can do:
Nozzle Too Close to the Bed:
Signs: Thin printed lines, rough surface, filament tearing off the bed.
Solution:
Adjust the nozzle-to-bed distance:
Tighten the leveling screws (3 or 4) to level the bed manually.
Use thicker paper stock for manual bed leveling.
Adjust the z-offset value if you have an auto bed leveling sensor.
Avoid pressing down on the bed during leveling.
Nozzle Hitting Prints or Bed:
If your nozzle collides with prints or the bed, consider these steps:
Ensure Level Printbed:
Make sure your print bed is level.
Inspect for Warping or Unevenness:
Warped or uneven beds cause varying print heights.
Tighten Eccentric Nuts on the Gantry:
These nuts affect the gantry’s stability.
Filament Issues:
If your filament isn’t feeding properly or the extruder is grinding/crushing filament:
Clogged Nozzle:
Heat the nozzle and clean it with a needle or brass cleaning brush.
Other Blockages:
Remove the feeder tube and try pushing filament through with another piece of filament.
Extruder Grinding/Crushing Filament:
Dismantle the hot end and check for blockages.
IMG Source: prusa3d.com
Proper Maintenance Tips for Your 3D Printer Nozzle
Proper maintenance of your 3D printer nozzle is essential for optimal performance. Here are some helpful tips to keep your 3D printer running smoothly:
Keep Your 3D Printer Well Lubricated:
Regularly lubricate the linear rods and rails of your printer. Use grease for leadscrews (except when the leadscrew nut is plastic) and oils for rods. Refer to your printer’s manual for specific recommendations.
Move the printer to its minimum and maximum limits while applying lubricant to ensure thorough coverage.
Dust the Printer Regularly:
As your 3D printer moves, dust accumulates on the bearings and fans. Use a microfiber cloth and canned air to remove dust from hard-to-reach areas.
While dust won’t significantly impact prints, ensure your build plate remains dust-free for proper adhesion.
Clean or Replace the Nozzle:
Brass nozzles are common due to their cost-effectiveness and decent thermal conductivity. However, they can wear out over time.
Regularly inspect and clean your nozzle. Remove any debris or filament buildup using a sharp needle, tweezers, or pin.
For stubborn filament inside the nozzle, use isopropyl alcohol and a lint-free cloth.
For more detailed instructions, you can refer to the MatterHackers article on 3D printer maintenance.
IMG Source: gambody.com
In conclusion, maintaining and replacing the nozzle on your Raise3D Pro 2 3D printer is vital for ensuring consistent print quality and performance. By following the detailed steps outlined in this guide, you can effectively replace the nozzle with confidence and keep your printer in top condition. Remember, regular maintenance, cleaning, and proper nozzle sizing are key factors in maximizing the capabilities of your 3D printer.
Don’t overlook the importance of nozzle maintenance, as it plays a crucial role in the overall printing process. Keep your Raise3D Pro 2 in prime condition, and enjoy a seamless 3D printing experience. Explore the world of 3D printing with precision and efficiency with a well-maintained nozzle on your Raise3D Pro 2.