Are you in need of a reliable power supply for your Creality K1 3D printer? The power supply is a critical component that ensures the stable and efficient operation of your printer. Whether you’re looking for an original replacement from the manufacturer or exploring third-party alternatives, it’s essential to choose a power supply that meets the specific requirements of your Creality K1.
Let’s delve into the options available and find the perfect match for your printing needs.
Creality K1 3D Printer Power Supply Options
The Creality K1 3D printer’s power supply is an essential component that ensures stable and reliable operation. If you need to replace the power supply for your Creality K1, here are some options:
Original Replacement Power Supply (OEM):
Creality offers an OEM replacement power supply specifically designed for the Creality K1 Max printer. This power supply has the following specifications:
If you’re looking for more affordable options, consider checking out third-party suppliers. For example:
3DJake International offers a Creality Power Supply suitable for various Creality 3D printers. The price is around $36.08. You can find this power supply for models like the Ender 3 V2, Ender 3 Pro, and Ender 3 V2 Neo.
Additionally, 3DJake provides spare parts for the Creality K1, including the power supply. The cost for the Creality K1 power supply is approximately $36.04.
Remember to choose a power supply that matches your specific printer model and meets your requirements. If you need further technical support or have any inquiries, feel free to contact Creality’s official service channels via email or their website
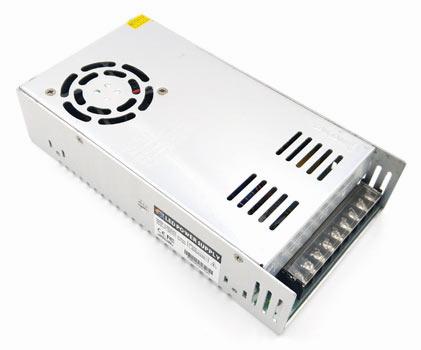
Creality K1 3D Printer Power Supply Specifications
The Creality K1 3D printer comes with a power supply that provides the necessary electrical energy for its operation. Here are the specifications for the Creality K1’s power supply:
Model: OEM Creality K1 Max Power Supply
Voltage: 24V
Current: 6.25A
Input Voltage Range: 100V to 240V
Certifications: CE, CB, UL, FCC, 3C
This power supply is the original replacement for the Creality K1 Max printer. Additionally, the Creality K1 Max has a power consumption of up to 1000 watts and weighs approximately 39.6 pounds (18 kilograms). It’s designed to handle the demands of high print speeds, utilizing a hot end with a 60W circular heating element.
Remember to always follow safety precautions when handling electrical components and ensure proper installation and usage of the power supply. If you encounter any issues, feel free to refer to the user manual or seek assistance from Creality’s support channels.
IMG Source: altronics.com.au
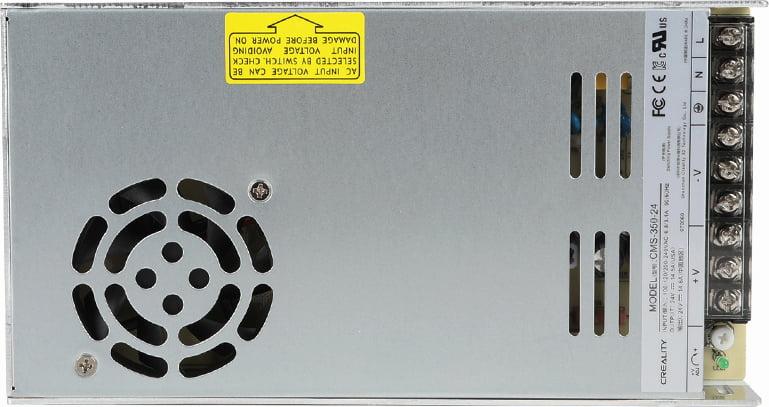
Key Features of Creality K1 3D Printer
The Creality K1 3D printer boasts several notable features, and its power supply plays a crucial role in its performance. Let’s delve into the details:
Power Supply:
The Creality K1 utilizes a Creality-branded 24V 350W power supply. While it’s actively cooled and relatively quiet compared to other fans in the printer, some users might prefer a higher wattage supply (such as 400W or 450W) for added stability and headroom.
Despite its power rating, the K1 manages to deliver impressive results.
Speed and Accuracy:
The K1 is 12 times faster than a regular FDM 3D printer, achieving a blazing print speed of up to 600mm/s. This rapid production capability makes it ideal for time-sensitive projects.
Additionally, the K1 maintains exceptional accuracy, ensuring that your prints meet high-quality standards.
Build Volume:
One of the standout features of the Creality K1 is its larger build volume. This printer provides ample space for large-scale projects or batch printing without compromising on quality. The CoreXY Cartesian motion system contributes to its precise and reliable performance.
Ease of Use and Connectivity:
The K1 offers seamless operation through WiFi and cloud printing. Its touchscreen interface simplifies navigation, making it suitable for home, school, and office environments (as long as there’s adequate ventilation).
The fully enclosed structure enhances safety and usability, especially in shared spaces.
In summary, the Creality K1 strikes a balance between speed, accuracy, and ease of use, making it an attractive choice for both beginners and experienced 3D printing enthusiasts. Whether you’re creating functional prototypes or artistic designs, the K1’s power supply and other features contribute to a satisfying printing experience.
IMG Source: niceshops.com
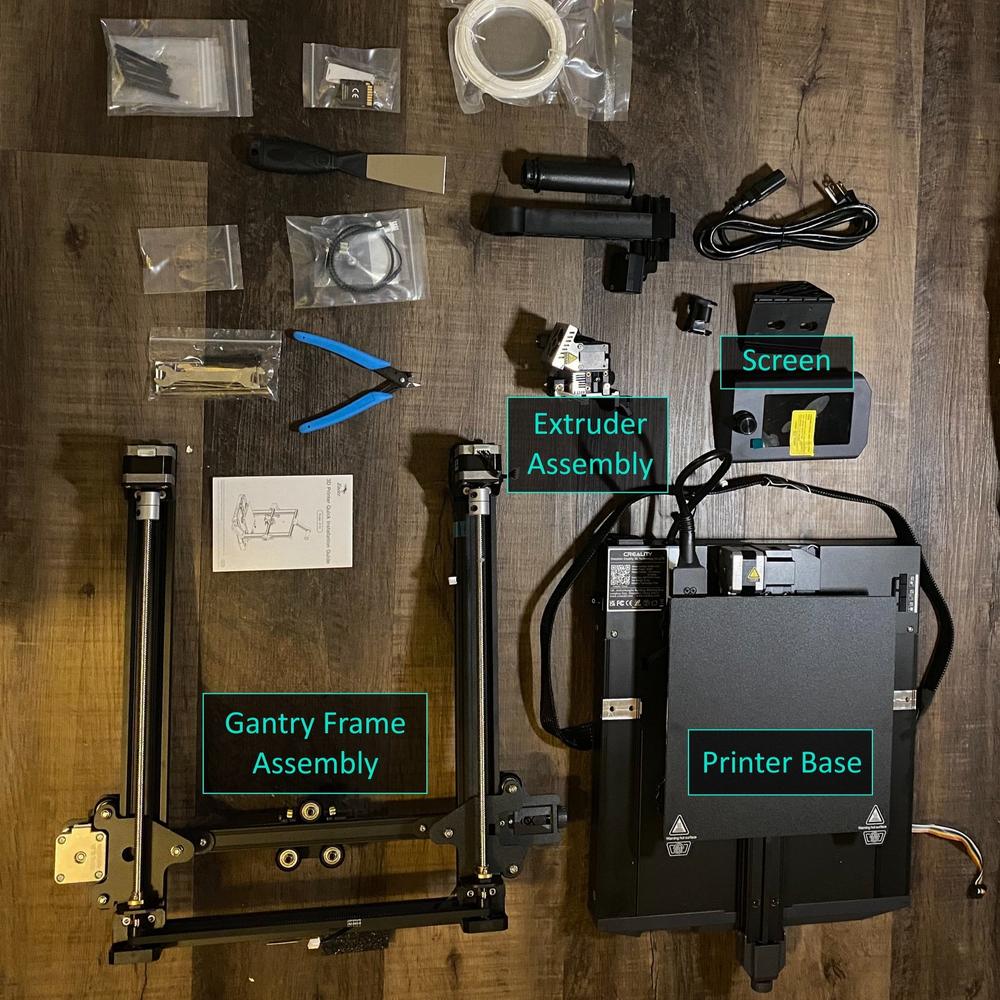
Installing Power Supply for Creality K1 3D Printer
Let’s walk through the steps to install the power supply for your Creality K1 3D printer. Remember to follow safety precautions and consult the official user manual for detailed instructions. Here’s a simplified guide:
Unboxing and Preparation:
Begin by unboxing your Creality K1 3D printer and ensuring that all components are present.
Place the printer in a well-ventilated, cool, and dust-free environment.
Power Supply Switch Configuration:
Locate the power supply switch on the printer. It’s essential to set it correctly based on your mains voltage:
If your mains voltage is between 100V and 120V, select 115V using a straight screwdriver.
If your mains voltage is between 200V and 240V, the default setting is 230V. You can verify this with a straight screwdriver.
Connect the Power Cable:
Use the provided power cable and connect it to the grounded three-prong power outlet.
Ensure that the power cable accompanies the printer and is not from other products.
Safety Precautions:
Avoid touching the nozzle and heated bed during operation to prevent burns.
Refrain from wearing gloves or wraps while operating the machine to prevent entrapment of movable parts.
Clean the filament from the extruder using the provided tools after printing (take advantage of residual temperature).
Regularly clean the printer body with a dry cloth to remove dust and debris.
First Power-On:
After completing the power supply installation, turn on the printer.
Familiarize yourself with the user interface and explore the available options.
IMG Source: squarespace-cdn.com
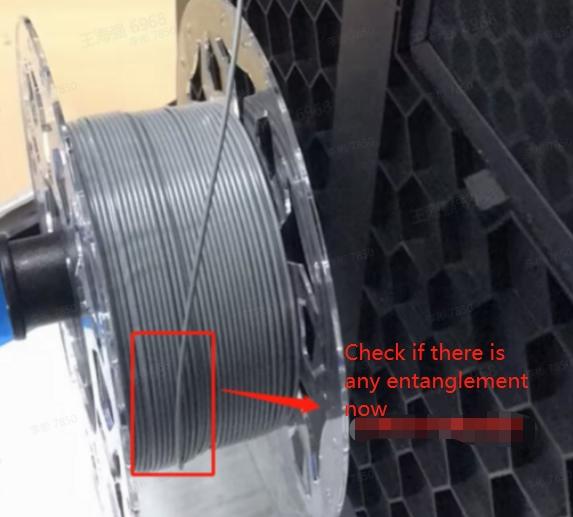
Troubleshooting Power Supply Issues
If you’re experiencing power supply issues with your Creality K1 3D printer, here are some steps you can take to troubleshoot the problem:
Check Power Connections:
Ensure that the power supply is properly connected to the printer.
Verify that the power switch is in the correct position.
If your mains voltage is between 100V and 120V, select the 115V setting on the power supply switch using a straight screwdriver.
Inspect the Power Supply Unit (PSU):
Examine the PSU for any visible damage, loose wires, or burnt components.
Make sure the PSU fan is functioning properly and not obstructed.
Test with a Different Power Outlet:
Plug the printer into a different power outlet to rule out issues with the original socket.
Check the Power Cable and Cord:
Inspect the power cable for any frayed or damaged sections.
Swap out the power cord with a known working one to see if the issue persists.
Use a multimeter to measure the voltage output from the power supply.
Ensure it matches the specified voltage for your printer (usually 24V for Creality printers).
Inspect the Printer’s Mainboard:
Check the connections between the power supply and the printer’s mainboard.
Look for loose wires or damaged connectors.
Reset the Printer:
Turn off the printer, unplug it, and wait for a few minutes.
Plug it back in and power it on to see if the issue is resolved.
Contact Creality Support:
If none of the above steps solve the problem, reach out to Creality’s customer support for further assistance.
You can also refer to their comprehensive troubleshooting guide for the Creality K1 3D printer, which provides step-by-step solutions for common issues.
IMG Source: shoplazza.com
In conclusion, the power supply is a vital element of your Creality K1 3D printer, providing the electrical energy necessary for its operation. By understanding the specifications and options available for the Creality K1 power supply, you can make an informed decision when selecting a replacement. Remember to prioritize safety during the installation process and seek assistance from Creality’s support channels if needed.
With a reliable power supply, your Creality K1 will continue to deliver high-quality prints and exceptional performance in your 3D printing endeavors.