Are you ready to unlock the secrets of the Creality K1’s electronics board? Dive deep into the intricate world of 3D printing technology with a closer look at the Mainboard, Breakout Board, Hotend, and After-Market Parts. Discover how these components work together to bring your creations to life.
Electronics Components of Creality K1 3D Printer
The Creality K1 is an intriguing 3D printer, and its electronics board plays a crucial role in its operation. Let’s delve into the details:
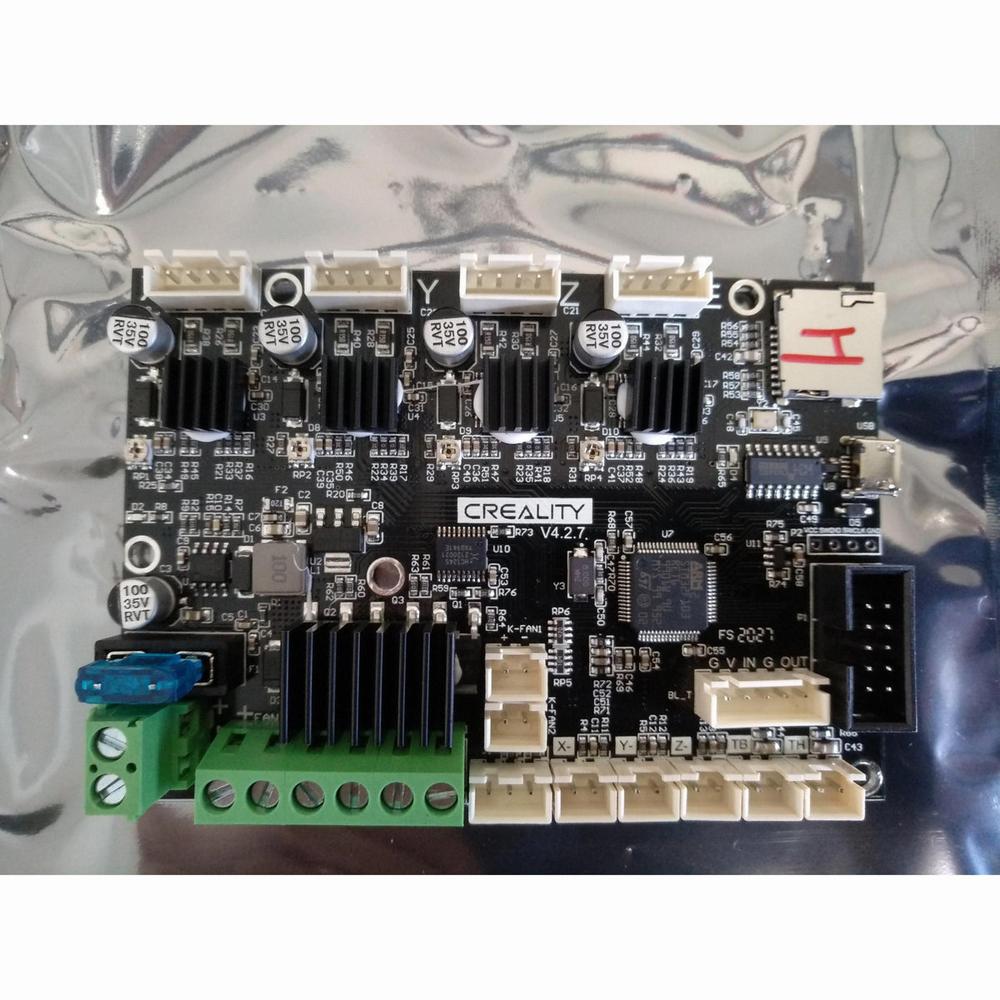
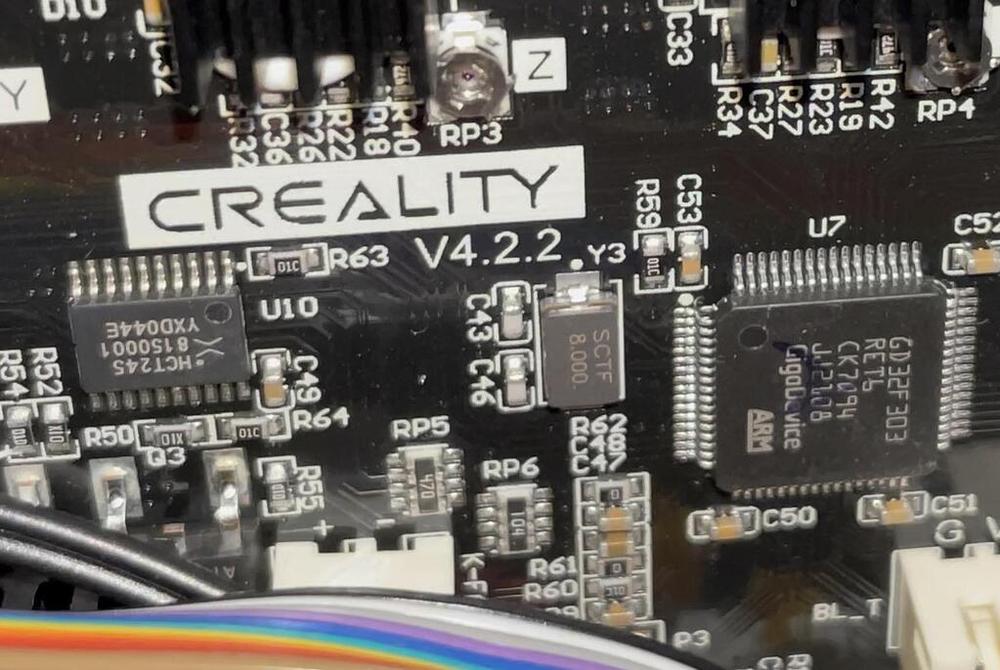
Mainboard:
The Creality K1 Max utilizes an official mainboard kit specifically designed for this printer. This mainboard is responsible for controlling various components, including the stepper motors, heaters, and sensors.
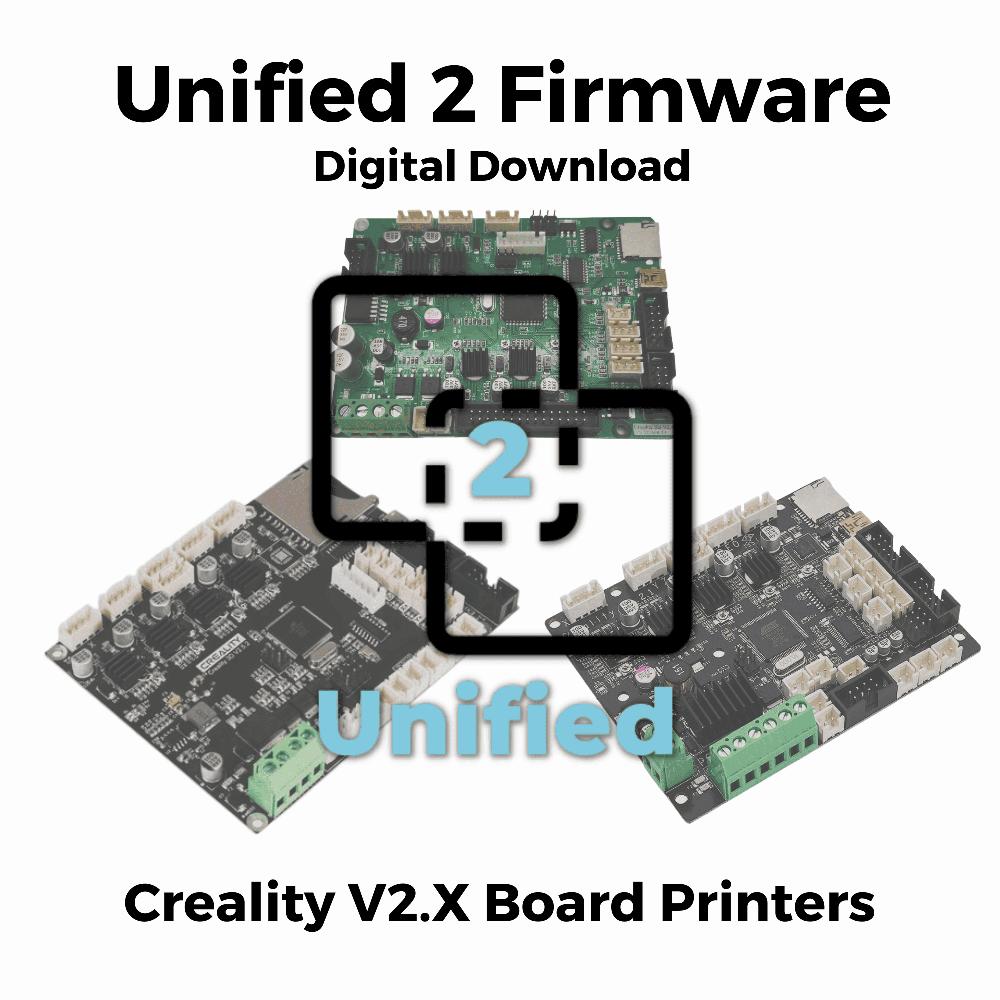
Breakout Board:
The Creality K1 Breakout Board is an essential part of the printer’s electronics. It allows for easy connections and expansion of peripherals. You can find tutorials and discussions related to the breakout board on platforms like YouTube.
Hotend and Heatsink:
The hotend is where the filament is melted and extruded during the printing process. It’s crucial for precise and consistent filament flow.
The heatsink helps dissipate heat from the hotend, preventing it from overheating during extended printing sessions.
After-Market Parts:
Enthusiasts often explore after-market upgrades for their Creality K1 printers. These include improved hotends, extruders, and other components.
For instance, some users have experimented with drop-in hot end replacements from brands like TriangleLabs. These upgrades aim to enhance performance and reliability.
Layout and Development:
If you’re interested in the technical aspects, the Creality K1 Series Wiki provides detailed information about the boards’ layout and development.
A Whimsical Adventure in the Electronic Wonderland
Let’s embark on a whimsical journey through the electronic wonderland
The Resistor Choir
Inductor Wizards: These mystical beings wield magnetic forces like wands. When the current changes, they chant ancient incantations, summoning energy from thin air. Their coils hum with secrets, and their purpose?
To store and release energy with a flourish! ✨
Capacitor Sages
Diode Guardians
Transistor Alchemists
Crystal Oracles
Sensor Shamans
Motor Maestros
Interface Enchanters
LED Fireflies
IMG Source: robotshop.com
Creality K1 3D Printer Setup Guide
Let’s get you started with the Creality K1 3D printer’s electronics board setup. Below are the essential steps to guide you through the process:
Follow the unpacking steps outlined in the user manual.
Install the printer components as per the instructions provided.
Power-On Guide:
Once everything is set up, it’s time to power on the printer.
Locate the power outlet and connect the printer to it.
Turn on the printer using the toggle switch.
The touch screen should light up, indicating that the printer is powered on.
Device Specifications:
Familiarize yourself with the specifications of the Creality K1.
The printer’s features include a top cover, nozzle assembly, filament detection, fans, material barrel, printing platform, and more.
LAN Printing (Optional):
If you want to print via LAN, refer to the user manual for detailed instructions.
Ensure your printer is connected to your local network.
Remember to consult the complete user manual for more in-depth information on assembly, settings, and maintenance. You can find the full user manual online
IMG Source: discourse-cdn.com
Troubleshooting Creality K1 3D Printer Electronics Board
If you’re experiencing issues with your Creality K1 3D printer’s electronics board, here are some steps you can take to troubleshoot:
Check Power Supply and Connections:
Ensure that the printer is properly connected to a stable power source.
Inspect all power cables and connections for any loose or damaged parts.
Verify Firmware and Software:
Confirm that you’re using the correct firmware version for your Creality K1.
Update the firmware if necessary.
Check the printer’s software settings for any misconfigurations.
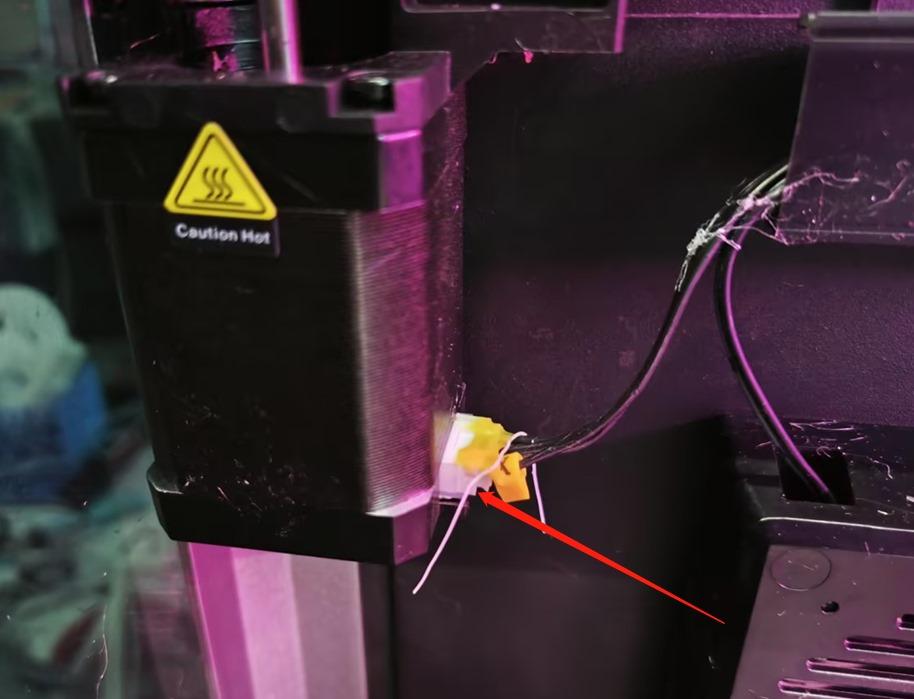
Inspect Wiring and Connectors:
Examine the wiring harness and connectors on the electronics board.
Look for loose wires, damaged insulation, or broken connectors.
Re-seat any loose connectors.
Temperature Sensor Issues:
If the printer isn’t reaching the desired temperature, check the temperature sensor (thermistor) connections.
Inspect the thermistor wires for any damage.
Calibrate or replace the sensor if needed.
Heated Bed and Hotend Issues:
If the heated bed or hotend isn’t heating up, verify the corresponding MOSFET connections.
Check the power output to the heated bed and hotend.
Ensure the thermistor readings are accurate.
Motor Drivers and Stepper Motors:
Inspect the motor driver connections (usually A4988 or TMC2208).
Verify that the stepper motor cables are securely attached.
Test the motors by manually moving the axes.
LCD Display and Control Board:
If the LCD display isn’t functioning properly, check its connections to the control board.
Inspect the control board for any visible damage.
Test the display by navigating through the menus.
Check for Burnt Components:
Look for burnt or damaged components on the electronics board.
Pay attention to burnt traces, capacitors, or voltage regulators.
If you find any, consider replacing the affected parts.
Reset or Re-flash Firmware:
Sometimes a firmware glitch can cause issues. Try resetting the printer or re-flashing the firmware.
Follow the manufacturer’s instructions for firmware updates.
Contact Support:
If none of the above steps resolve the issue, reach out to Creality’s customer support or consult the official Creality K1 troubleshooting guide.
IMG Source: shoplazza.com
Ways to Optimize Creality K1 3D Printer
The Creality K1 3D printer is known for its impressive speed and innovative features. Let’s explore some ways to optimize its electronics board and enhance your printing experience:
Firmware and Software Updates:
Ensure that you have the latest firmware installed. Regularly check for updates from Creality or the community.
Explore alternative firmware options if you’re comfortable with flashing custom firmware. Open-source firmware can offer additional features and customization.
CoreXY Calibration and Tuning:
The K1 uses CoreXY kinematics, which allows for faster and more precise movements. However, proper calibration is crucial.
Check belt tension, pulley alignment, and stepper motor steps/mm. Fine-tune these parameters to achieve optimal performance.
Filament Path Optimization:
The constrained filament path can impact print quality and reliability.
Consider modifying the filament path to reduce friction and ensure smooth filament flow.
Check for any sharp bends or tight corners that might cause filament binding.
User Interface (UI) Enhancements:
The K1’s UI could benefit from improvements. If possible, explore third-party touchscreen interfaces or web-based control interfaces.
Look for community-developed UI enhancements or plugins that provide additional functionality.
Air Filtration and Cooling:
The K1 lacks an air filter. Consider adding an external filter or enclosure to reduce airborne particles and fumes.
Enhance print cooling by optimizing fan placement and airflow. Efficient cooling improves overhangs and surface quality.
Power Loss Recovery and Filament Detection:
Ensure that power loss recovery is enabled in your firmware. This feature prevents print failures due to power interruptions.
Filament detection sensors can pause prints when filament runs out or breaks. Verify that this feature is functioning correctly.
Remote Monitoring and Control:
Utilize Creality Cloud or other monitoring solutions to remotely manage your printer.
Cluster control allows you to manage multiple printers simultaneously.
For more detailed information, you can refer to the Creality K1 Review and explore the community’s insights.
IMG Source: th3dstudio.com
In conclusion, the Creality K1 electronics board is the beating heart of this innovative 3D printer, housing a symphony of components like the Resistor Choir, Inductor Wizards, and Motor Maestros. By understanding and optimizing these electronic wonders, you can elevate your printing experience to new heights of precision and performance. Whether troubleshooting issues or exploring advanced calibration techniques, the electronics board of the Creality K1 holds the key to unlocking your creativity in the world of additive manufacturing.