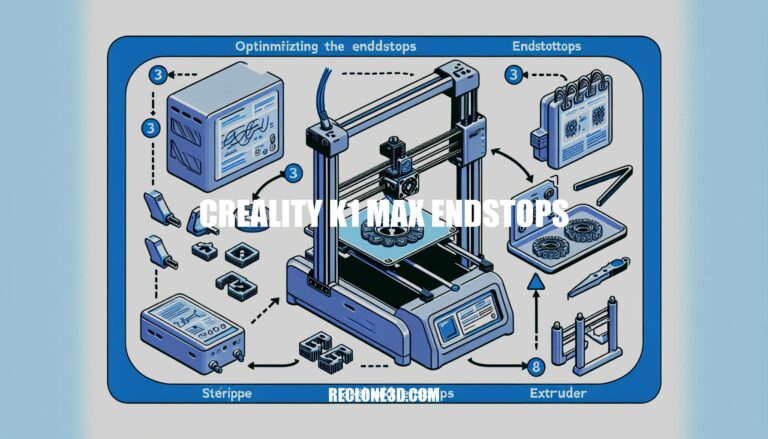
Are you looking to optimize your Creality K1 Max 3D printer’s performance and ensure flawless endstop calibration? Dive into this comprehensive guide that will provide you with essential tips and tricks to enhance your printing experience. From bed leveling to Z-offset adjustments, we’ve got you covered with everything you need to know about the Creality K1 Max Endstops.
Impressive Features of Creality K1 Max 3D Printer
The Creality K1 Max is an impressive Core XY 3D printer with a generous build volume of 300 x 300 x 300 mm. Let’s delve into some details about this printer:
Build Volume: The K1 Max offers a spacious build area, allowing you to create larger prints with dimensions of 11.8 x 11.8 x 11.8 inches.
Speed and Enclosure: It’s a speed demon, capable of print speeds up to 600 mm/s. Additionally, the printer is enclosed, which helps maintain a stable printing environment.
AI Sensors: The K1 Max comes equipped with LIDAR and an AI camera. These sensors play a crucial role in preventing failed prints by alerting you if something goes wrong during the printing process.
Firmware: Initially, the K1 Max ran a limited version of Klipper firmware. However, Creality has since released an open version of the firmware due to community feedback. If you prefer vanilla Klipper, you can install it yourself.
Filament Compatibility: The printer handles various materials, including PLA, PETG, TPU, and ABS (up to 300 degrees Celsius).
User Interface: The K1 Max features a 4.3-inch color touch screen for easy navigation and control.
Bed Leveling: It utilizes automatic bed leveling along with LIDAR technology.
Connectivity Options: You can connect the K1 Max via LAN, Creality Cloud, or a USB flash disk.
Machine Footprint: The printer’s dimensions are approximately 17.2 x 18.2 x 20.7 inches, and it weighs 39.6 lbs.
Included Accessories: When you purchase the K1 Max, you’ll receive essential tools, a plastic scraper, and a full spool of white Creality Hyper PLA to kickstart your printing journey.
In summary, the Creality K1 Max combines speed, reliability, and a large build volume, making it an excellent choice for 3D printing enthusiasts. Despite a few minor drawbacks (such as the filament path), it stands out as one of the best 3D printers in its class.
Key Features of Creality K1 Max 3D Printer
The Creality K1 Max is a remarkable Core XY 3D printer with a spacious 300 x 300 x 300 mm build area. Let’s delve into the details you’re interested in:
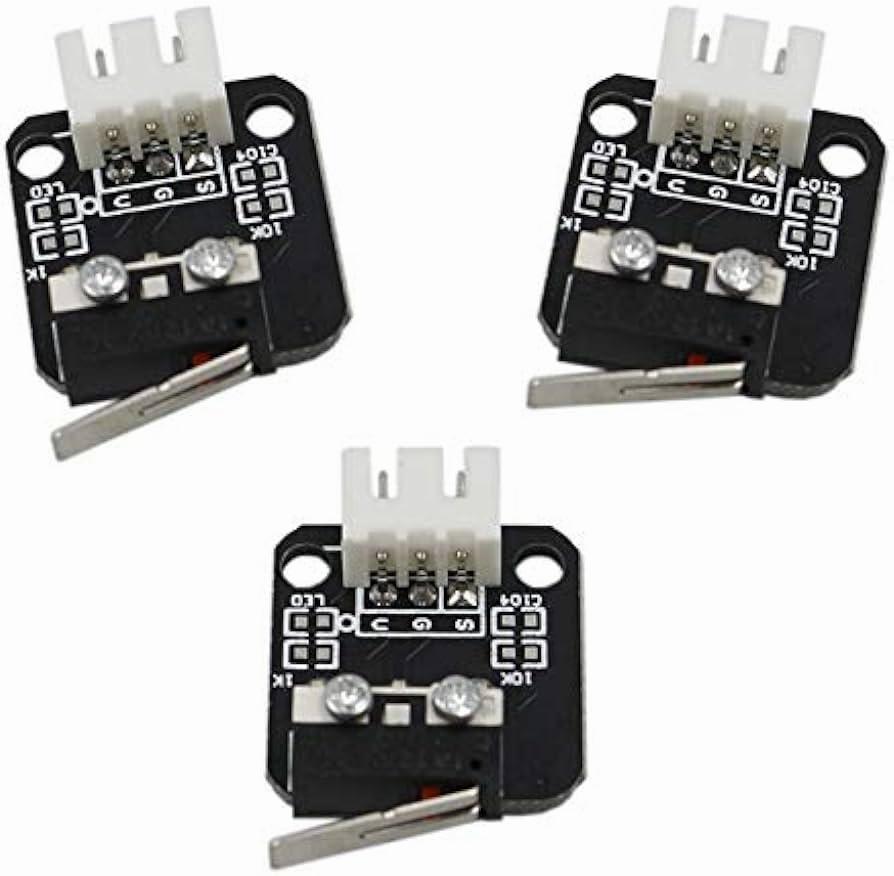
Endstop Types:
The endstops on a 3D printer are crucial for determining the position of the print head and ensuring accurate movement. The Creality K1 Max employs limit switches as its endstops. These switches are strategically placed at specific locations along the printer’s axes (X, Y, and Z).
The Z-endstop is particularly important for setting the correct initial height (Z-offset) between the nozzle and the print bed. Proper calibration of the Z-endstop ensures consistent first layers and overall print quality.
Achieving the right Z-offset is essential for successful 3D printing. Here’s how you can calibrate it:
Manual Adjustment: You can manually adjust the Z-offset during a print by slightly raising or lowering the print head. This fine-tuning helps optimize the first layer adhesion.
Saving the Z-Offset: Once you find the optimal Z-offset, save it in your printer’s settings. On some printers, this involves adjusting the value in the configuration file (e.g., printer.cfg). Make sure to reboot the printer after saving the changes.
Dynamic Z-Offset: Unfortunately, the Creality K1 Max doesn’t inherently support dynamic Z-offset adjustments based on different areas of the print bed. However, some advanced firmware modifications (such as Moonraker) allow for automatic saving and loading of Z-offset values.
Filament Compatibility:
The Creality K1 Max is compatible with several filament types, including:
ABS
PLA
PETG
PET
TPU
PA (Nylon)
ABS-CF (Carbon Fiber)
PLA-CF (Carbon Fiber)
PA-CF (Carbon Fiber)
PET-CF (Carbon Fiber)
ASA
PC (Polycarbonate)
IMG Source: media-amazon.com
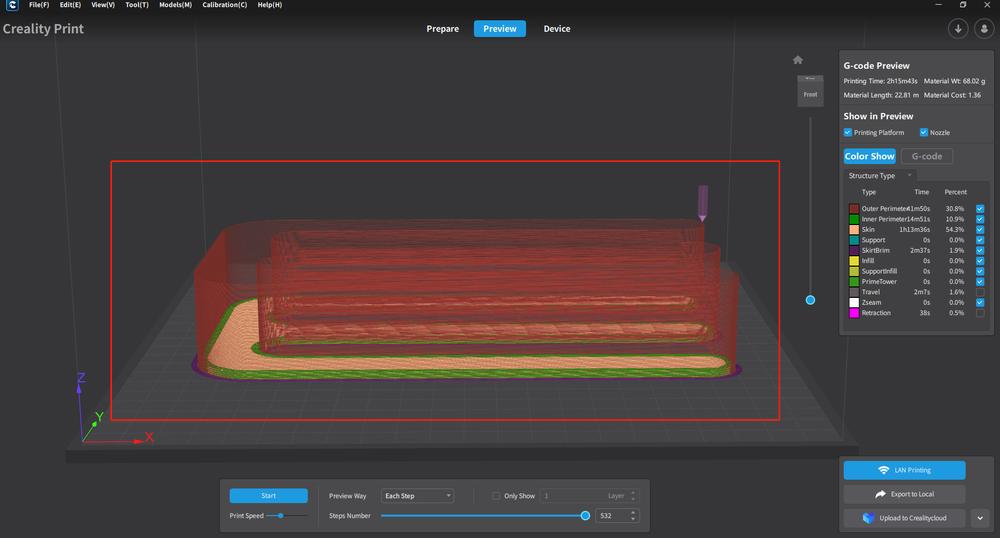
Creality K1 Max Endstop Calibration Guide
Let’s delve into the endstop calibration for your Creality K1 Max 3D printer. Proper calibration ensures accurate positioning and reliable printing. Here are the steps you can follow:
Bed Leveling Calibration:
Access the printer’s menu or interface.
Look for the calibration option. Enabling this will initiate bed leveling before starting a print.
Ensure that the calibration plate sticker is clean and undamaged.
Avoid staring directly at the laser when it’s activated.
Z-Offset Adjustment (Fine-Tuning First Layers):
If you encounter issues with first layers (such as poor adhesion or uneven prints), adjusting the Z-offset can help.
Create a calibration file (similar to what you did for your Ender 3) to find the perfect Z-offset.
This adjustment ensures that the nozzle is at the correct distance from the print bed for optimal adhesion and layer quality.
Remember to consult your Creality K1 Max user manual
IMG Source: creality.com
Troubleshooting Creality K1 Max Endstops
Let’s troubleshoot the endstops on your Creality K1 Max 3D printer. These are crucial components that help the printer determine its position and prevent it from moving beyond its limits.
Here are some steps you can follow to troubleshoot endstop issues:
Check Wiring Connections:
Ensure that the endstop cables are securely connected to the control board. Loose or damaged connections can cause problems.
Inspect the wiring for any visible damage or fraying. Replace any faulty cables.
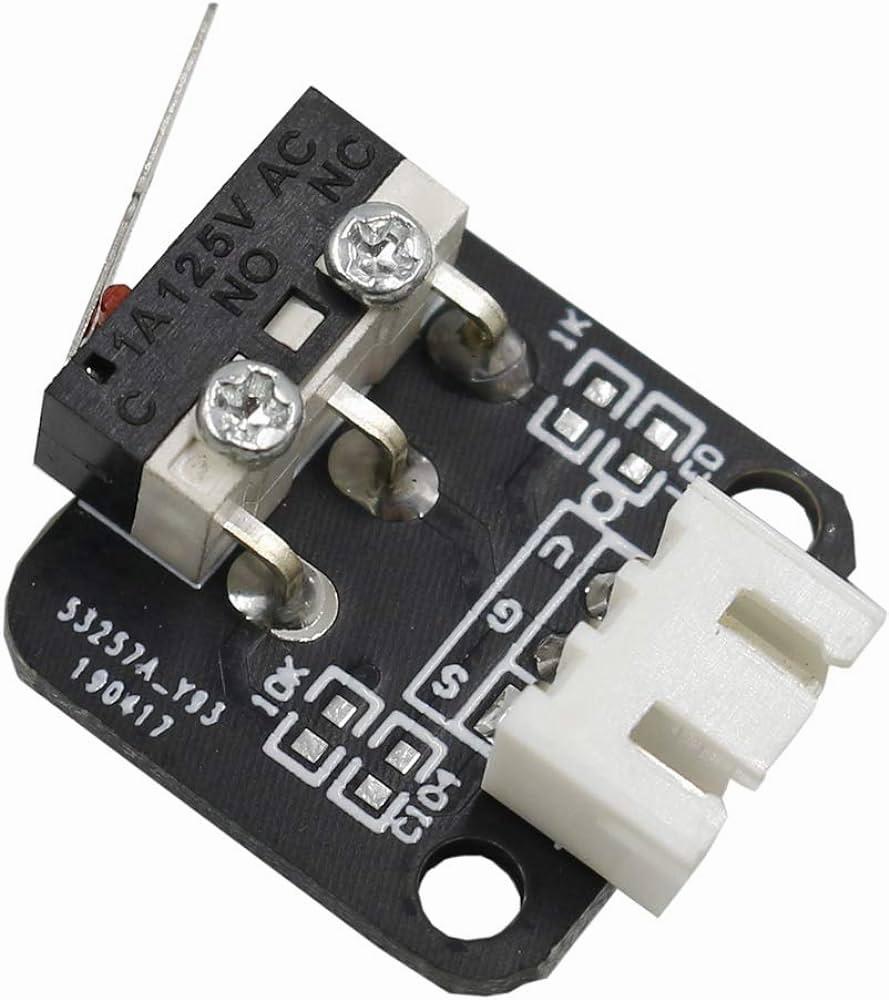
Inspect Endstop Switches:
Verify that the endstop switches are in good condition. These are the mechanical switches that get triggered when the printer reaches its limits.
Make sure they are properly aligned and not obstructed by any debris or foreign objects.
Calibration and Adjustment:
Run a calibration routine to ensure that the endstops are correctly positioned.
Adjust the endstop positions if necessary. You can do this manually or through the printer’s firmware settings.
Test Endstop Functionality:
Use the printer’s manual control interface to trigger the endstops one by one.
Observe the printer’s response. It should stop moving in the corresponding direction when an endstop is triggered.
Proper lubrication of the XY axis rails and bearings is essential for smooth movement.
Lubricate the rails and check if there’s any binding or resistance.
Remember to power off your printer before performing any checks or adjustments. If you encounter specific error messages or issues, consult the Creality K1 Max user manual for detailed troubleshooting steps.
IMG Source: media-amazon.com
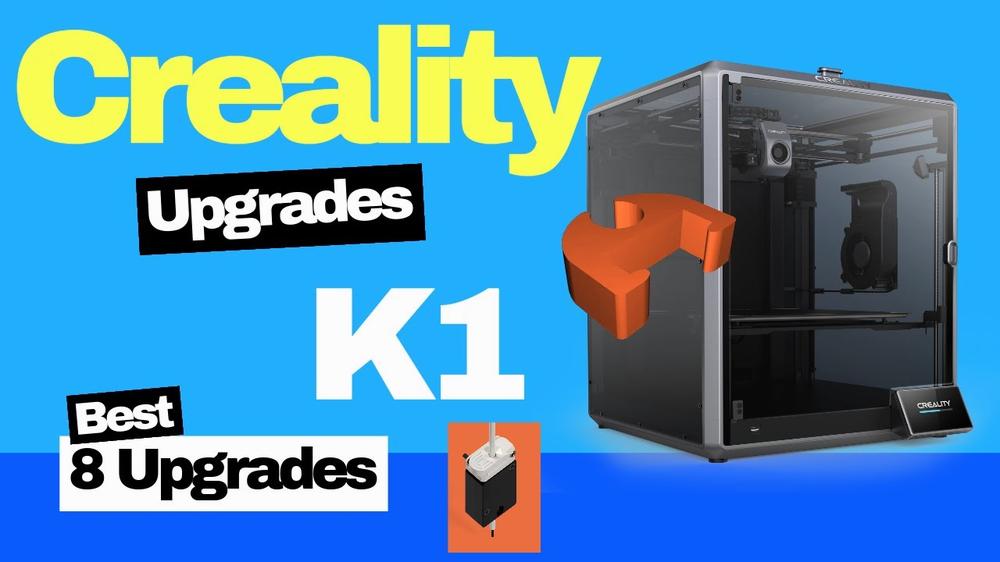
Enhance Your Creality K1 Max 3D Printer
The Creality K1 Max is already a reliable 3D printer, but there are several upgrades you can consider to enhance its performance and functionality. Here are some options:
The latest firmware update brings several improvements:
Enhanced logic for filament runout detection.
Better control over the chamber cooling fan, which now adjusts its spin or pause based on the chamber temperature rather than default settings.
Korean language support in the user interface.
Filament runout notice displayed on the homepage.
FlowTech™ Hotend:
The FlowTech™ Hotend by Micro Swiss is a next-generation hotend designed to eliminate common issues like leaking nozzle seals and complex nozzle swaps.
It’s an easy drop-in upgrade specifically designed for the Creality K1 and K1 Max.
Consider the K1 Max Mega Accessory Pack, which includes:
PEI build plate (315x310mm) for improved adhesion.
Ceramic heating block kit for better temperature control.
AI camera for monitoring prints.
High-flow nozzle kit for faster extrusion.
IMG Source: ytimg.com
In conclusion, the Creality K1 Max offers impressive features and functionalities, including speed, reliability, and a spacious build volume. By following the detailed calibration steps and troubleshooting tips for the endstops, you can ensure precise positioning and high-quality prints. Explore the recommended upgrades to take your 3D printing to the next level and unleash the full potential of your Creality K1 Max.
Elevate your printing journey with confidence and precision with the Creality K1 Max Endstops.