Have you ever wondered about the power supply that keeps your Creality Ender 7 3D printer running smoothly? Understanding the intricacies of the power supply is crucial for optimal performance and safety. In this article, we will delve into the details of the Creality Ender 7 power supply, exploring its features and importance in ensuring efficient printing operations.
Creality Ender 7 3D Printer Power Supply Details
The Creality Ender 7 3D printer comes equipped with a power supply that provides the necessary energy for its operation. Here are some details about the power supply:
Input Voltage: It accepts both AC input (115/230V) and provides a DC output of 24V with a power rating of 350W.
The printer’s Silent Motherboard features a dedicated power management chip with a 24V power input, ensuring stable power supply for smooth printings.
If you need to replace the power supply or want more information, you can refer to Creality’s service tutorial on power supply replacement for the Ender 7
Key Factors for 3D Printer Power Supplies
When it comes to 3D printer power supplies, there are a few key factors to consider. Let’s explore the different types and their features:
Linear Power Supplies:
These are traditional power supplies that use linear regulators to convert AC power into DC.
They are relatively simple and cost-effective.
However, linear power supplies tend to be less efficient and generate more heat.
They are not as commonly used in 3D printers due to their limitations.
Switching Power Supplies:
Switching power supplies are the most commonly used type for 3D printers.
They utilize switching regulators to convert AC power into DC.
Key advantages:
Efficiency: Switching power supplies are more efficient than linear ones.
Compact: They are smaller and lighter.
Stable Output: They provide a stable output voltage.
Most 3D printers operate at either 12V or 24V, and switching power supplies are well-suited for these voltage levels.
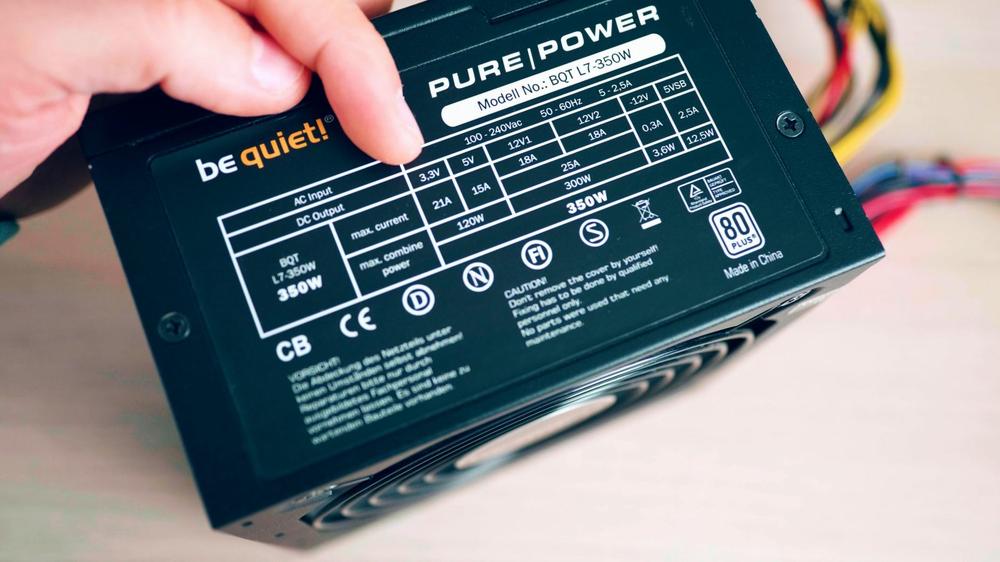
When selecting a power supply, remember to consider the voltage and current
IMG Source: toms3d.org
Choosing the Right Power Supply for Your Creality Ender 7 3D Printer
Selecting the right power supply for your Creality Ender 7 3D printer is crucial for optimal performance and safety. Let’s dive into the details:
Voltage Requirement:
Most 3D printers, including the Ender 7, operate on low voltage DC power. The typical voltage range is between 12V and 24V.
Higher voltage (such as 24V) allows for faster heating and better motor performance.
Current Capacity:
Consider the power requirements of your printer components, including the extruder, heated bed, control board, and motors.
Ensure that the power supply can meet the demands of these components without compromising performance.
A stable and appropriate current capacity is essential for consistent printing results.
Safety Considerations:
Safety should be a top priority when choosing a power supply.
3D printers require substantial power, and an improper power supply can pose fire or electrical hazards.
Select a power supply specifically designed for 3D printers and compliant with safety standards.
Recommended Power Supplies:
Here are some options for power supplies compatible with the Creality Ender 7:
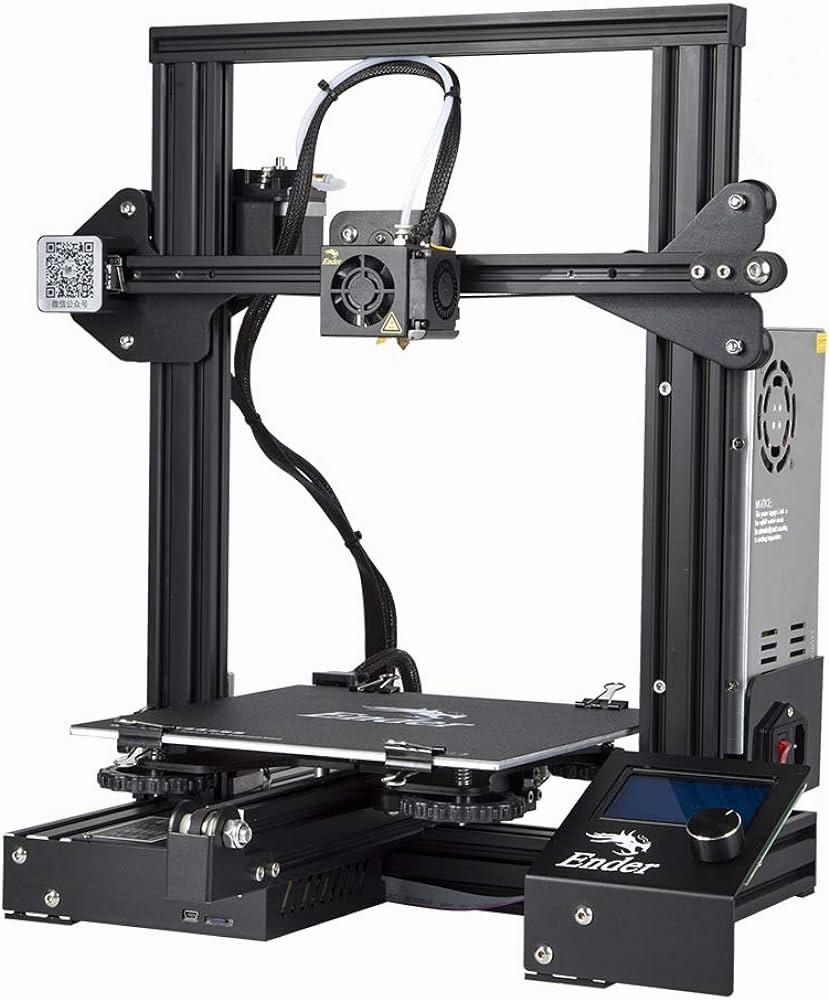
Creality Power Supply: Original power supply for Creality printers, including the Ender 7. It provides reliable performance and safety.
Mean Well Power Supply (24V): High-quality replacement for various Creality models, including the Ender 7. Double-check compatibility before ordering.
IMG Source: media-amazon.com
Setting up the Power Supply
Setting up the power supply for your Creality Ender 7 3D printer is essential for smooth operation. Let’s walk through the steps:
Read the User Manual:
Before anything else, familiarize yourself with the Ender-7 User Manual. It provides detailed instructions specific to your printer model. You can find the manual here.
Safety Precautions:
Do not use the printer in any way other than described in the manual to avoid personal injury or property damage.
Keep the printer away from heat sources or flammable/explosive objects.
Place it in a well-ventilated, low-dust environment.
Avoid exposing the printer to violent vibrations or unstable conditions to maintain print quality.
Assemble the Printer:
Follow the assembly instructions provided in the manual.
Install the Z-axis components, printing platform, and top components carefully.
Secure the extruder cable and connect the X-axis motor and Z-axis motor.
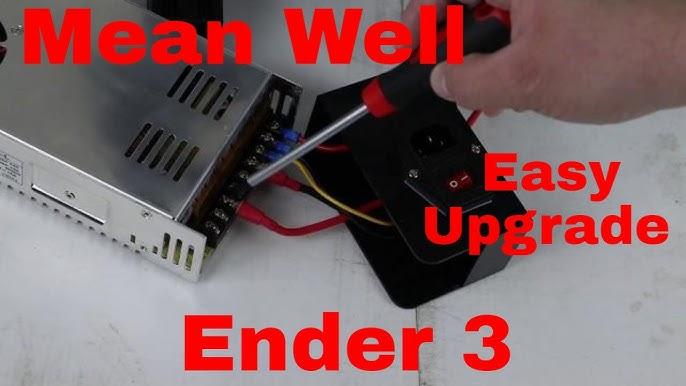
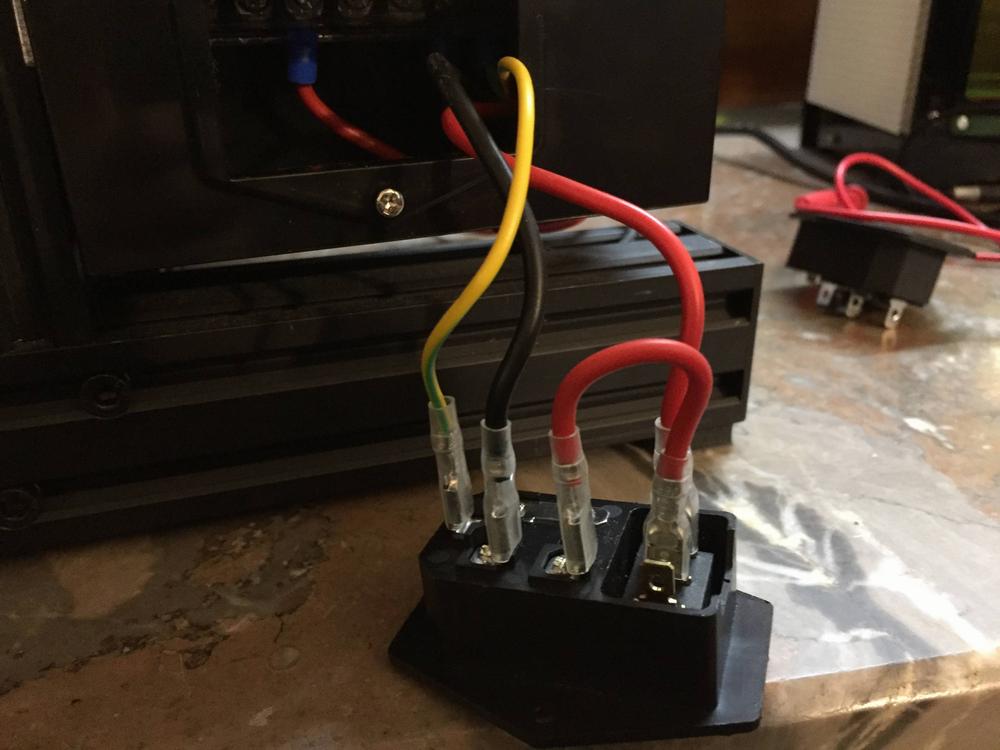
Circuit Wiring:
Connect the power cord and cable connectors.
Ensure proper wiring to avoid any electrical hazards.
Power On:
Once everything is set up, switch on the power.
Verify that the printer initializes correctly and the display shows relevant information.
IMG Source: ytimg.com
Troubleshooting Power Supply Issues with Creality Ender 7
If you’re experiencing power supply issues with your Creality Ender 7, here are some steps you can take to diagnose and potentially resolve the problem:
Check Power Source:
Ensure that your printer is plugged into a reliable power source. Unstable power connections can cause the printer to restart unexpectedly.
Firmware Update:
Sometimes, issues can be related to outdated or buggy firmware. Update or reinstall the printer’s software from Creality’s website to address any potential bugs.
Inspect Z-Axis Motor:
If the Z-axis (vertical movement) is no longer working, follow these steps:
Disconnect the power cable to the printer.
Open the bottom of the printer.
On the motherboard, switch the cable from the Z-step motor with the one connected to the extruder step motor.
Close the bottom and start the printer in setting mode.
Request the extruder to move forward slightly. If the Z-motor responds, it confirms that the Z-motor is working as expected.
You can order a new driver online if needed.
Mechanical Mounting of the Driver:
Open the bottom of the printer again.
Create space to place the driver as shown in the picture.
Drill two holes in the frame at the back to securely hold the driver. Be careful with the hole placement, as it will be visible from the outside.
Cut the cable to the Z-axis at approximately 15 cm from the motherboard plug. Save the remaining 15 cm.
Connect the A-, A+, B-, and B+ wires to the right places. Use the X and Y connections as a reference for connecting the Z-axis.
Reconnect Control Signals:
Use new wires to connect the control signals from the motherboard to the external driver.
Follow the same wiring pattern as used for X and Y axes.
Use zip ties to secure the added cables and prevent movement during printing.
Adjust Settings:
Configure the driver settings:
Current: I recommend 2.1A (SW1=off, SW2=on, SW3=on).
Pulses per rotation: Set to 3200 (SW5=on, SW6=on, SW7=off, SW8=on) to match the movement of the printing surface.
Close the bottom frame and reconnect the power cable to test the changes.
IMG Source: imgur.com
In conclusion, the power supply is the lifeblood of your Creality Ender 7 3D printer, providing the necessary energy for its entire operation. Whether you are considering upgrading your power supply for improved performance or troubleshooting any issues, it’s essential to select a reliable and compatible power supply. By adhering to safety considerations, understanding voltage requirements, and choosing the right power supply, you can optimize the functionality of your Ender 7 printer.
Remember, a stable power supply is key to achieving consistent and high-quality 3D prints with your Creality Ender 7.