Ultimate Guide to Creality Ender 7 Electronics Board
Welcome to the world of 3D printing with the Creality Ender 7 Electronics Board at the helm. This article dives deep into the intricate workings of the Creality Silent Mainboard V4.2.7 and its role in optimizing your printing experience. From firmware updates to motor control, we’ll explore the key features that make this mainboard a game-changer for your Creality Ender 7 printer.
Creality Silent Mainboard V4.2.7
The Creality Ender 7 is an impressive 3D printer, and its electronics board plays a crucial role in its performance. Let’s delve into the details:
Creality Silent Mainboard V4.2.7:
This is the newest silent controller board designed for Creality 3D printers, including the Ender 3, Ender 3 Pro, Ender 3 V2, Ender 5, and Ender-3max.
Key Features:
Bit: 32-bit architecture.
Integrated Motor Drivers: Utilizes TMC2225 drivers for smoother motion.
Ease of Use: Equipped with a USB port for convenient connectivity to E/Z/Y/X axis motors.
Voltage Support: Accepts 24V input voltage.
Firmware Update Process:
Copy the firmware file to a formatted SD card (with no other files).
Turn off the printer and unplug the power cord.
Insert the SD card and power cord, then turn on the printer.
Wait for about 10 seconds to complete the firmware update process (recommended SD card size: 8-16GB).
Compatibility Note: The Ender-3, Ender-3 Pro, Ender-3 V2, and Ender-5 PRO 3D printers come with the 4.2.2 board (32 bits). Versions V1.1.4 and V1.1.5 are no longer available for sale.
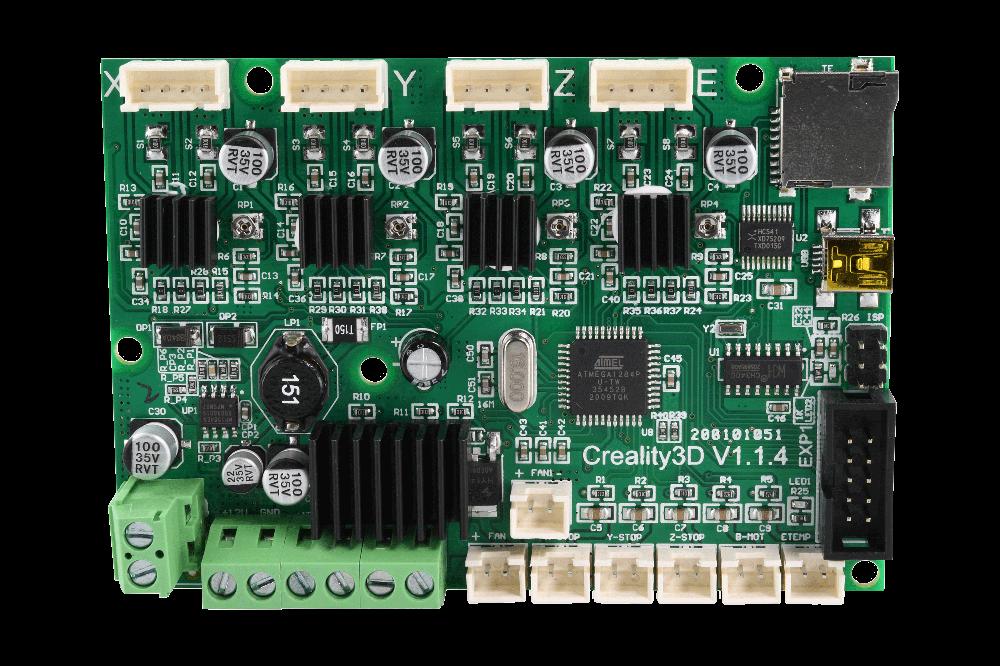
Creality 4.2.7 Board Diagram:
The diagram covers essential parts of the board, including the main microcontroller, stepper motor drivers, power inputs, and various connectors.
Firmware and Software Downloads:
For firmware updates and downloads related to the Ender 7, you can visit Creality’s official website.
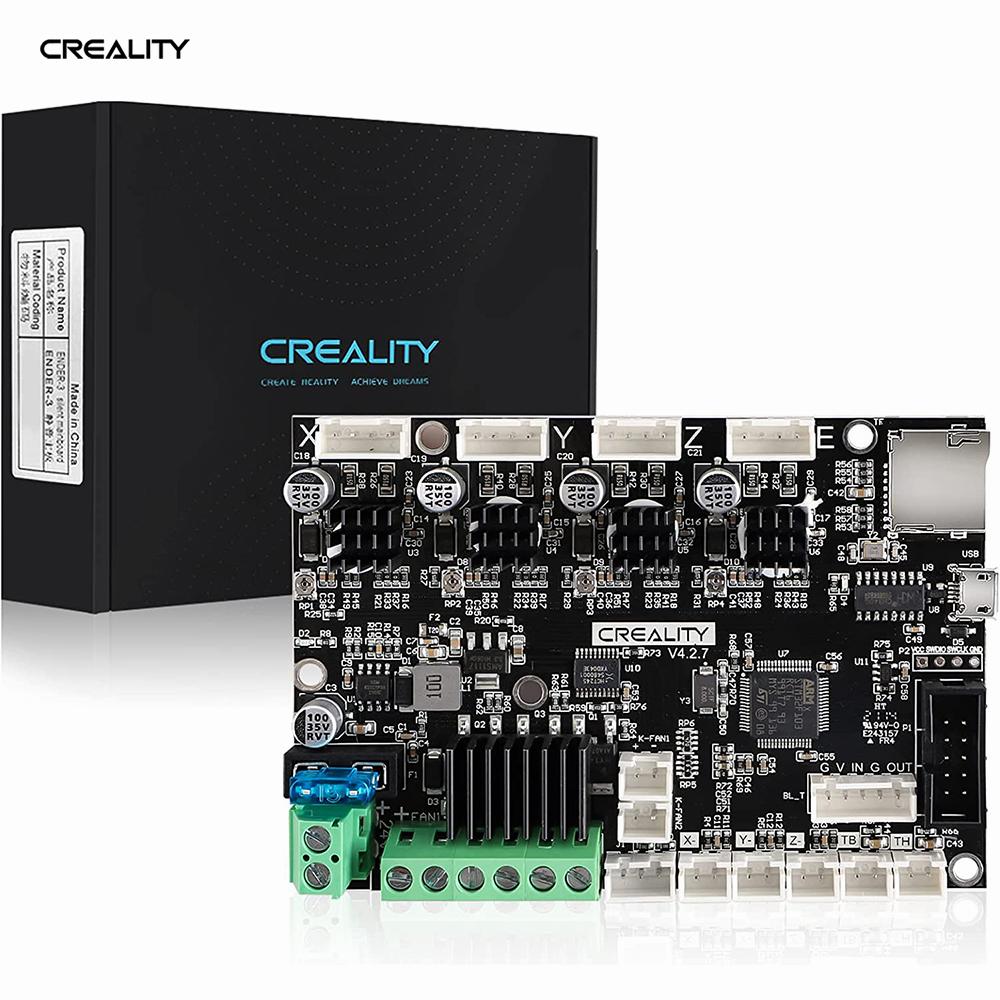
Creality Ender 7 Silent Mainboard Kit Overview
The Creality Ender 7 3D printer features a Silent Mainboard Kit that enhances performance and reduces noise. Let’s delve into the components of this mainboard:
Silent Mainboard Kit (v2.4.S1, 32-bit MS35775 STM32F103RET6): The heart of the Ender 7, this mainboard is responsible for controlling various aspects of the printer. It incorporates advanced features to improve printing quality and reduce motor noise during operation.
Integrated Motor Drivers: The mainboard includes motor drivers (such as TMC2225) that efficiently manage stepper motors for precise movement.
Firmware Update: You can update the firmware using a microSD card.
Connectivity Ports: It has micro-USB and microSD card slots for communication and firmware updates.
Ports for Components: The mainboard accommodates connections for:
Up to 4 motors
2 thermistors
3 endstops
3 fans
BLTouch (auto bed leveling sensor)
Filament runout sensor
Creality 3D Ender 7 Motherboard (v2.4.S1, 32-bit MS35775 STM32F103RET6): This is the official motherboard for the Ender 7. It provides stable and reliable performance for your 3D printing projects. The motherboard is available for purchase separately.
For more detailed information or assistance with replacing the mainboard, you can refer to Creality’s official resources or watch their service tutorial on mainboard replacement
IMG Source: plentymarkets.com
Key Features of Creality Ender-7 3D Printer
The Creality Ender-7 3D printer boasts some impressive technological features. Let’s delve into the details:
High-Speed Printing:
The Ender-7 introduces a new breakthrough in speed. Its normal printing speed can reach up to 250 mm/s. This means you can enjoy instant high-speed printing while maintaining the same molding precision quality.
Silent Motherboard:
The Ender-7 is equipped with a Silent Motherboard that enhances your printing experience:
STM Silent IC with TMC and MS silent drivers ensures high precision and low noise during printing.
Selected solid capacitors contribute to a more stable power supply and smoother print results.
A dedicated power management chip operates with a 24V power input.
The motherboard is expandable and supports features like Automatic Leveling and up to 6 motors.
IMG Source: creality3dofficial.com
Setting Up Electronics Board in 3D Printer
Setting up the electronics board in your 3D printer is crucial for ensuring smooth operation and accurate prints. Let’s walk through the process step by step:
Choose the Right Electronics Board:
There are several options available, such as RAMPS, SKR, and Duet boards. Select one that suits your printer model and requirements.
Safety First:
Before handling any electronics, disconnect the power to your 3D printer.
Ground yourself to prevent static electricity damage.
Identify Components:
The main components of an electronics board setup include:
Mainboard: This controls the printer’s overall functionality.
Stepper Motor Drivers: These drive the stepper motors responsible for moving the printer’s axes.
Heated Bed MOSFET: For controlling the heated bed.
Extruder MOSFET: For managing the extruder’s heating element.
Mounting the Board:
Find a suitable location within the printer’s frame to mount the board.
Ensure proper ventilation to prevent overheating.
Wiring Connections:
Refer to your board’s documentation for specific wiring instructions.
Connect the stepper motor drivers to the corresponding axes (X, Y, Z, and E).
Wire up the heated bed and extruder.
Connect the endstops (limit switches) for homing.
Power Supply:
Connect the power supply to the board.
Ensure correct voltage and polarity.
Firmware Configuration:
Flash the appropriate firmware onto the board.
Configure settings such as steps/mm, acceleration, and homing behavior.
Set up thermal protection parameters.
Testing and Calibration:
Power on the printer and check if the board initializes correctly.
Home the axes and verify smooth movement.
Heat the bed and extruder to ensure proper temperature control.
Calibrate the steps/mm for accurate movement.
Additional Features:
Some boards support features like auto-bed leveling, filament runout sensors, and touchscreen displays. Set these up if desired.
Safety Measures:
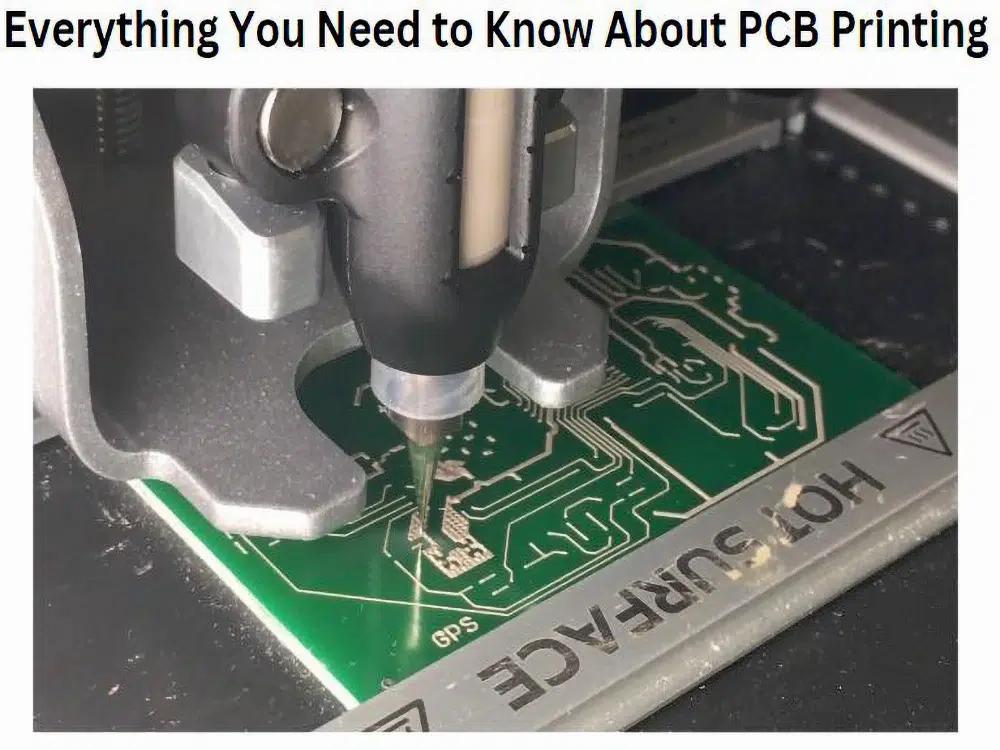
Install a separate MOSFET board for the heated bed to reduce strain on the mainboard .
Consider embedding the electronics within your 3D prints using smooth PCBs to protect them from external elements .
Troubleshooting issues with the Creality Ender 7 electronics board can be a bit challenging, but I’ll provide some guidance based on available information. Remember to exercise caution and follow safety protocols when working with electronics.
Electric Shock Issue:
If you experience an electric shock when touching the printer, it’s crucial to address this immediately.
Diagnostic Step: Disconnect the power cable from the printer and open the bottom cover. On the motherboard, switch the cable from the Z-axis stepper motor with the one connected to the extruder stepper motor.
Close the bottom cover and start the printer in setting mode. Request the extruder to move forward slightly. If the Z-motor moves, it confirms that the Z-motor is working as expected.
If needed, consider ordering a new driver online (such as the DM556) to replace the faulty one.
Mechanical Mounting of the Driver:
Open the bottom cover again. There should be enough space to place the driver as shown in the picture.
Drill two holes in the frame on the back to hold the driver securely. Take your time to mark the drilling spots, as they will be visible from the outside.
Properly secure the driver to prevent any movement during operation.
Power Connections:
Connect the power directly to the 12V power supply.
Cut the cable to the Z-axis stepper motor approximately 15 cm from the plug on the motherboard. Save the 15 cm left.
Connect the A-, A+, B-, and B+ wires to the right places. Use the X and Y connections as a reference for connecting the Z-axis wires.
Control Signals:
Use new wires to connect the control signals from the motherboard to the external driver.
Follow the same wiring pattern as used for X and Y connections.
Secure the added cables with zip ties to prevent movement during printing.
Adjusting Driver Settings:
Set the driver current according to your requirements. For example:
Current: 2.1A
Switch settings (SW1-SW8):
SW1=off, SW2=on, SW3=on
SW5=on, SW6=on, SW7=off, SW8=on
These settings may need adjustments based on your specific setup.
Close the bottom cover and reconnect the power cable to test the printer.
Remember that 3D printers can have various issues, and troubleshooting might involve trial and error. If you continue to face problems, consider seeking additional advice or professional assistance. .
IMG Source: octoprint.org
In conclusion, the Creality Ender 7 Electronics Board, particularly the Silent Mainboard V4.2.7, represents a technological leap in 3D printing precision and efficiency. With advanced features like integrated motor drivers, firmware updates via microSD, and optimized circuitry, this mainboard sets a new standard for performance. Whether you’re a seasoned 3D printing enthusiast or just starting out, investing in the Creality Ender 7 Electronics Board can elevate your printing projects to new heights of quality and reliability.
Embrace the power of innovation with Creality’s cutting-edge technology.