Welcome to the world of 3D printing with the Creality Ender-7, a cutting-edge printer that offers exceptional speed and precision. In this article, we will delve into the key features of the Creality Ender-7 Display Panel, exploring its functionality and benefits. Get ready to unlock a new level of printing experience with this innovative technology.
Features of Creality Ender-7 3D Printer Display Panel
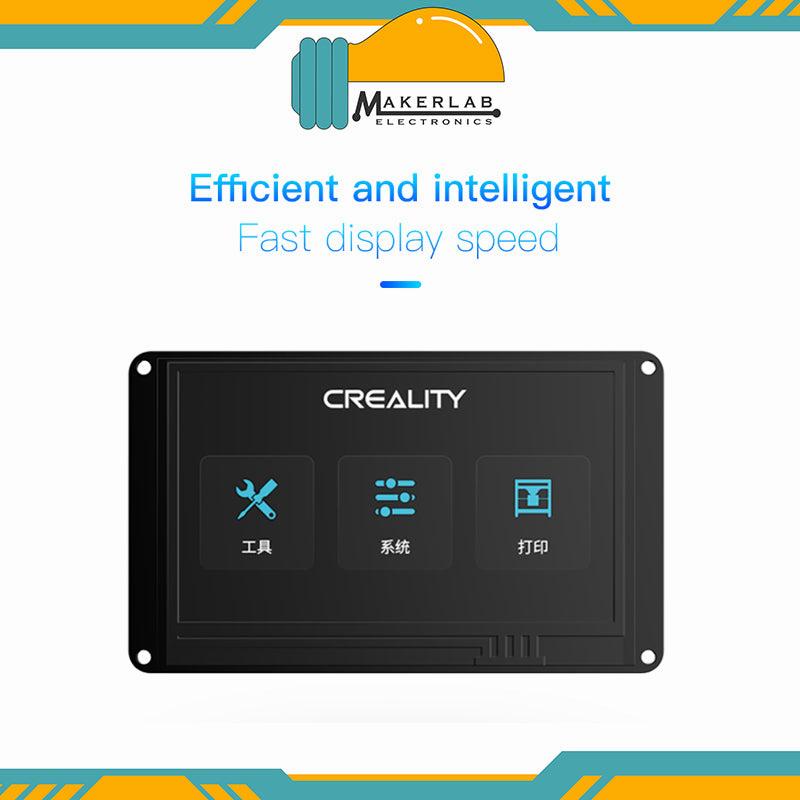
The Creality Ender-7 3D printer features a 4.3-inch HD color screen that enhances your printing experience. Here are some details about the display panel:
Multi-touch: The screen supports multi-touch functionality for efficient and convenient interactions.
Languages: It offers nine language options for user convenience.
Modular Design: The display panel is designed for easy installation.
Wide Vision Range: The screen tilt design ensures a wide field of vision.
If you need to download firmware or find the user manual for your Ender-7, you can visit the official Creality website.
Key Features of Creality Ender-7 3D Printer
Let’s explore the features of the Creality Ender-7 3D Printer:
High-Speed Printing: The Ender-7 boasts a new breakthrough in speed, with a normal printing speed of up to 250 mm/s. This means you can enjoy instant high-speed printing while maintaining the same molding precision quality.
Display Panel:
Multi-Touch Interface: The 4.3-inch HD color screen provides an efficient and convenient user experience.
Language Options: You can choose from nine available languages for ease of use.
Modular Design: The display panel is designed for easy installation.
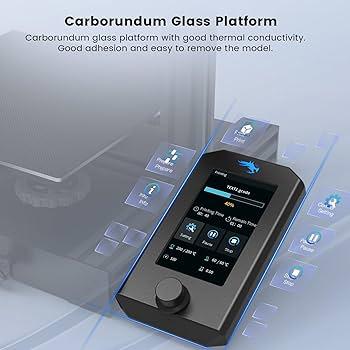
Wide Vision Range: The screen tilt design ensures a wide viewing angle.
Core-XY Structure: The Ender-7 features a high precision linear rail and a Core-XY kinematics system, contributing to its overall stability and accuracy.
Customized Nozzle and Motors: It comes with a customized high-volume nozzle and high-power motors for efficient performance.
Cooling System: Equipped with high-speed cooling fans, the Ender-7 maintains optimal temperatures during printing.
Operational Control Algorithm: The printer utilizes a high-efficiency operational control algorithm for smooth and reliable operation.
Minimalist Aesthetic Design: The Ender-7’s sleek and minimalist design adds a touch of elegance to your workspace.
The retail price for the Creality Ender-7 is $729. If you’re interested, you can find it on Pergear with a 5% discount
IMG Source: makerlab-electronics.com
Installing the Creality Ender-7 Display Panel
Let’s walk through the installation process for the Creality Ender-7 Display Panel. Here are the steps you need to follow:
Assemble the Printer:
Before installing the display panel, ensure that your Ender-7 3D printer is properly assembled. Refer to the user manual for detailed instructions on assembling the printer components.
Locate the Display Panel:
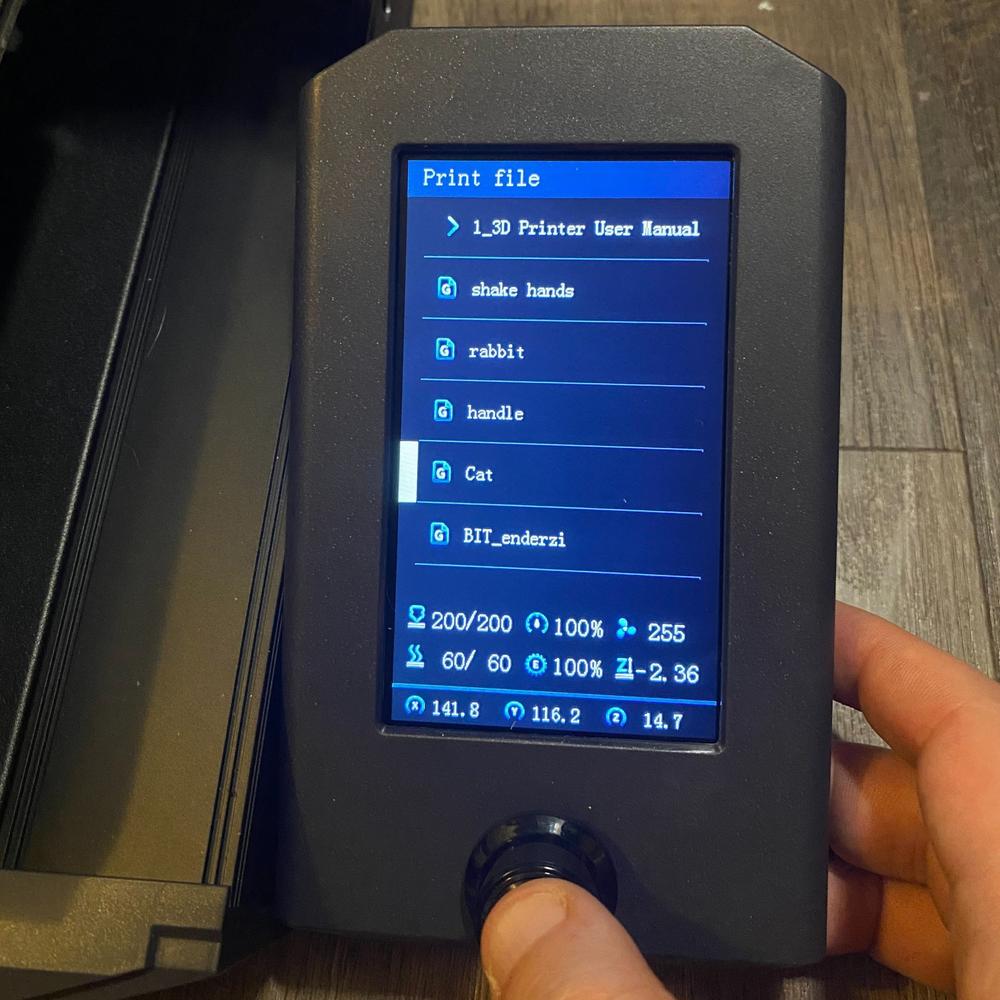
The display panel is an essential part of your printer. It provides a user-friendly interface for controlling and monitoring your prints.
Parts Identification:
Familiarize yourself with the display panel and its components. The display panel typically includes buttons, a screen, and connectors. Refer to the user manual for a detailed view of the display panel and its parts.
Connect the Display Panel:
Locate the appropriate connector on the control board (usually labeled “LCD” or “Display”). Connect the display panel cable to this connector. Ensure a secure connection.
Mount the Display Panel:
Attach the display panel to the designated mounting points on your printer. Follow the instructions in the user manual to position and secure the panel properly.
Power On the Printer:
Turn on the printer and check if the display panel lights up. You should see the printer’s interface displayed on the screen.
Calibrate and Test:
Navigate through the menu options using the buttons on the display panel. Calibrate the printer if necessary and test its functionality.
Software Installation (Optional):
If required, install any software or firmware updates related to the display panel. Check the manufacturer’s website for the latest versions.
Remember to consult the official Ender-7 User Manual
The Creality Ender-7 is a 3D printer that boasts impressive speed and precision. If you’re looking to optimize its display panel performance, here are some techniques to consider:
Core-XY Structure for Precise Control:
The Ender-7 utilizes a Core-XY structure, where dual motors run in parallel with coordinated operations. This design enables faster printing speeds while maintaining high precision.
To ensure accurate performance, pay attention to belt tensioning and pulley placement. Properly tensioned belts and well-placed pulleys are crucial for Core-XY systems.
High-Speed Cooling Fans:
The Ender-7 features a unique butterfly-shaped wing ducted cooling fan. This fan draws in 169% more air than conventional designs, aiding in cooling critical components during high-speed printing.
Efficient cooling helps prevent overheating and ensures consistent performance.
Linear Rails for Stability:
Creality has implemented bearing-block linear rails in the Ender-7. These rails provide exceptional stiffness and allow smooth motion across axes.
Linear rails enhance stability, especially in demanding systems like Core-XY printers.
Minimalist Aesthetic Design:
The Ender-7’s design draws inspiration from the “Temple of Athena Nike” in Greece. It features three triangular distributed “Roman columns” supporting the top.
While aesthetics may not directly impact performance, a well-designed printer can enhance your overall experience.
Tips for Maintaining Your Creality Ender 7 Display Panel
Proper maintenance of your Creality Ender 7 display panel is essential to ensure optimal performance and longevity. Here are some tips to keep it in great shape:
Clean Regularly:
Dust and debris can accumulate on the display panel over time. Turn off the printer and wipe the panel gently with a dry cloth to remove any dirt or particles.
Use glass cleaner or isopropyl alcohol to clean the print surface before every print. This helps maintain consistent results.
Avoid Heat and Flammable Objects:
Keep the printer away from heat sources or any flammable or explosive materials.
Place it in a well-ventilated, low-dust environment to prevent overheating and ensure stable operation.
Check Circuit Wiring:
Periodically inspect the wiring connections to ensure they are secure and not damaged.
If you encounter any issues, refer to the troubleshooting section in the user manual.
Sliding Rails and Blocks Maintenance:
Regularly inspect and lubricate the sliding rails and blocks.
Ensure smooth movement to prevent print quality issues.
Remember, following these maintenance practices will help keep your Creality Ender 7 display panel functioning optimally. If you encounter any specific issues, consult the user manual or seek professional assistance
IMG Source: ytimg.com
In conclusion, the Creality Ender-7 Display Panel stands out as a crucial component of this advanced 3D printer, offering a user-friendly interface and efficient control options. By following the installation process and implementing maintenance tips, you can ensure that your display panel remains in top condition for optimal performance. Embrace the power of the Creality Ender-7 Display Panel and elevate your 3D printing journey to new heights of creativity and precision.