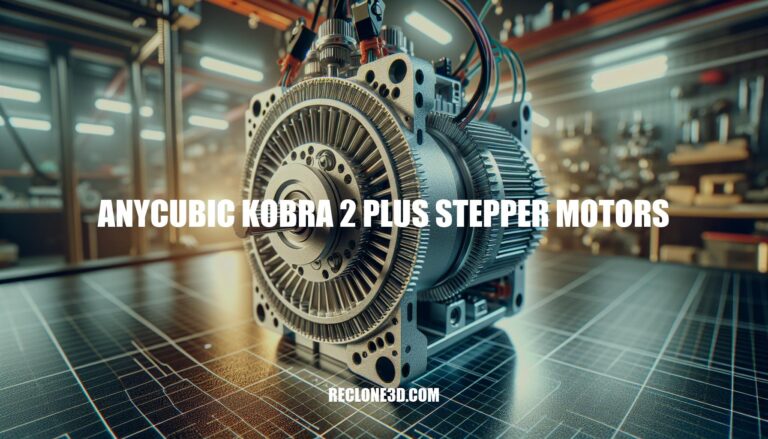
The Ultimate Guide to Anycubic Kobra 2 Plus Stepper Motors
Are you looking to delve into the world of 3D printing with the Anycubic Kobra 2 Plus? Understanding the significance of stepper motors in this advanced machine is crucial to maintaining its precision and performance. In this guide, we will explore the essential role of stepper motors in the operation of the Anycubic Kobra 2 Plus, focusing on the X-axis and Y-axis motor replacement processes.
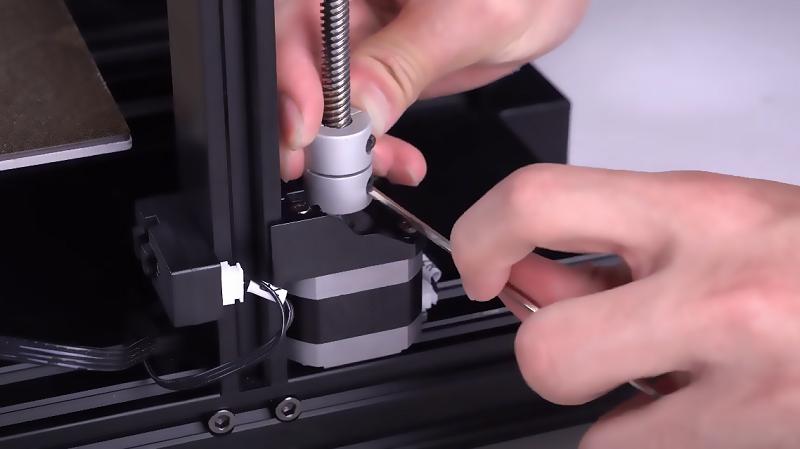
Replace X-axis Stepper Motor
The Anycubic Kobra 2 Plus 3D printer relies on stepper motors to drive its moving parts, ensuring precise positioning during printing. If you encounter issues with a malfunctioning motor, follow these steps to replace the X-axis stepper motor:
Safety First:
Unplug the power cable from your 3D printer to ensure safety.
Remove any filament from the extruder to prevent obstructions during the replacement process.
Remove the Old Motor:
Use an Allen key to unscrew the secure screws on the Z-axis carriage.
Release the belt from the motor pulley.
Unplug the motor cable to completely detach the motor from the X-axis.
Install the New Motor:
Securely attach the new motor to the X-axis carriage using the same screws.
Fasten the belt onto the motor pulley.
To maintain printing accuracy, adjust the belt tension using the belt tensioner knob.
Plug in the motor cable to complete the installation.
Test Your 3D Printer:
After replacing the X-axis motor, test the printer.
Use the printer display to move the print head along the X-axis.
Verify that the movement is smooth and accurate, confirming proper installation.
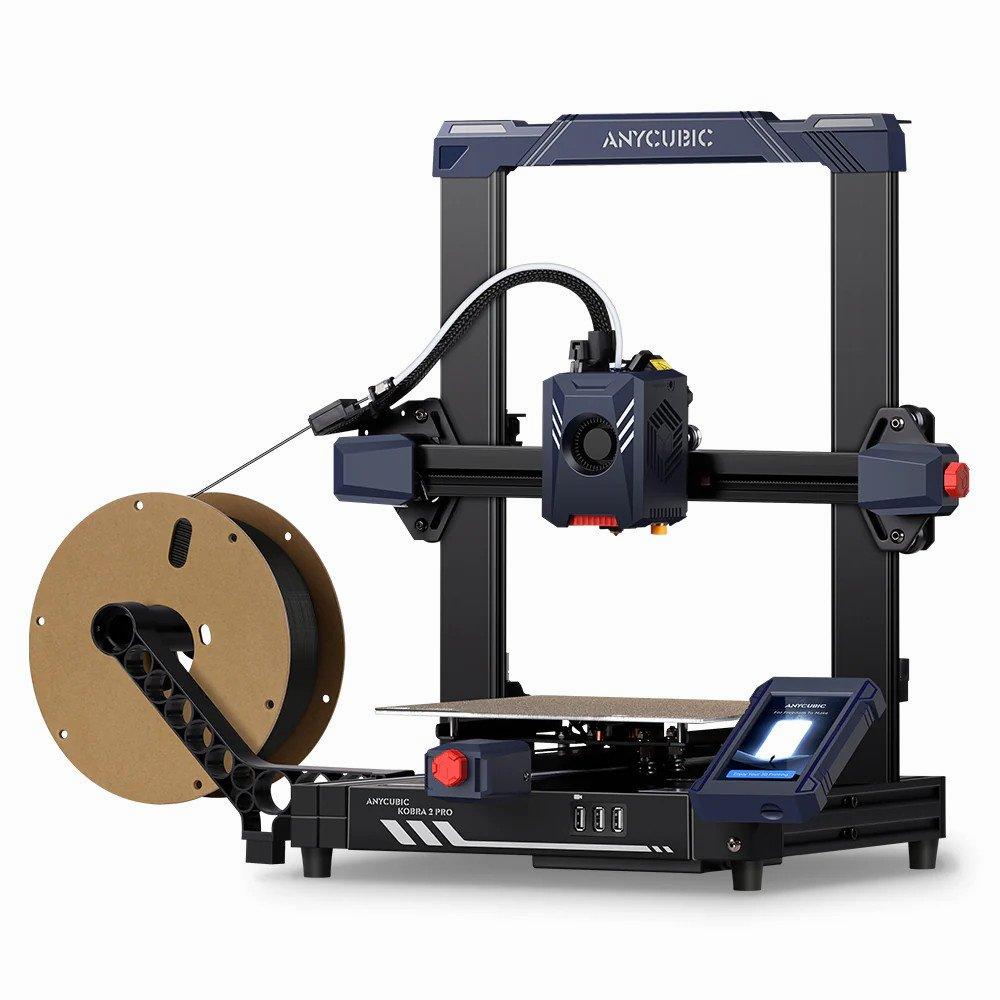
Anycubic Kobra 2 Plus Specifications
The Anycubic Kobra 2 Plus is a high-speed FDM 3D printer with impressive features. Let’s delve into the specifications of this printer:
Build Volume:
The build volume for the Anycubic Kobra 2 Plus is 320 x 320 x 400mm.
Extruder:
The extruder is a direct drive system with double gears.
Bed Leveling:
It features the LeviQ 2.0 auto-leveling system with 49-point calibration.
Print Speed:
The maximum printing speed is an impressive 500mm/s, with an average speed of 300mm/s.
Acceleration:
The accelerated speed is 10,000mm/s².
Printing Accuracy:
The printer maintains a precision of ±0.1mm.
Z-Axis:
It utilizes double rods and motors for the Z-axis.
X-Y-Axis:
The X-Y-axis employs a double metal spindles and SG15 bearing configuration.
Build Plate:
The build plate is made of PEI magnetic spring steel.
The Anycubic Kobra 2 Plus measures 630 x 605 x 564mm.
Weight:
It weighs 13kg.
Remember that product prices may vary due to store promotions, so always check the product page for the most up-to-date information
IMG Source: botland.store
Importance of Stepper Motors in 3D Printing
The Anycubic Kobra 2 Plus 3D printer features stepper motors that play a crucial role in its operation. Let’s explore their applications and significance:
Precise Positioning Printing:
Stepper motors drive the printer’s moving parts, enabling precise positioning during printing. They ensure accurate movement of the print head along the X, Y, and Z axes.
When your motor doesn’t work correctly, it’s essential to check and test it. If confirmed faulty, replacing it becomes necessary.
Dual-Motor Dual-Z-Axis Structure:
The Kobra 2 Plus employs a dual-motor dual-Z-axis motion structure optimized for extrusion and cooling systems.
This design ensures efficient material delivery, quick melting, and cooling, resulting in smoother operation and fewer visible layer lines.
Anycubic App Integration:
After upgrading the printer firmware to version 3.0.5 or above, the Anycubic App offers support for various features:
Online Model Library Search: Access a library of 3D models directly from the app.
Real-Time Video Supervision: Monitor your print progress remotely.
Status Monitoring: Keep track of your printer’s status.
Online Slicing and Printing: Slice models and start prints from your mobile device.
Time-Lapse Recording: Capture time-lapse videos of your prints.
Remote Control and Management: Control and manage your printer from anywhere.
IMG Source: media-amazon.com
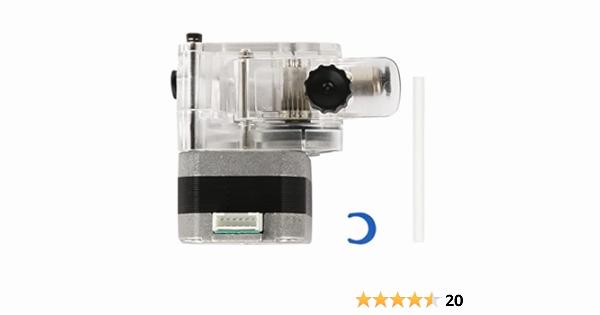
Y-Axis Stepper Motor Installation Guide
Replacing stepper motors in your Anycubic Kobra 2 Plus 3D printer is essential for maintaining smooth and accurate printing. Let’s focus on the Y-axis stepper motor installation. Here are the steps:
Gather Tools:
You’ll need Allen keys for this task.
Ensure you have a new Y-axis motor ready for replacement. Note that the Y-axis motor design may vary depending on the specific Kobra model.
Release Y-Axis Belt and Unscrew Motor Pulley:
Disconnect your printer’s power.
Turn the Y-axis tensioner counterclockwise to loosen and remove the belt from the motor pulley.
Unscrew the pulley and remove it. If your printer has a combined pulley and motor design, you can skip this step.
Remove Old Stepper Motor from Y-Axis:
Loosen both the belts and pulleys as well as the motor bracket.
The motor bracket secures the motor and ensures stable printing.
Unscrew the screws connecting the motor to the bracket and unplug the motor cable.
This will allow you to successfully remove the Y-axis motor.
Install the New Y-Motor:
Attach the new motor to the bracket and secure the pulley onto the motor shaft.
For models other than Kobra Neo and Kobra Go (which have a combined motor), align the flat surface of the motor shaft with the screw on the pulley before tightening them.
Plug in the motor cable and tighten the Y-axis belt.
Test Your Y-Motor:
Control the heated bed through the printer display and make it move back and forth.
Observe if the motion position is accurate and whether it runs smoothly on the rail.
For additional motor replacement guides, check out:
Key Features of the Anycubic Kobra 2 Plus 3D Printer
The Anycubic Kobra 2 Plus is a remarkable high-speed FDM 3D printer that offers several advantages, including:
Speedy Performance: The Kobra 2 Plus boasts a maximum printing speed of 500mm/s, allowing for rapid production of 3D prints . It can complete a 3DBenchy print at an impressive average speed of 300mm/s in just 17 minutes and 11 seconds .
Large Build Volume: With dimensions of 400 x 320 x 320mm (41L), the Kobra 2 Plus provides a 28% increase in build volume compared to its predecessor . This ample space enables one-piece printing of relatively large art pieces without intricate assembly.
LeviQ 2.0 Auto Bed Leveling: The Kobra 2 Plus utilizes the LeviQ 2.0 system, which automatically levels the bed with a single click. It saves time and eliminates the need for manual adjustments .
Dual-Gear Direct Drive Extruder: The printer’s extruder ensures compatibility with various materials such as PLA, TPU, ABS, and PETG . This versatility makes it suitable for home users, education, and small businesses.
Heated Magnetic Print Platform: The Kobra 2 Plus features a heated magnetic print platform that ensures excellent adhesion during printing and easy removal upon completion .
Advanced Firmware Features: The firmware supports vibration compensation and flow control, resulting in smoother print surfaces and reduced vibrations during printing .
Reliable Operation: Despite its budget-friendly price, the Kobra 2 Plus delivers reliable print quality and speed, making it a solid choice for those seeking a dependable 3D printer .
In summary, the Anycubic Kobra 2 Plus strikes a balance between speed, versatility, and ease of use, making it suitable for both beginners and enthusiasts. While lacking wireless connectivity, its impressive features and performance make it a valuable addition to any 3D printing setup.
IMG Source: gstatic.com
In conclusion, the Anycubic Kobra 2 Plus distinguishes itself as a high-speed FDM 3D printer with advanced features and impressive capabilities driven by its stepper motors. The precision and accuracy of the printer are made possible by the intricate motion control facilitated by these motors. By understanding how to replace and optimize the X-axis and Y-axis stepper motors, users can ensure the longevity and performance of their Anycubic Kobra 2 Plus printer.
Embracing the technological advancements and innovative designs of this 3D printer, enthusiasts and professionals alike can elevate their printing experiences and explore new horizons in the world of additive manufacturing.