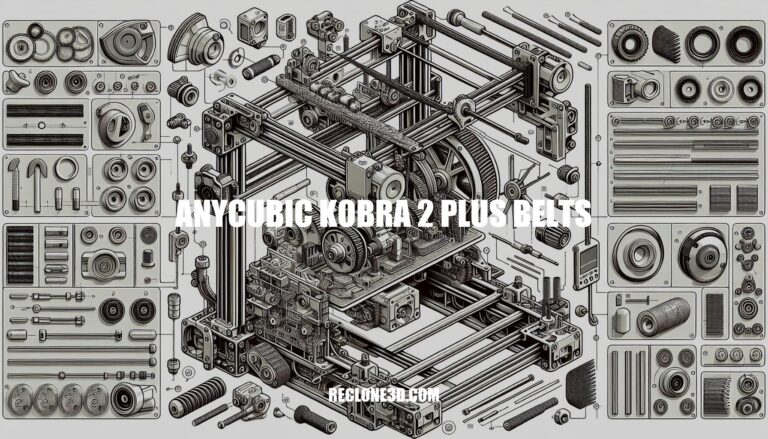
Anycubic Kobra 2 Plus Belts: Maintenance and Upgrades Guide
Welcome to a comprehensive guide on managing the Anycubic Kobra 2 Plus belts for optimal 3D printing performance. Belts are the unsung heroes of your 3D printer, ensuring accuracy and reliability. In this article, we will delve into how to replace and adjust the X and Y-axis belts on your Kobra 2 Plus printer, along with the significance of proper belt tension.
Let’s explore the intricacies of maintaining these essential components to elevate your printing experience.
Anycubic Kobra 2 Plus 3D Printer Belt Maintenance Guide
Let’s talk about the belts in the Anycubic Kobra 2 Plus 3D printer. Properly maintained belts are crucial for accurate and reliable 3D printing. Here’s how you can handle the belts on your Kobra 2 Plus:
X-Axis Belt Replacement:
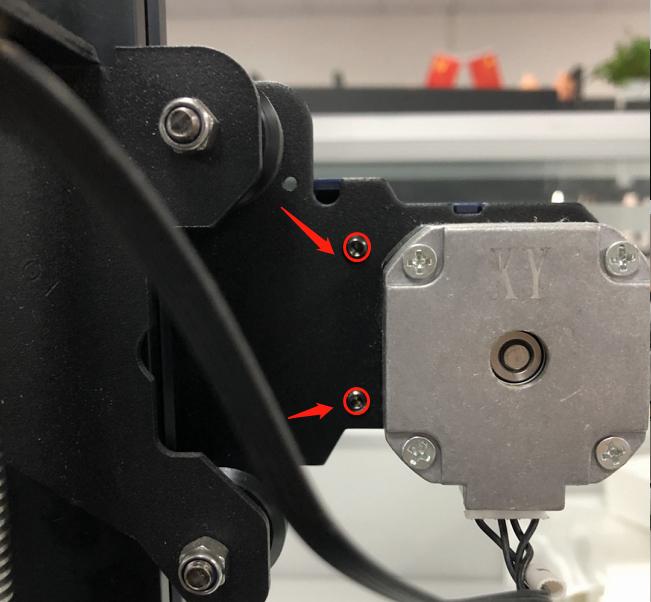
Step 1: Use an M2.0 Allen wrench to unscrew the 2 screws at the rear of the X-axis motor cover and set the cover aside.
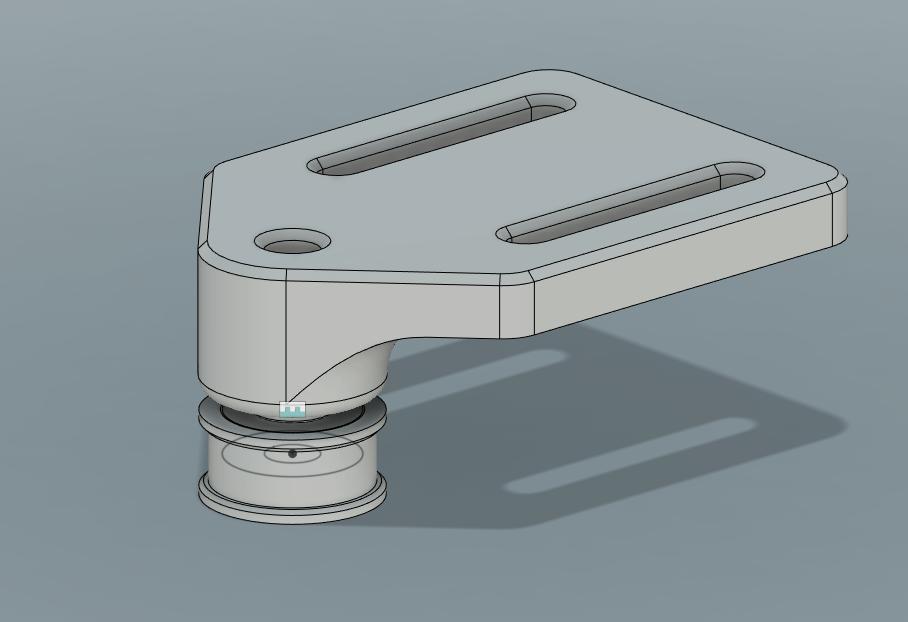
Step 2: With the M2.5 socket head cap screw wrench, unscrew the 2 screws that fix the X-axis tensioner.
Step 3: Unscrew the nut for adjusting the belt tension in a counterclockwise direction and set it aside.
Y-Axis Belt Replacement:
Step 1: Unscrew the nut on the Y-axis tensioner for adjusting the belt tension in a counterclockwise direction.
Step 2: Unscrew the 2 fixing screws that secure the Y-axis tensioner on the Y-axis carriage.
Step 3: Use auxiliary tools to remove the copper buckles at both ends of the belt from the bottom of the printing platform.
Belt Tension Adjustment:
If you’re using an Anycubic Kobra 2 Series printer, follow these steps:
Turn the knob clockwise to the maximum tightness.
Then, loosen it by one turn.
In most cases, this provides the right belt tension.
Test the tension using a small model like a calibration cube.
For more accessories and parts related to the Anycubic Kobra 2 Plus, you can explore Anycubic’s official store.
The Role of Timing Belts in 3D Printers
Let’s delve into the timing belts and their crucial functions in the Anycubic Kobra 2 Plus 3D printer.
Function of Timing Belts in 3D Printers:
Timing belts play a pivotal role in the operation of FDM (fused deposition modeling) 3D printers. These belts are responsible for driving both the print head (which moves along the X and Y axes) and the heated bed.
They are flat, flexible, and feature a toothed pattern that allows them to match with pulley wheels. These pulley wheels are connected to motor shafts.
When the printer’s motors rotate, they drive the pulleys, which, in turn, move the belts. This controlled movement enables precise positioning of the print head and the heated bed during the printing process.
Importance of Proper Belt Tension:
Correct belt tension significantly impacts the accuracy and quality of 3D prints.
Loose or slack belts can lead to surface defects, excessive vibrations, and wobbling during printing. This can result in issues like layer shifting, ghosting, and ringing.
Conversely, overly tight belts can become rigid, leading to wear or even breakage. It’s essential to strike the right balance.
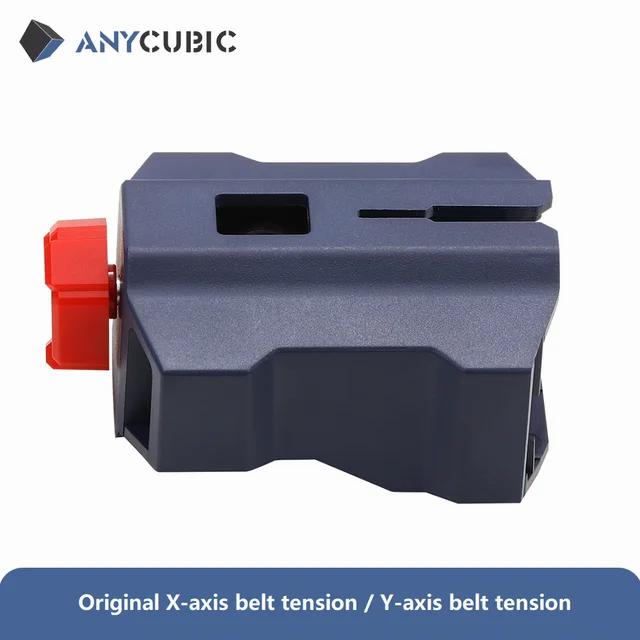
How to Adjust Belt Tension on the Anycubic Kobra 2 Plus:
Step 1: Locate the belt tensioners for your printer. These are typically situated at one end of the X and Y axes.
Step 2: Prepare the necessary tool (usually an Allen key) for adjusting the nuts. If your printer has built-in knobs for tension adjustment, you can adjust them directly by hand.
Step 3: To increase belt tension, turn the belt tensioner clockwise. Conversely, turning it counterclockwise will release tension. Be cautious not to over-tighten, as this can lead to irreversible belt breakage.
Anycubic Kobra 2 Neo, for instance, comes equipped with turnable adjusters for the X and Y axes, allowing you to tighten the belts directly. It’s an affordable and user-friendly high-speed printer suitable for most beginners.
Additional Tips:
If your current printer is from the Anycubic Kobra 2 Series, it’s recommended to turn the knob clockwise to maximum tightness and then loosen it by one turn. In most cases, this provides the right belt tension.
You can use a small model (like a calibration cube) to test whether the belt tension is suitable after adjustments.
Remember that maintaining proper belt tension ensures smoother prints and prolongs the life of your 3D printer! .
IMG Source: alicdn.com
How to Replace Y-Axis Belt on Anycubic Kobra 2 Plus 3D Printer
Maintaining the belts on your Anycubic Kobra 2 Plus 3D printer is essential for optimal performance. Let’s focus on the Y-axis belt first. Here are the steps to replace it:
Loosen the Tensioner Nut:
Begin by unscrewing the nut on the Y-axis tensioner in a counterclockwise direction. This allows you to adjust the belt tension.
Remove the Y-Axis Tensioner:
Unscrew the two fixing screws that secure the Y-axis tensioner to the Y-axis carriage.
Detach the Belt from the Printing Platform:
Use auxiliary tools to remove the copper buckles at both ends of the belt from the bottom of the printing platform.
For more detailed instructions, you can refer to the official Anycubic guide on replacing the Y-axis belt. It provides visual aids and additional insights.
IMG Source: shopify.com
Benefits of High-Quality Belts for 3D Printers
High-quality belts play a crucial role in enhancing the performance of 3D printers. Let’s explore the benefits:
Accuracy: A well-made belt ensures precise movement of the printhead. Even slight deviations or slips can lead to misalignment in the printed layers, resulting in print failures or distortions. So, high-quality belts contribute to accurate and reliable prints.
Consistency: Over time, low-quality belts may stretch or wear out unevenly. In contrast, high-quality belts maintain consistent tension and durability, ensuring stable performance throughout the printer’s lifespan. Consistency is key for achieving repeatable results.
Noise Reduction: High-quality belts tend to produce less noise. Their smoother motion and better tension management contribute to a quieter printing experience. Reduced noise levels are beneficial, especially in shared workspaces.
Reduced Backlash and Vibrations: Properly tensioned belts help minimize backlash (the play or slack in the system) and vibrations. This leads to cleaner, more accurate prints with fewer artifacts.
Improved Print Details: When the belts are of high quality, they contribute to better overall print quality. Fine details, intricate designs, and complex geometries benefit from precise belt movement.
Remember that regular maintenance and occasional belt replacements are recommended to keep your 3D printer functioning optimally
IMG Source: 3dwithus.com
Troubleshooting Belt-Related Issues with Anycubic Kobra 2 Plus 3D Printer
If you’re experiencing belt-related issues with your Anycubic Kobra 2 Plus 3D printer, here are some steps you can take to troubleshoot and address the problem:
Check the X/Y Axis Bearing Pulleys:
Inspect the print head module and print bed for any looseness or tightness.
If you notice any issues, use an open-end wrench to adjust the hex eccentric spacers until the print head module and print bed move smoothly without obvious looseness.
Replace the Y-Axis Belt:
Move the heated bed to the position of the motor at the rear of the printer base.
Unscrew the nut on the Y-axis tensioner in a counterclockwise direction to adjust the belt tension.
Unscrew the two fixing screws that secure the Y-axis tensioner on the Y-axis carriage.
Use auxiliary tools to remove the copper buckles at both ends of the belt from the bottom of the printing platform.
Remember to follow the manufacturer’s guidelines and safety precautions while performing any maintenance or adjustments. If you encounter any difficulties, consider reaching out to Anycubic’s official after-sales support for further assistance
IMG Source: redd.it
In conclusion, the proper care and maintenance of the Anycubic Kobra 2 Plus belts are paramount for achieving high-quality 3D prints consistently. By following the detailed steps outlined in this guide, you can ensure that your X and Y-axis belts are in top condition, facilitating smooth and precise printing. Remember, accurate belt tension is key to minimizing errors and enhancing print detail.
Don’t overlook the crucial role that well-maintained belts play in the overall performance of your 3D printer. For any further queries or assistance with managing your Anycubic Kobra 2 Plus belts, do not hesitate to reach out to Anycubic’s official support resources.