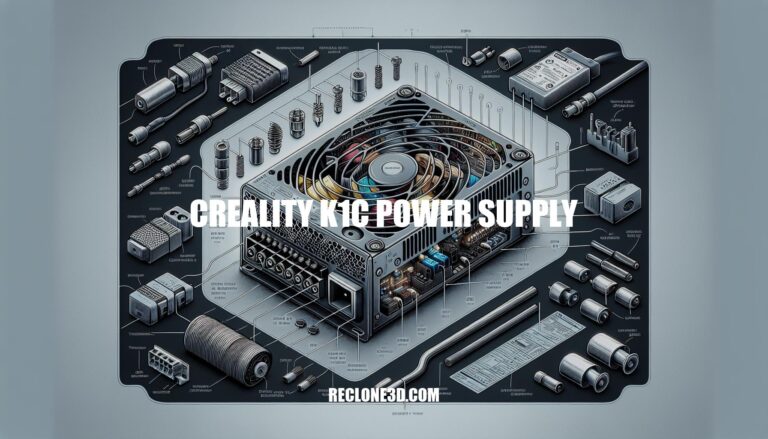
The Creality K1C is a cutting-edge 3D printer that has been making waves in the printing industry with its innovative features and high-performance capabilities. One crucial component that plays a significant role in the operation of the K1C is its power supply. Ensuring the proper installation and maintenance of the Creality K1C power supply is essential for optimal printing results and the longevity of the printer.
Let’s explore the key aspects of the Creality K1C power supply and how to troubleshoot any related issues effectively.
Key Features of Creality K1C 3D Printer
The Creality K1C is an intriguing 3D printer with several notable features. Let’s delve into some details:
Technical Innovations:
Reliable Extrusion: The K1C boasts dependable extrusion, ensuring consistent and high-quality prints.
Quick-swap Tri-metal Nozzle: Swapping nozzles becomes a breeze, allowing for versatile printing options.
600mm/s Max Printing Speed: This printer is a champion of speed, enabling rapid production.
Supporting Carbon Fiber Filaments: It’s equipped to handle carbon fiber materials, expanding its range of applications.
Intelligent AI Camera: An interesting addition that enhances monitoring and control.
If you need to replace the power supply for your Creality K1C, there are resources available. You can find a service tutorial on power supply replacement in the Creality Cloud.
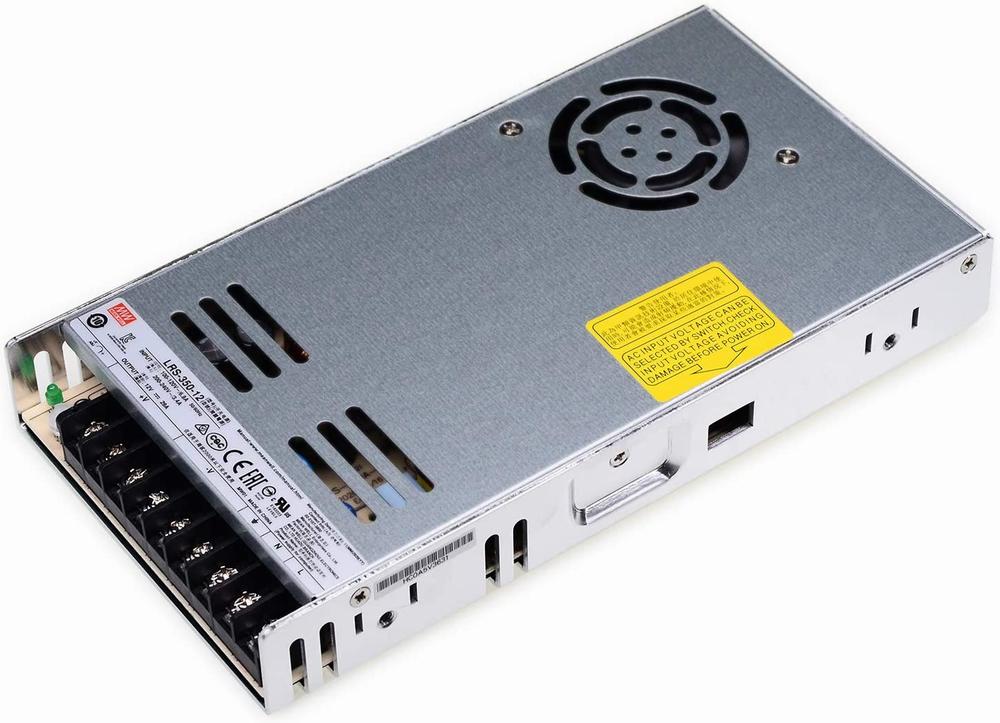
Additionally, you can explore Meanwell Switching Enclosed Power Supply options, which are suitable for the Ender 5 Plus.
Exceptional Creality K1C 3D Printer Features
The Creality K1C 3D Printer is a remarkable addition to the Creality lineup, designed to meet the demands of both hobbyists and professionals. Let’s delve into its features:
Champion of Speed and Skills:
The K1C boasts a Core XY FDM motion structure, allowing it to achieve speeds of up to 600 mm/s.
Its all-metal hotend ensures reliable extrusion, and the quick-swap tri-metal nozzle enhances versatility.
Specifically optimized for carbon fiber filament, the K1C sets a new standard in printing capabilities.
Carefree & Smart Operations:
Auto calibration with a single tap simplifies the setup process.
Let’s walk through the installation process for the Creality K1C power supply. Proper installation ensures safe and efficient operation of your printer. Here are the steps:
Unpacking and Inspection:
Begin by unpacking your Creality K1C 3D printer.
Inspect the power supply unit (PSU) and ensure there is no visible damage.
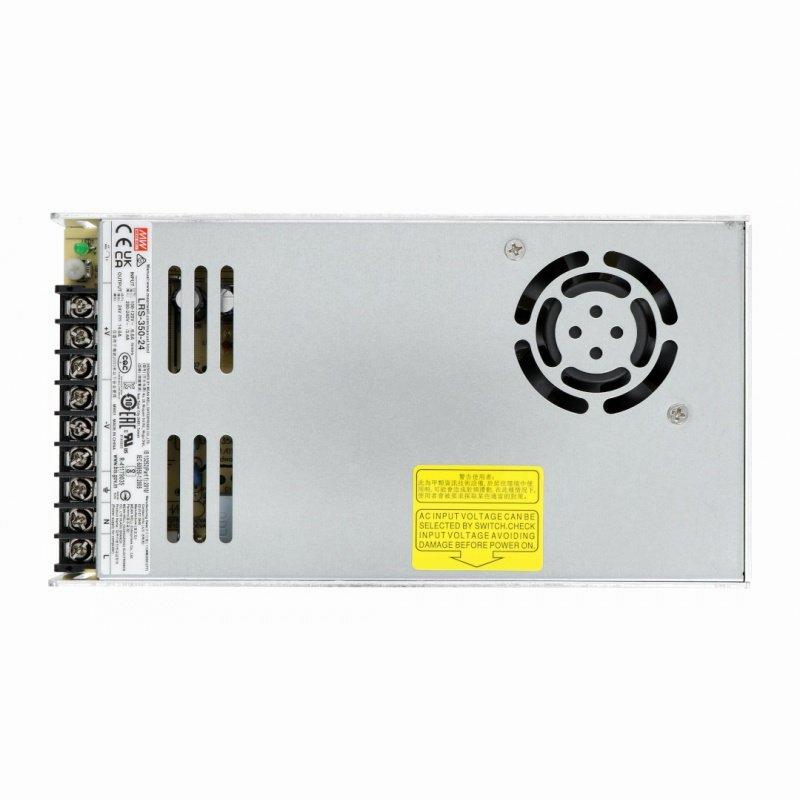
Power Supply Specifications:
The Creality K1C typically comes with a 115V power supply setting. However, it’s essential to verify this based on your specific model.
Correct Power Setting:
Check the yellow label on the power supply. It provides instructions regarding the correct power setting.
If your printer arrived with the wrong power settings, follow the label instructions to adjust it properly.
Installation:
Locate the power supply unit within your printer’s housing.
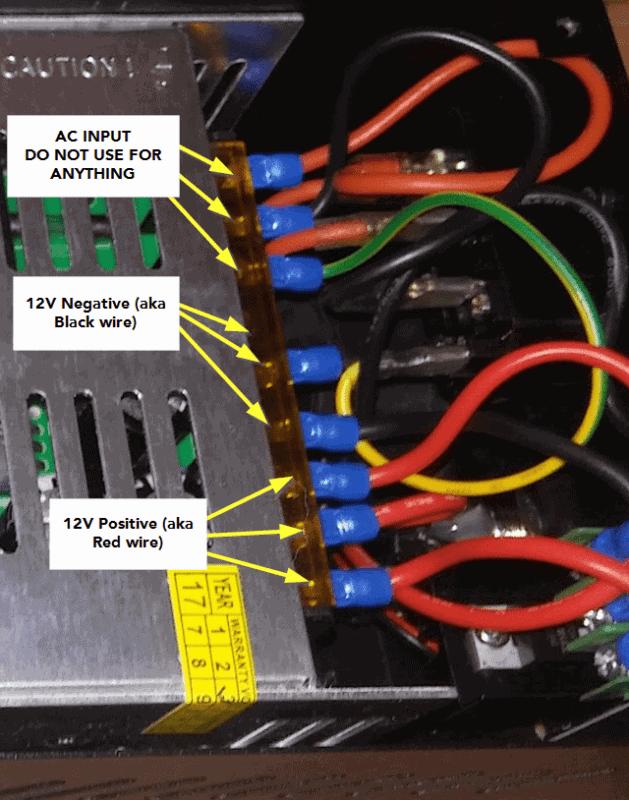
Connect the power cables securely to the appropriate terminals on the PSU.
Ensure proper grounding and insulation to prevent electrical hazards.
Testing:
Before powering on the printer, double-check all connections.
Plug in the power cord and switch on the printer.
Observe the power supply’s LED indicators to confirm it’s functioning correctly.
Safety Precautions:
Always follow safety guidelines when working with electrical components.
Avoid touching live wires or terminals.
Keep the power supply away from moisture and extreme temperatures.
For more detailed instructions, you can refer to the Creality K1C User Manual or watch the Service Tutorial video on replacing the power supply. If you encounter any issues during installation, feel free to reach out to Creality’s official service email at [email protected].
IMG Source: th3dstudio.com
Power Supply Troubleshooting Tips for Creality K1C 3D Printer
Troubleshooting power supply issues can be crucial for maintaining the performance of your Creality K1C 3D printer. Here are some tips to help you diagnose and address power supply-related problems:
Check Power Settings:
Ensure that the printer’s power settings match your local voltage standard (115V or 230V). There should be a yellow label on the printer indicating the correct voltage setting. If it’s set incorrectly, adjust it accordingly.
Watch this helpful video on correct power setting for Creality K1C: YouTube Video.
Conduct Print Tests:
Print a simple test model to verify if the printer is receiving power and functioning as expected.
If the printer fails to start or exhibits erratic behavior, it might be related to the power supply.
Inspect Thermistors and Wiring:
Check the heated bed thermistor and extruder thermistor wiring. Ensure they are properly connected and not damaged.
Reconnect any loose thermistor wires.
Heat the extruder and thermistor individually to identify any faulty components. Replace them if necessary.
Replace the Power Supply:
If all else fails, consider replacing the power supply unit. Faulty power supplies can cause various issues, including print failures and erratic behavior.
Remember to follow safety precautions when working with electrical components. If you encounter persistent issues, consult the manufacturer’s support or seek assistance from experienced 3D printing enthusiasts.
IMG Source: ytimg.com
Creality K1C: Notable Upgrades and Comparisons
The Creality K1C is a notable 3D printer with several upgrades over its predecessor, the K1. Let’s delve into the details and compare it with its competitors:
Features & Design:
New Extruder: The K1C boasts an upgraded, all-metal direct-drive extruder that is stronger than the original K1’s. This enhancement ensures more reliable filament feeding into the hotend.
Hardened Nozzle: The K1C features a hardened steel nozzle designed to withstand temperatures of up to 300°C. This allows it to print abrasive carbon-fiber-infused filaments like PLA-CF and PETG-CF, as well as higher-temperature materials such as ASA and PC.
AI Camera: The K1C comes equipped with a built-in AI camera, allowing for remote print monitoring.
Pros:
Built-in Camera: The K1C’s integrated camera enables you to monitor your prints remotely.
Affordable Price: The K1C offers good value for its features.
Impressive Print Quality: It delivers high-quality prints.
Cons:
Single Color Printing Only: Unfortunately, the K1C supports only single-color printing.
Noise Level: Some users find it noisy during operation.
Filament Change Hassles: Swapping filament can be frustrating due to the design of the hot end.
Verdict:
The Creality K1C is an excellent choice for beginners due to its shallow learning curve. It’s reliable, fast, and versatile in terms of filament compatibility.
If you’ve recently purchased a Creality K1, don’t be disheartened—the K1C brings significant improvements and enhancements to the table .
Remember, the “C” in K1C stands for Carbon, emphasizing its capability to handle carbon-fiber-infused filaments and higher temperatures. So, whether you’re a newcomer or an experienced user, the K1C offers a compelling package for your 3D printing needs.
IMG Source: tinymachines3d.com
In conclusion, the power supply of the Creality K1C 3D printer is a critical element that requires careful attention to ensure smooth and efficient printing operations. By following the recommended installation procedures, checking power settings, and troubleshooting common power supply issues, you can maintain the performance and reliability of your K1C. Remember that proper handling of the Creality K1C power supply not only safeguards your equipment but also contributes to the overall printing experience.
If you encounter persistent power supply issues, don’t hesitate to reach out to Creality’s customer support for guidance and assistance.