The Ultimate Guide to Creality K1C Electronics Board
Welcome to the world of cutting-edge 3D printing with the Creality K1C. Dive into an in-depth exploration of this innovative printer, specifically focusing on its remarkable features and functionalities, including the all-metal extruder kit and the Unicorn nozzle. Discover how the K1C enhances your printing experience and unlocks a realm of possibilities for your projects.
Stay tuned as we unravel the intricacies of the Creality K1C, starting with its impressive extrusion capabilities and robust construction.
Elevate Your Creality K1C Experience
The Creality K1C 3D printer features an all-metal extruder kit that ensures clog-free extrusion for up to 1000 hours. The extruder is equipped with a bolster spring and a ball plunger, providing a secure grip on the filament without slackening off. Additionally, the integrated “Unicorn” nozzle with a heat break effectively prevents heat creep and allows for easy one-handed nozzle replacement.
If you’re looking to elevate your projects with enhanced mechanical properties and durability, the K1C is designed to work seamlessly with carbon fiber materials. Its robust construction and reliable electronics make it a great choice for various applications.
For those interested in the K1C motherboard pinout, there’s a helpful resource available on GitHub that provides detailed information, including pin names. You can find it here. This should assist you in adding Neopixels or any other custom modifications to your K1C.
Creality K1C Printer Specifications
Let’s delve into the specifications and compatibility of the Creality K1C 3D printer:
Here’s a brief guide on installing the electronics board for the Creality K1C 3D printer:
Unboxing and Initial Setup:
Begin by unboxing your Creality K1C printer. Follow the steps outlined in the user manual to unpack it carefully.
Make sure you have all the components listed in the packing list.
Install the Product:
Select your preferred language on the printer’s screen and proceed.
Remove the three screws (labeled a, b, and c) as indicated by the yellow arrow in the figure.
Keep the blue cube area clean from debris and then click “OK” on the screen.
Power-On Guide:
Connect the printer to a grounded three-prong power outlet using the provided power cable.
Avoid placing the printer near heat sources or flammable objects.
Ensure the printer is in a well-ventilated, cool, and dust-free environment.
Do not touch the nozzle or heated bed during operation to prevent burns.
Clean the printer body regularly after powering it off to remove dust and debris from the guide rails.
First Printing:
Explore different printing options:
USB Flash Disk Printing: Load your 3D model files onto a USB flash drive and print directly from it.
LAN Printing: Set up network printing via LAN.
Creality Cloud Printing: Utilize Creality’s cloud service for printing.
Maintenance Tips:
Regularly maintain and clean the printer:
Lubricate moving parts as needed.
Use and maintain the flexible platform.
Clean debris inside the chassis.
Follow safety precautions to avoid injury or damage.
Troubleshooting:
Refer to the user manual for troubleshooting guidance.
Address error codes and common issues.
Remember to consult the detailed Creality K1C User Manual for comprehensive instructions and safety precautions. If you encounter any problems, feel free to contact Creality’s support team using the provided phone number or email address.
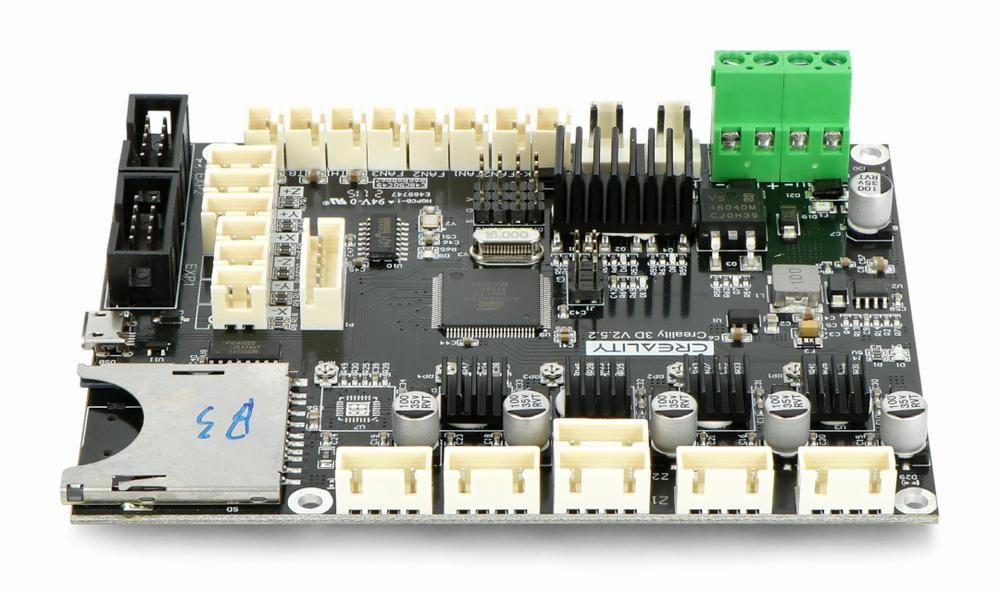
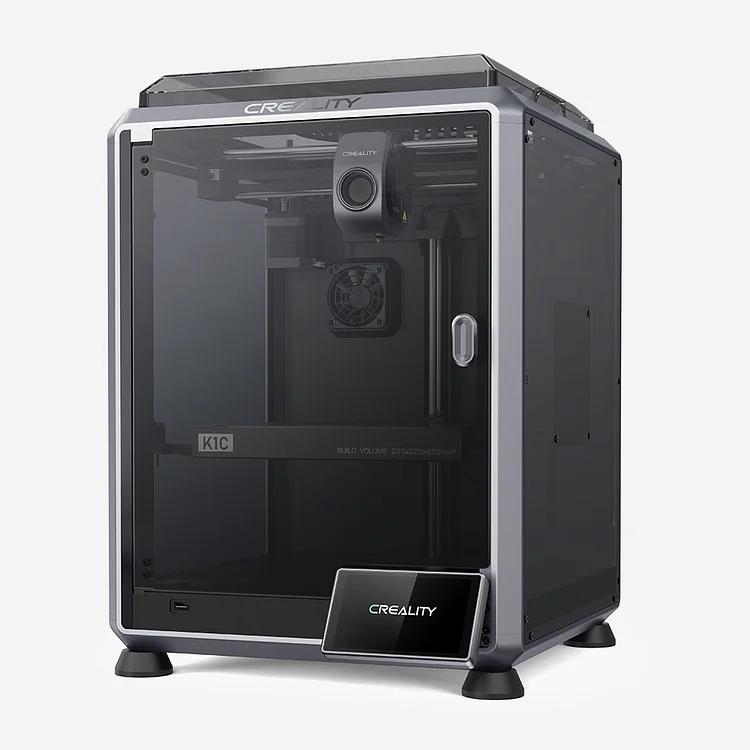
!Creality K1C
IMG Source: th3dstudio.com
Creality K1C 3D Printer Features
The Creality K1C 3D printer is a remarkable machine with several features that make it stand out. Let’s delve into its software compatibility and other aspects:
Software and Firmware:
Creality provides official software and firmware for the K1C Carbon 3D Printer. You can download them from their official website.
The Creality OS is an open-source operating system designed for their printers.
Additionally, Creality Print offers more than just slicing capabilities—it’s a comprehensive software solution.
For an engaging online community experience, check out Creality Cloud.
Third-Party Compatibility:
The Creality K1C is compatible with various third-party software platforms:
SimplyPrint: Yes, the K1C works with SimplyPrint .
OctoPrint: It is compatible with OctoPrint.
Mainsail: You can use Mainsail with the K1C.
Fluidd: Fluidd is another compatible option.
Hardware Features:
The K1C features an all-metal extruder kit, ensuring clog-free extrusion for up to 1000 hours.
The extruder’s design, bolstered by a spring and a ball plunger, provides a secure grip on the filament.
The integrated “Unicorn” nozzle with a heat break effectively prevents heat creep and allows for easy one-handed nozzle swaps.
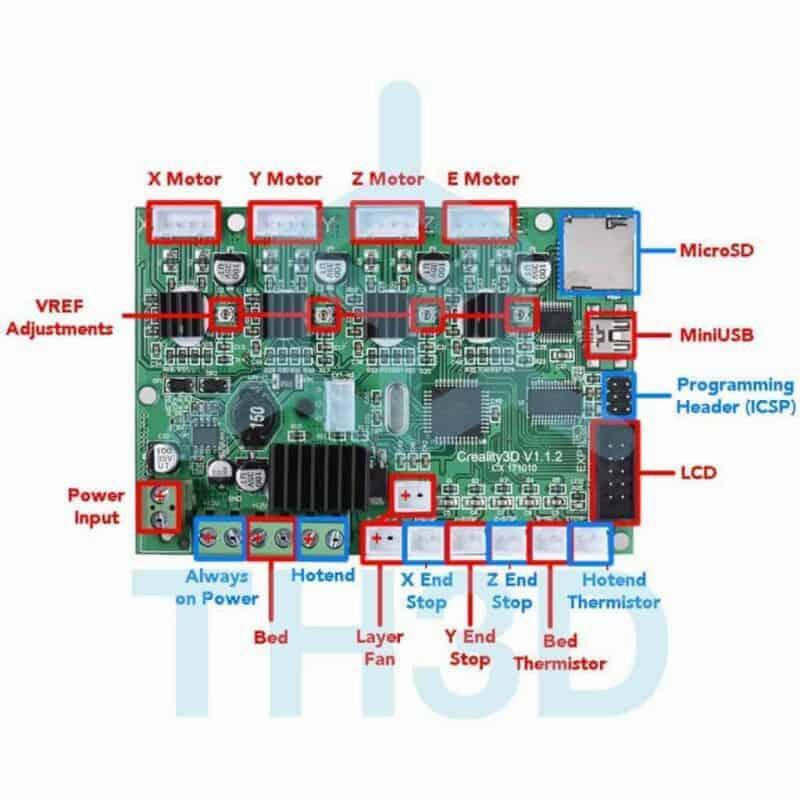
IMG Source: sainsmart.com
Maintenance Tips for Creality K1C Electronics Board
Proper maintenance of the Creality K1C electronics board is crucial for optimal performance. Here are some essential steps to keep your printer running smoothly:
Regular Cleaning:
To maintain optimal performance, it’s essential to conduct regular cleanup within the machine. This practice safeguards against any hindrance to its operation. Make sure to clean the electronics board before every print session.
Lubrication and Maintenance:
Lubricate moving parts as recommended by the manufacturer. Proper lubrication ensures smooth movement and prevents wear and tear.
Regularly inspect and tighten any loose connections on the electronics board.
Flexible Platform Maintenance:
If your printer has a flexible build platform, follow the manufacturer’s guidelines for its use and maintenance. Ensure it remains clean and free from debris.
Debris Removal:
Occasionally, debris may accumulate inside the printer chassis. Inspect and clean any dust or foreign particles that might affect the electronics board’s functionality.
Remember to consult the official Creality K1C user manual
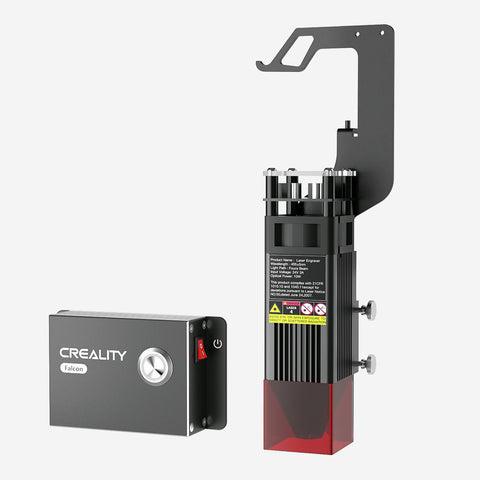
IMG Source: fantaskycdn.com
In conclusion, maintaining the Creality K1C Electronics Board is paramount for ensuring peak performance and longevity of your 3D printer. By following the essential steps outlined in this guide, such as regular cleaning, lubrication, and flexible platform maintenance, you can prolong the lifespan of your electronics board and optimize its functionality. Remember, a well-maintained electronics board is key to achieving consistent and high-quality prints with your Creality K1C.
For more detailed instructions and troubleshooting tips, refer to the official Creality K1C user manual. Keep creating with confidence and precision with your Creality K1C 3D printer.