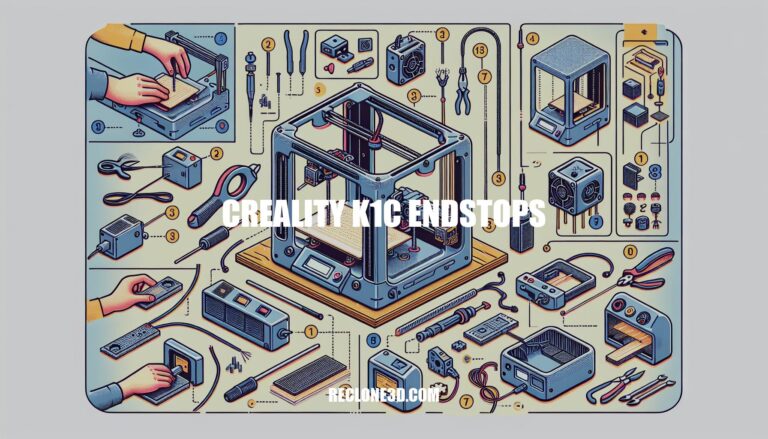
Discover the intricate world of Creality K1C endstops and how they play a pivotal role in optimizing your 3D printing experience. Delve into the nuances of endstops and their significance in ensuring precise positioning and preventing potential mishaps with your Creality K1C printer.
Understanding K1C Endstops
The Creality K1C is an intriguing 3D printer, and understanding its components can enhance your printing experience. Let’s delve into the topic of endstops for the K1C.
Endstops Overview:
Endstops are sensors or switches that help determine the position of the printer’s moving parts, such as the X, Y, and Z axes.
When the printer’s carriage reaches a specific point, the endstop triggers, signaling the printer to stop or change direction.
K1C Endstops:
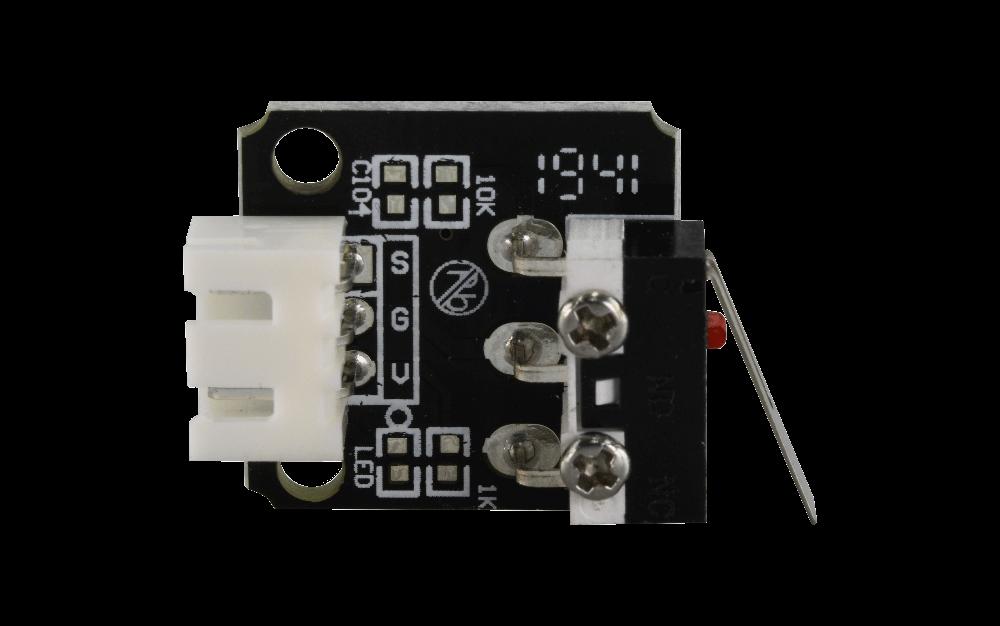
The K1C likely features limit switches as endstops. These switches are positioned at the extreme ends of each axis.
They serve as safety measures to prevent the printer from moving beyond its intended range.
If the carriage reaches an endstop, the printer stops to avoid collisions or damage.
Fine-Tuning Endstops:
Some users have experimented with adjusting endstop values to optimize performance.
For precise tuning, you can refer to the PDF sheet for K1 X-Y motors.
Additionally, there’s an Excel tool provided in this video that might help you find suitable values for your K1C.
Motor Database:
While the database for K1C motors might not be readily available, consider exploring the klipper_tmc_autotune repository. It could be a valuable resource for motor tuning.
Print Quality and Motor Settings:
Some users have reported low-speed artifacts in their prints, possibly related to XY motors or driver settings.
Experimenting with different motor values, such as reducing current, may help mitigate these issues.
Keep an eye on print quality and motor temperatures during adjustments.
Installing Endstops on Creality K1C 3D Printer
Let’s walk through the installation of endstops on your Creality K1C 3D printer. Endstops are crucial for accurate positioning and preventing the print head from crashing into the printer frame. Here are the steps to install them:
Unboxing and Preparation:
Begin by unboxing your Creality K1C printer.
Make sure you have all the necessary components, including the endstops.
Locate the Endstop Connectors:
Identify the endstop connectors on your printer’s control board. These connectors are usually labeled and color-coded.
You’ll find one for the X-axis, one for the Y-axis, and another for the Z-axis.
Mounting the Endstops:
Attach the endstops to the appropriate positions on your printer’s frame:
X-axis: Mount the endstop near the left side of the X-axis rail.
Y-axis: Place the endstop near the back of the Y-axis rail.
Z-axis: Install the Z-axis endstop at the top or bottom of the Z-axis rail, depending on your printer’s design.
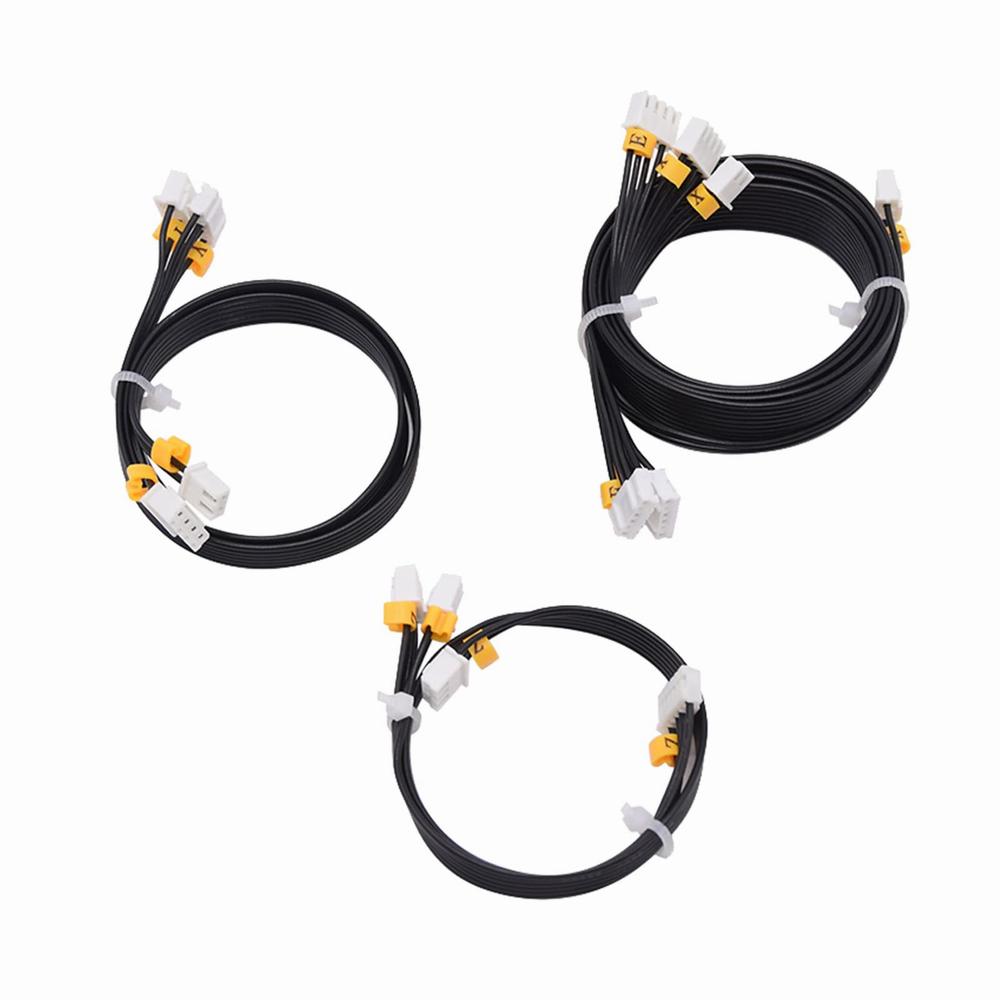
Wiring:
Connect the endstop wires to the corresponding connectors on the control board.
Typically, the wires are color-coded:
Red: +5V (power)
Black: Ground (GND)
White or Yellow: Signal (SIG)
Adjustment and Testing:
Position the print head near each axis’s endstop.
Manually trigger the endstop by pushing the lever or button.
Observe the printer’s response in the software interface. The endstop should halt the movement when triggered.
Fine-Tuning:
If necessary, adjust the endstop position to ensure precise alignment.
Use a small screwdriver to adjust the endstop switch position or lever.
Repeat for Each Axis:
Follow the same steps for the X, Y, and Z axes.
Calibration:
After installing the endstops, perform a calibration test to verify their accuracy.
Home the printer and check if the print head stops precisely at the endstops.
Remember to consult your Creality K1C user manual for specific details and any additional instructions
IMG Source: ifixit.com
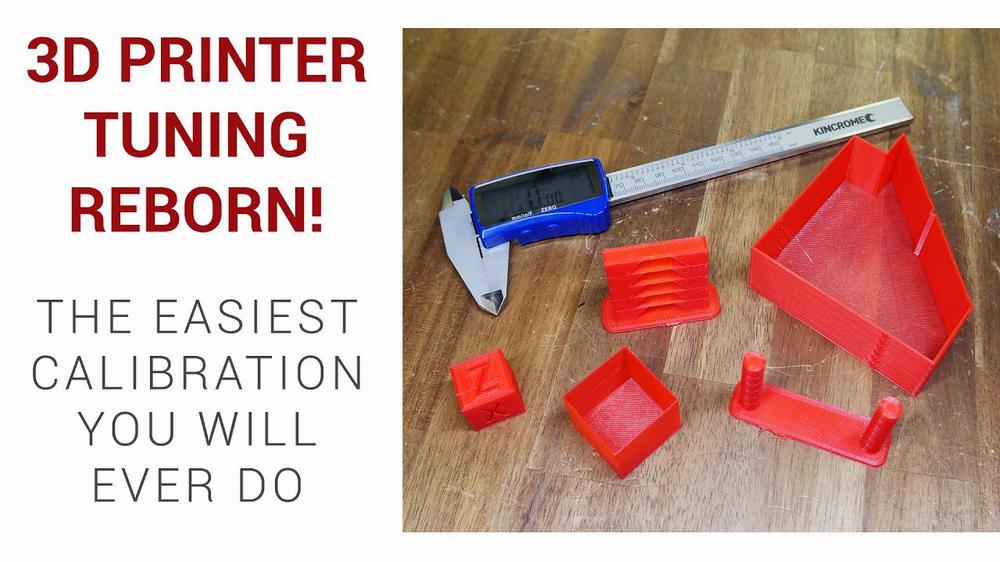
Calibrating Endstops on Creality K1C Printer
Calibrating the endstops on your Creality K1C printer is essential for achieving precise print head positioning. Let’s break down the steps to help you achieve accurate results:
Initial Layer Height:
Ensure that your initial layer height is set correctly. Typically, a value around 0.20 mm works well for most prints.
E-Steps Calibration:
The E-steps (extruder steps) determine how much filament your printer extrudes with each motor step. To calibrate this:
Locate your printer configuration file (usually named printer.cfg).
Look for the section labeled [extruder].
Adjust the rotation_distance value based on the corrected E-steps. You can use an online calculator like this one.
Remove the extruder motor and trim the filament flush with the bottom of the motor.
Print Slicer Settings:
Use the Creality Print slicer software, which is specifically designed for Creality printers. Ensure that you have the following settings:
Printer: K1 or K1C.
Filament: PLA.
Nozzle: 0.4 mm.
Fill density: 15%.
Print Environment:
Make sure your printer is in a stable environment with minimal vibrations.
Check that the print bed is level and properly calibrated.
IMG Source: ytimg.com
Maintaining Creality K1C Endstops
The Creality K1C is a fascinating 3D printer with some impressive features. Let’s delve into what you need to know about maintaining its endstops:
Auto Calibration with One Tap: The K1C offers auto calibration with just a single tap, making it convenient for precise bed leveling and ensuring optimal print quality.
Reliable Extrusion: To maintain the endstops, ensure that the extruder assembly is clean and free from any clogs or debris. Regularly inspect the nozzle and feed mechanism to prevent filament jams.
Quick-swap Tri-metal Nozzle: The K1C features a tri-metal nozzle, which allows for quick nozzle changes. If you notice any wear or damage to the nozzle, consider replacing it to maintain consistent extrusion.
Max Printing Speed of 600mm/s: While the K1C boasts an impressive maximum printing speed, it’s essential to strike a balance between speed and print quality. Regularly check the endstops during high-speed prints to ensure they function correctly.
Support for Carbon Fiber Filaments: If you’re using carbon fiber filaments, pay extra attention to the endstops. Carbon fiber can be abrasive and may cause wear over time. Inspect and clean the endstops periodically to prevent any issues.
For more detailed information, you can also explore teardown videos like this one: Creality K1C Full Teardown.
IMG Source: plentymarkets.com
Enhancing Your Creality K1C 3D Printing Experience
The Creality K1C is an intriguing 3D printer, and optimizing it for precise results is essential. Let’s delve into some strategies to enhance your printing experience:
Calibration:
Out-of-the-box Setup: You mentioned that you followed the instructions for startup and calibration without changing any settings. This is a good starting point.
Benchy Test: The pre-loaded Benchy model turned out impressively clean. Minor strings were observed, but overall, z-seams and overhangs were well-handled.
Speed Test: The built-in 600S speed test showcased impressive results, although there was an interesting gap in one corner. Investigate cooling or vibration issues in that area.
VFA Calibration: Using OrcaSlicer, perform VFA tests at different speeds (40-200 mm/s and 200-300 mm/s) with Creality CF-PLA.
K1C Enhancements:
Balanced Hotend and Part Cooling Fans: The K1C features dynamically balanced fans, reducing wobbling and minimizing issues like ringing or ghosting.
Stability: Given that your table shakes at high speeds, consider placing the printer on a more stable surface.
Cooling: Investigate cooling settings to address any gaps observed during the speed test.
Engineering Aspirations:
Leverage the K1C’s capabilities for nozzle temperature, material options, and technology perks.
Experiment with different materials and speeds to find the sweet spot for your specific projects.
IMG Source: media-amazon.com
In conclusion, mastering the calibration and maintenance of your Creality K1C endstops is essential for achieving impeccable print results. By understanding the nuances of endstop installation, tuning, and calibration, you can elevate your printing quality to new heights. Stay vigilant in monitoring your endstops, fine-tuning settings, and exploring advanced techniques to unleash the full potential of your Creality K1C printer.
Embrace the world of Creality K1C endstops and unlock a realm of precise, high-quality 3D printing like never before.