Ultimate Guide to Creality K1C Cooling Fans

Ultimate Guide to Creality K1C Cooling Fans

Are you looking to optimize the performance of your Creality K1C 3D printer by enhancing its cooling system? The efficient operation of cooling fans is essential for maintaining print quality and preventing overheating. Let’s delve into the world of Creality K1C cooling fans to discover how they contribute to your printing experience and explore some useful tips for fan installation and maintenance.

Creality K1C 3D Printer Cooling Fan Setup

The Creality K1C 3D printer features several cooling fans to maintain optimal printing conditions. Let’s explore the fan setup:

  1. Side Cooling Fan: The K1C has a side cooling fan. However, it seems to be causing issues with Silk filament, resulting in support failures on the fan side. If you’re primarily printing with regular PLA, you can consider adjusting the temperature and potentially removing the fan altogether. Keep in mind that this fan can be quite loud.

  2. Housing Fan: The printer also includes a housing fan. Unfortunately, I don’t have specific details about its purpose or location, but it likely contributes to overall cooling and ventilation.

  3. Print Head Fan: The print head features its own fan (referred to as P0). This fan plays a crucial role in cooling the printed layers during the printing process.

Remember that balancing cooling and warping is essential, especially for larger build volumes like the K1C. If you’re experiencing excessive noise from the fans, consider adjusting their speeds or exploring alternative profiles to find a balance that works for your printing needs

Types of Cooling Fans in 3D Printers

Let’s explore the different types of cooling fans commonly used in 3D printers:

  1. Hot-End Fan: This fan is positioned near the hot end (extruder) of the printer. Its primary purpose is to cool the heat sink attached to the hot end. By dissipating excess heat, it ensures consistent filament flow and prevents clogs.

    The hot-end fan is crucial for maintaining print quality and preventing filament jams .

  2. Part Cooling Fan (Layer Fan): The part cooling fan is responsible for cooling the printed layers as they are deposited. It helps solidify the material quickly, reducing warping and improving overall print quality. This fan blows air directly onto the printed object during the printing process .

  3. Control Board Fan: Located on the printer’s control board, this fan prevents overheating. It ensures stable operation by dissipating heat generated by the electronics components. Without proper cooling, the control board could malfunction or even fail .

  4. Power Supply Fan: The power supply unit (PSU) fan keeps the power supply cool during long printing sessions. It’s essential for preventing overheating and ensuring safe operation .

  5. Enclosure Fan (Chamber Fan): Some 3D printers have enclosures to maintain a stable printing environment. The enclosure fan regulates the temperature inside the chamber. It helps prevent temperature fluctuations that could affect print quality .

  6. Radial Fans (Axial Fans): These fans have blades that rotate around an axis, moving air parallel to the rotation axis. Radial fans are commonly used in desktop 3D printers for part cooling. They efficiently direct airflow onto the printed layers .

  7. Blower Fans: Blower fans, also known as centrifugal fans, have a different design. They draw air in from the sides and expel it radially. Blower fans are often used for cooling the hot end and electronics components.

    They provide more focused airflow but may be noisier than radial fans .

3D printed part to improve cooling of 3D printed parts.

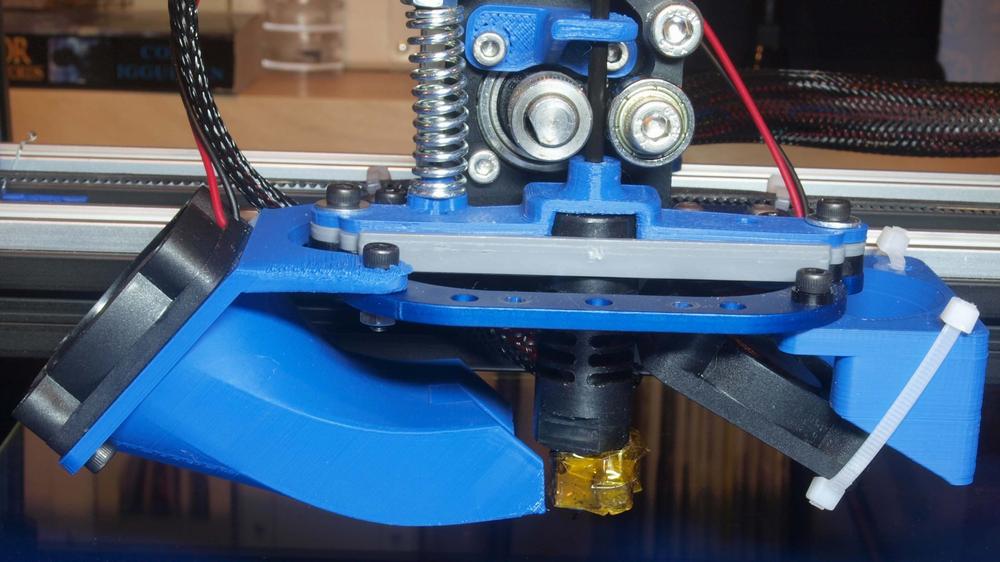
IMG Source: all3dp.com


Installing Cooling Fans for Creality K1C 3D Printer

Here’s a brief guide on installing cooling fans for your Creality K1C 3D printer:

  1. Understanding the Printer:

    • Familiarize yourself with the printer specifications and components. Refer to the Creality K1C User Manual for detailed information.
    • Make sure you have all the necessary tools and parts ready.
  2. Fan System Overview:

    • Creality has redesigned the fan systems on the toolhead for the K1C. These include:
      • Hotend Fan: Cools the heatbreak.
      • Part Cooling Fan: Cools the printed part.
    • These fans are now dynamically balanced to minimize wobbling, which helps reduce ringing or ghosting in your prints.
  3. Installation Steps:

    • Hotend Fan:
      • Locate the hotend fan mount on the toolhead.
      • Attach the fan securely using the provided screws.
      • Connect the fan’s wires to the appropriate connectors on the control board.
      • Ensure proper airflow direction (usually blowing towards the heatbreak).
    • Part Cooling Fan:
      • Identify the part cooling fan mount near the nozzle.
      • Install the fan using the provided screws.
      • Connect the fan’s wires to the control board.
      • Confirm that the fan blows air directly onto the printed part.
    • Power-on Guide:
      • After installation, power on the printer and verify that both fans are functioning correctly.
  4. Maintenance Tips:

    • Regularly clean the fans and remove any accumulated dust or debris.
    • Lubricate moving parts as needed.
    • Follow safety precautions mentioned in the user manual to avoid injury or damage.

Remember to consult the official Creality K1C User Manual

For more advanced modifications or troubleshooting, you can explore the Creality K1 Series Wiki on GitHub.

A close-up of a 3D printers hot end, which is the part that melts the filament and extrudes it onto the build platform.

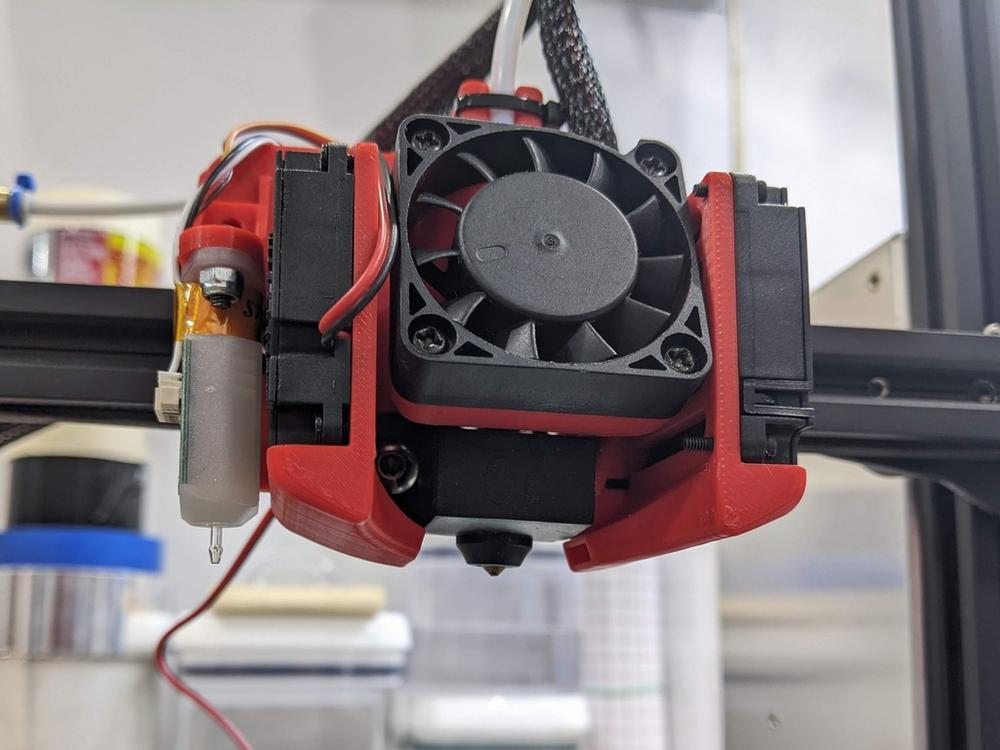
IMG Source: cults3d.com


Tips for Properly Maintaining Cooling Fans

Properly maintaining your cooling fans is essential for optimal performance and longevity. Here are some tips to keep your fans running smoothly:

  1. Choose the Right Fans:

    • When selecting fans for your PC, consider the following factors:
      • Size: Larger fans (such as 120mm or 140mm) can move the same amount of air as smaller fans but at lower RPM, making them quieter.
      • Speed: Faster fans move more air, but slower fans are quieter. Adjust fan speed using compatible motherboard settings or a fan controller.
      • Airflow vs. Static Pressure: Airflow-optimized fans are quieter and ideal for unrestricted areas (like the front of your case). Static pressure fans are designed for more restricted airflow areas (e.g., radiators or CPU coolers with many fins) but may not significantly benefit standard air-cooled builds.
  2. Monitor Temperatures:

    • Use software tools or BIOS settings to monitor system temperatures. Adjust fan speed if necessary.
  3. Regularly Clean Your Fans:

    • Dust and debris can accumulate on fan blades, reducing efficiency. Regularly clean your fans to maintain optimal airflow.
  4. Avoid Obstructing Airflow:

    • Ensure there are no obstructions blocking the intake or exhaust of your fans. Proper airflow is crucial for effective cooling.
  5. Fan Placement:

    • Install fans as close to the radiator or heat source as possible to maximize cooling efficiency.
  6. Invest in Proper Wiring and Relays:

    • Ensure your fan wiring is secure and properly connected. Faulty wiring can lead to fan malfunctions.

Remember, maintaining cooling fans is essential for efficient operation and preventing overheating. Regular cleaning and proper placement will help keep your system cool and running smoothly.

The image shows the airflow inside a computer case, with the exhaust fan at the top and the intake fan at the front.

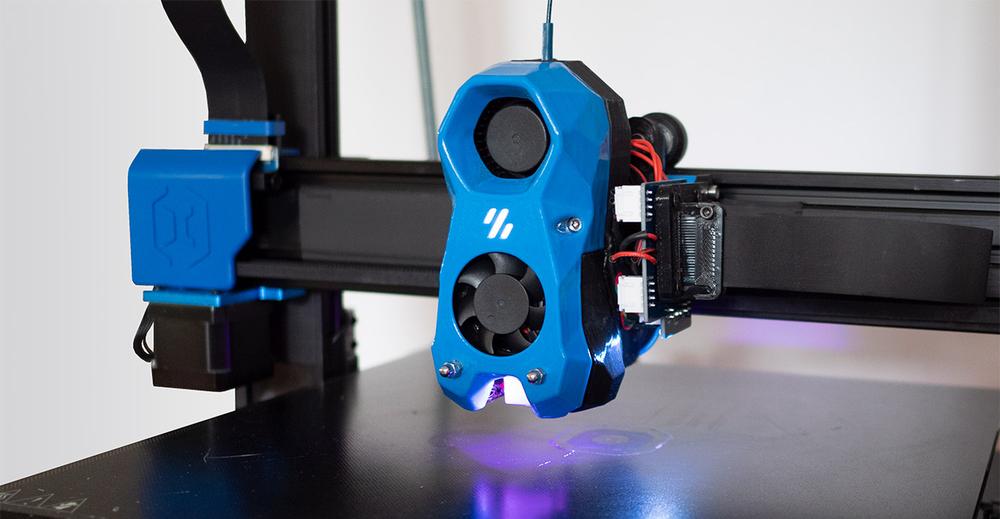
IMG Source: voltapc.sg


3D Printing Fan Upgrades

Improving your 3D printing experience through fan upgrades is a smart move. Let’s dive into the details:

  1. Cooling Fans and Print Quality:

    • PLA Filament: If you’re printing with PLA, cooling fans significantly enhance print quality. They help with better overhangs, bridging, and overall detail. High-quality cooling fans running at 100% speed are recommended for PLA prints.

      Your slicer usually starts the cooling fan after the initial layers to ensure proper adhesion to the build surface.

    • Fan Ducts: Consider upgrading to a proper fan shroud or duct. These direct airflow more effectively, improving cooling efficiency.
  2. Ender 3 Fan Upgrades:

    • The Ender 3 has four main fans:
      • Part Cooling Fan: This fan cools the printed layers as they’re laid down.
      • Hotend Fan: It keeps the hotend cool.
      • Mainboard Fan: Essential for electronics cooling.
      • Power Supply Fan: Keeps the power supply unit cool.
    • Recommended Fan Upgrades:
      • Noctua NF-A4x10 and NF-A4x20: Premium quality, near-quiet fans.
      • Noiseblocker Black Silent 40 x 10 mm: Reliable and ultra-silent.
      • Orion OD4010-24HB: Louder than Noctua but offers better airflow.
    • Fan Ducts: Pair your upgraded fans with 3D printed ducts for optimal cooling.
  3. Advanced Upgrades:

A blue 3D printer is printing a purple object on a black print bed.

IMG Source: 3dpblog.com


In conclusion, the proper care and maintenance of your Creality K1C cooling fans are crucial for ensuring optimal performance and longevity of your 3D printer. By understanding the different types of cooling fans and their roles in the printing process, you can make informed decisions when upgrading or troubleshooting your system. Remember to consult the official Creality K1C User Manual for specific guidance and seek additional support from resources like the Creality K1 Series Wiki on GitHub for advanced modifications.

Incorporating fan upgrades and following best practices for fan installation and maintenance will help you elevate your 3D printing experience with the Creality K1C cooling fans.

Comments

    Leave a Reply

    Your email address will not be published. Required fields are marked *