Welcome to the intriguing world of 3D printing, where precision meets creativity. Today, we’ll delve into the essential component of the Creality K1 printer – the nozzle thermistor. Understanding how this small but critical part functions can make a world of difference in your printing experience.
So, let’s unravel the mystery behind the Creality K1 Nozzle Thermistor and discover how it impacts the temperature control in your printer.
Creality K1 Nozzle Thermistor Guide
The Creality K1 printer’s nozzle thermistor is a crucial component for accurate temperature control. Let’s explore some relevant information:
Temperature Rating:
The Creality K1 hotend is rated to handle temperatures up to 300°C. It comes equipped with an NTC thermistor that is specifically tuned for this printer model, ensuring precise temperature readings without requiring any firmware changes.
Replacement Thermistor:
If you encounter issues with your existing thermistor, you can opt for a direct replacement. Creality offers a 100K thermistor designed for the hot end/nozzle of the CR-10 MAX, which also fits the CR-10S PRO V12/V2 and CR-10 V2.
Troubleshooting Tips:
If you’re experiencing heating problems or temperature-related issues, consider the following steps:
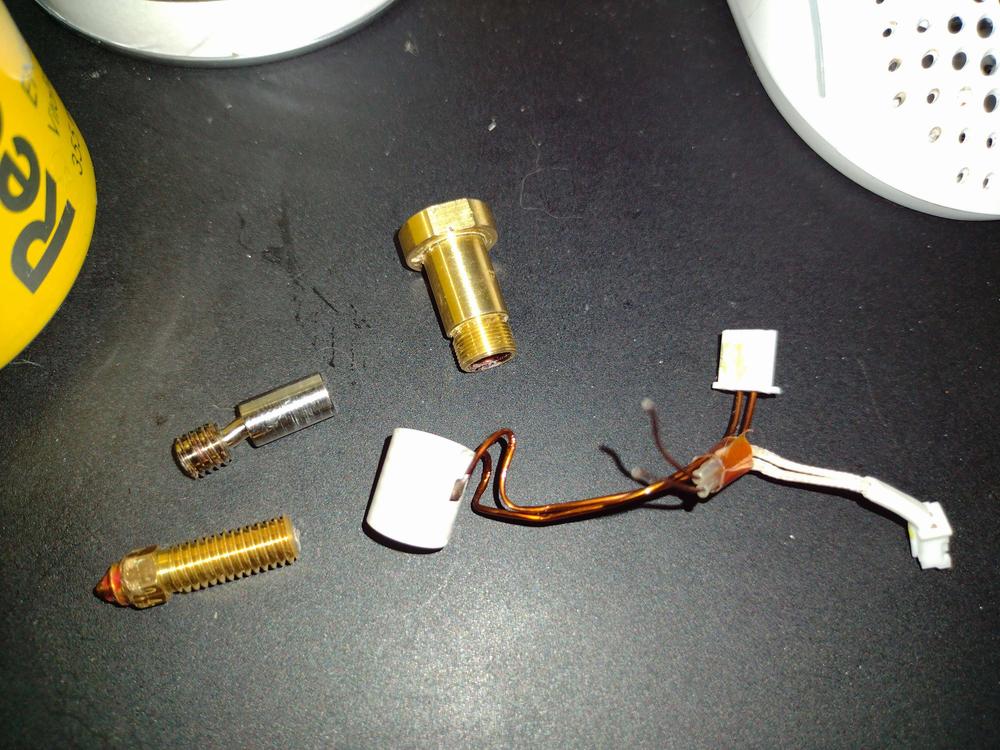
Check the Thermistor Connection: Ensure that the thermistor wires are properly connected to the hotend. Two of the copper wires run to the nozzle for the thermistor, while the other two connect to little square tabs against the white sleeve. These tabs should sit in specific positions on the sleeve.
Avoid Overtightening: When installing or replacing nozzles, be cautious not to overtighten the brass piece that houses the nozzle. Over-tightening can affect the thermistor’s accuracy.
Inspect the Silicone Sock: If you’ve damaged the silicone sock on the heater block, consider replacing the entire heater module. Creality provides replacement parts for this purpose.
Common Signs of Thermistor Issues:
Let’s delve into the fascinating world of 3D printer thermistors
What Does a Thermistor Do in a 3D Printer?
A thermistor is an essential component in Fused Deposition Modeling (FDM) printers. But before we dive into its job, let’s understand what a thermistor actually is.
Definition: A thermistor is short for “Thermal Resistor”. It’s an electrical device whose resistance varies with temperature.
Types of Thermistors:
Negative Temperature Coefficient (NTC) Thermistors: These thermistors exhibit a decrease in resistance as the temperature rises.
Positive Temperature Coefficient (PTC) Thermistors: These thermistors, on the other hand, see their resistance increase as the temperature climbs.
Applications: Due to their sensitivity to temperature changes, thermistors find applications in various temperature-sensitive scenarios, including circuit components and digital thermometers.
How Is a Thermistor Used in 3D Printers?
In the realm of 3D printing, thermistors serve as temperature sensing devices. Here’s how they contribute:
Monitoring Temperature:
Thermistors are strategically placed in temperature-sensitive areas of the printer, such as the hot end and the heated bed.
They continuously monitor the temperature in these regions.
Data Relay:
The thermistor relays this temperature data back to the micro-controller (the brain of the printer).
The micro-controller uses this feedback to control the print temperature and keep it within the desired range.
Replacing and Attaching Thermistors
Fragility:
Thermistors are delicate instruments, and they can break or lose sensitivity easily.
Since they control critical parts of the printer, maintaining them in top condition is essential.
Tricky Removal:
Thermistors are often located in hard-to-reach areas within the printer.
Replacing them can be a bit tricky due to their placement.
Common Signs of Thermistor Issues:
Thermal Runaway:
If the thermistor malfunctions, it may lead to thermal runaway, where the printer’s temperature spirals out of control.
Higher Than Usual Print Temperatures:
An inaccurate thermistor reading can cause the printer to operate at temperatures different from the intended settings.
Recommended Thermistors:
HICTOP 100K ohm NTC 3950 Thermistors
Creality 3D Printer NTC Thermistor Temp Sensor
For more detailed information, you can explore additional resources like this guide
Let’s troubleshoot the Creality K1 nozzle thermistor issues. Here are some common steps you can take to diagnose and address the problem:
Check Thermistor Connection:
Ensure that the thermistor terminal wire is properly plugged in when the nozzle is heated. Sometimes loose connections can cause inaccurate temperature readings.
Inspect Heating Block and Thermistor Wire:
Verify that the ceramic heating block and the thermistor wire of the nozzle are securely attached and not loose.
Look for any signs of damage or wear on the wires. Broken or cracked solder joints can lead to faulty readings.
Tighten the Nozzle:
Make sure the heated nozzle is tightly secured. Loose nozzles can affect temperature accuracy.
Remember to follow safety precautions while handling hot components. If these steps don’t resolve the issue, consider seeking further assistance or referring to the official Creality K1 troubleshooting documentation
IMG Source: redd.it
How Thermistors Enhance 3D Printing
Let’s dive into the world of 3D printer thermistors and explore how they can improve your printing experience.
What Does a Thermistor Do in a 3D Printer?
A thermistor is a crucial component in Fused Deposition Modeling (FDM) 3D printers. But first, let’s understand what a thermistor actually is. Thermistors, short for “Thermal Resistors,” are electrical devices whose resistance varies with temperature.
There are two main types of thermistors:
Negative Temperature Coefficient (NTC) Thermistors: These thermistors exhibit a decrease in resistance as the temperature rises.
Positive Temperature Coefficient (PTC) Thermistors: Their resistance increases with higher temperatures.
The sensitivity of thermistors to temperature changes makes them ideal for applications where precise temperature monitoring is essential. These applications include circuit components and digital thermometers.
How Is a Thermistor Used in 3D Printers?
In 3D printers, thermistors serve as temperature sensing devices. They are strategically placed in temperature-sensitive areas such as:
Hot End: The thermistor monitors the temperature at the hot end where the filament melts.
Heated Bed: It also keeps an eye on the heated bed’s temperature.
Here’s how they function:
The thermistor continuously measures the temperature.
It relays this data back to the printer’s micro-controller.
The micro-controller uses this feedback to control the print temperature and maintain it within the desired range.
Most 3D printers utilize NTC thermistors for their reliability and accuracy.
Replacing and Attaching Thermistors
Thermistors are delicate instruments, so handling them with care is essential. Here are some steps for replacing and attaching thermistors:
Replacing the Thermistor on Your Hot End:
Access the hot end carefully (it might be in a hard-to-reach spot).
Remove the old thermistor.
Attach the new one securely.
Replacing the Thermistor on Your Print Bed:
Similar steps apply to the heated bed thermistor.
Ensure it’s properly connected.
Checking the Resistance of a Temperature Sensor:
Use a multimeter to measure the resistance of the thermistor.
Compare it to the expected value.
Calibrating Your 3D Printer Thermistor:
Calibrate the thermistor to ensure accurate temperature readings.
Detecting a Bad Thermistor:
Signs of a faulty thermistor include thermal runaway or unusually high print temperatures.
Best Thermistor Replacements:
Here are a couple of recommended thermistors for your 3D printer:
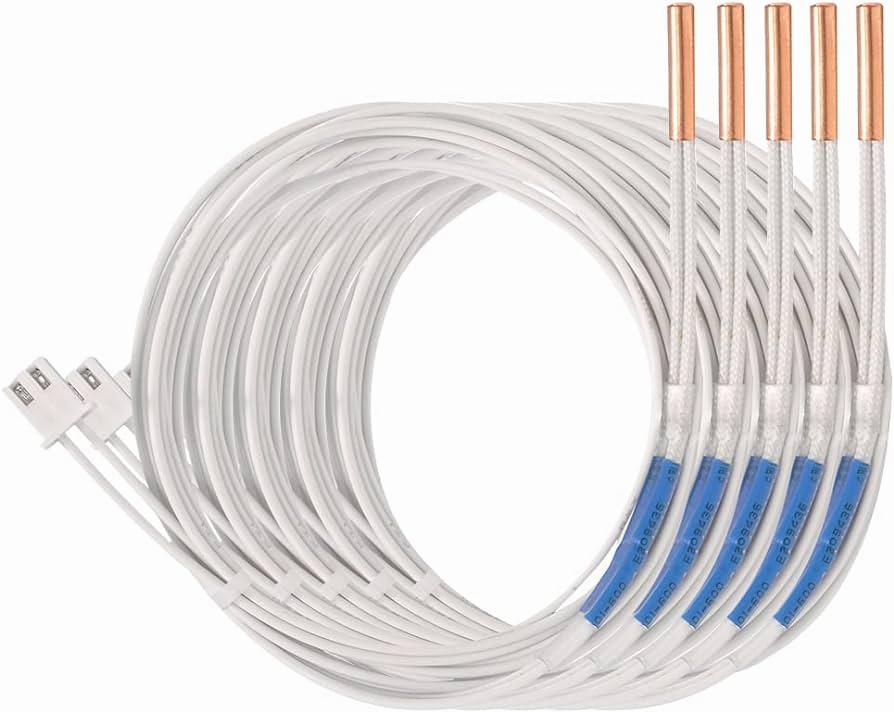
HICTOP 100K ohm NTC 3950 Thermistors
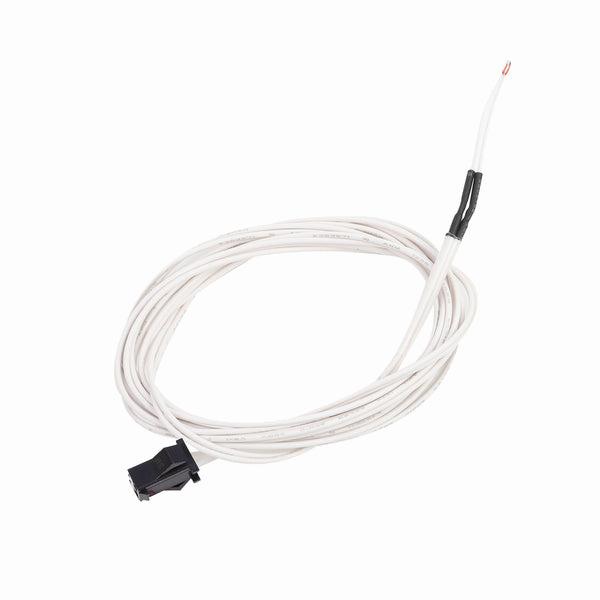
Creality 3D Printer NTC Thermistor Temp Sensor
For more detailed information, you can refer to this guide.
IMG Source: media-amazon.com
Optimizing Nozzle Thermistor on Creality K1 3D Printer
The Creality K1 is a reliable 3D printer, but like any machine, it can benefit from some optimizations. Let’s focus on the nozzle thermistor to enhance its performance:
Check the Temperature Sensor (Thermistor):
Sometimes, heating issues can be traced back to a faulty temperature sensor. Ensure that the thermistor is functioning correctly.
If you encounter heating problems, consider replacing the thermistor with a new one. Lukas03805 had success with this approach.
Avoid Overtightening:
When changing the nozzle, be cautious not to overtighten the brass piece that houses the nozzle where the sensors are attached. Over-tightening can cause issues with temperature readings.
If you’ve recently installed a new nozzle and are experiencing errors, check if the brass piece is securely attached without excessive force.
Inspect the Hotend Assembly:
Make sure the rear heatsink screw is loose enough before fitting the hotend.
Secure the hotend with the two long screws, ensuring it’s not too tightly fastened. Over-tightening can lead to misalignment.
Tighten the rear heatsink screw firmly and then slightly tighten the two long screws.
Thermal Paste Replacement:
By default, Creality K1 hotends come with thermal paste applied under the ceramic heater. However, the stock thermal paste tends to dry out quickly, affecting performance.
Consider replacing the thermal paste under the heater to improve heat conduction.
IMG Source: shopify.com
In conclusion, the Creality K1 Nozzle Thermistor plays a vital role in ensuring accurate temperature control during the printing process. By monitoring and relaying temperature data, this component allows for optimal performance of your 3D printer. Remember, proper maintenance, timely replacement, and troubleshooting can help address any thermistor-related issues you may encounter.
By following the recommended steps and understanding the significance of the Creality K1 Nozzle Thermistor, you can enhance the efficiency and quality of your printing projects. Embrace the power of technology and unleash your creativity with a well-maintained and calibrated thermistor in your Creality K1 printer.