The Creality K1 Filament Sensor is a critical component for 3D printing enthusiasts, offering essential functions that enhance printing precision and efficiency. From disassembly insights to advanced modifications, this article explores various aspects related to the Creality K1 Filament Sensor to help you optimize your printing experience.
Exploring Creality K1 Filament Sensor Aspects
The Creality K1 Filament Sensor is an essential component in 3D printing. Let’s explore some aspects related to it:
Disassembly and Simplicity:
If you’re curious about what’s inside the filament sensor, Omran Al Sayed has a helpful video where he disassembles it to reveal its simplicity. You’ll gain a better understanding of your machine and improve your printing skills. Just be cautious when opening it, as the spring-loaded parts might fly off.
The video is part of Omran’s series on the Creality K1, which aims to fill the gap in tutorials for this printer.
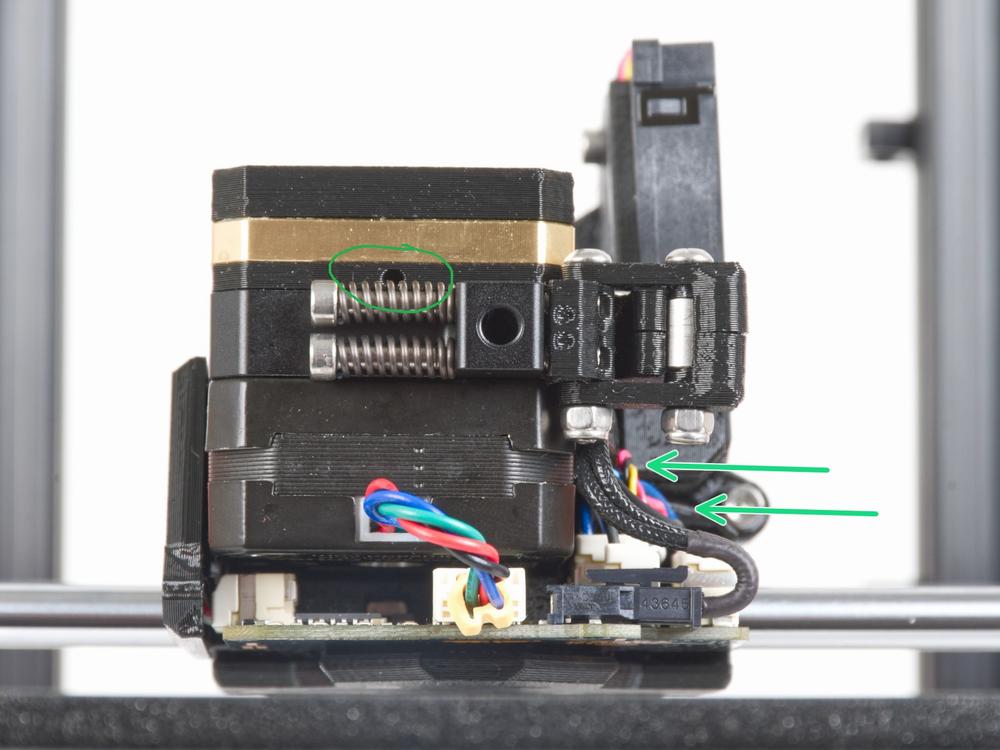
Filament Sensor Relocation:
If you’re considering relocating the filament sensor, follow these steps:
Unplug the filament sensor.
Gently place your printer on its left side.
Unscrew the printer feet and the 2 screws holding the bottom panel.
Remove the 2 screws from the rear top of the right side panel that holds the panel to the frame.
Filament Holder and Sensor v2.0:
Creality also offers an improved version of the filament holder and sensor (v2.0):
The plates are now 6 mm thick (reduced from 8 mm).
The coil axis is inserted 5 mm deeper.
Aesthetic perforations have been added.
The sensor mounting holes are centered.
The filament guide hole aligns with the sensor.
Print options and materials are specified for this upgrade.
Filament Sensor Mod by Way2Do:
This mod allows you to use a side spool holder or print directly from a filament dryer, even from the back or side of the printer.
No need to change the filament sensor cable or make other mechanical adjustments.
You’ll need two M3x5 screws to mount the mod.
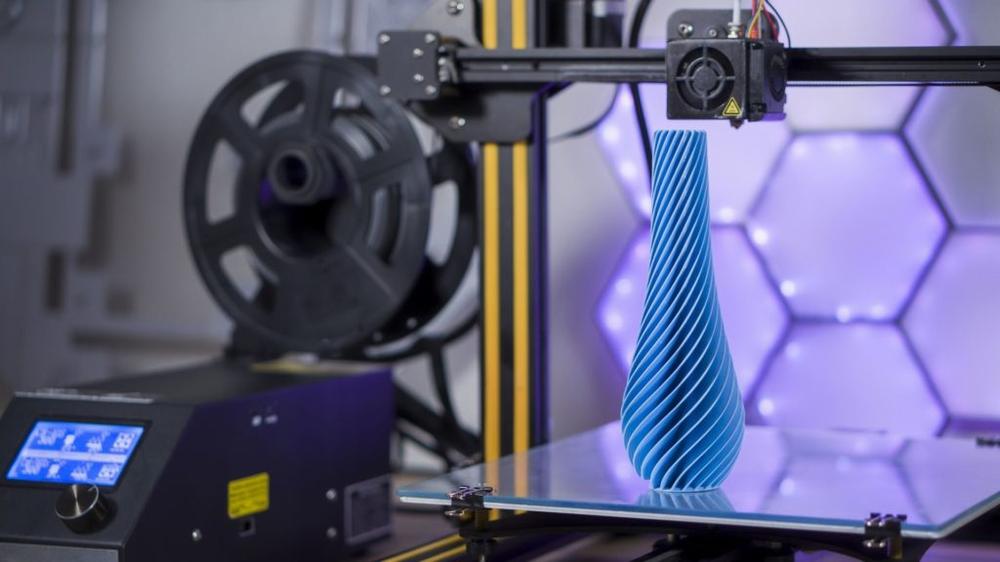
Advantages of Filament Runout Sensors
Filament runout sensors play a crucial role in 3D printing, especially for large prints. Let’s explore their advantages:
Avoid Print Failures: Filament runout sensors detect when your printer runs out of filament. This prevents print failures due to unexpectedly empty spools. Imagine investing hours into a large print only to discover that it stopped midway because the filament ran out!
With a sensor, you’ll be alerted in time to reload filament and continue printing.
Time and Cost Savings: Filament sensors save you time and money. When a runout is detected, the printer pauses, allowing you to replace the empty spool. Once you load a new spool, printing resumes from where it left off.
This eliminates wasted time and material, especially for lengthy prints.
Prevent Clogs and Jams: Filament sensors also help prevent clogs and jams. When filament runs out, the printer stops extruding, reducing the risk of nozzle blockages. This ensures smoother printing and minimizes maintenance hassles.
Compatible with Various Printers: You don’t need an expensive printer to benefit from a filament runout sensor. Even budget-friendly models like the Creality Sermoon D1 come equipped with this feature.
IMG Source: filamatrix.com
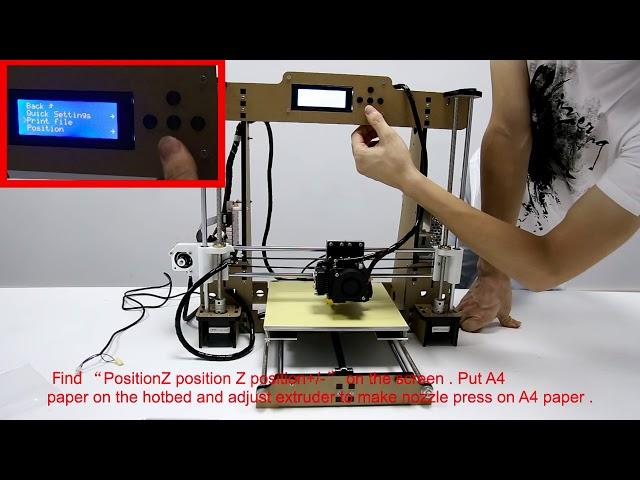
3DTouch Auto Leveling Sensor Installation Guide
Let’s dive into the installation guide for a 3D printer auto leveling sensor. Specifically, I’ll provide instructions for the 3DTouch Auto Leveling Sensor, which is widely used and compatible with various 3D printers.
3DTouch Auto Leveling Sensor Installation Guide
1. Introduction
The 3DTouch is an auto leveling sensor designed to precisely measure the tilt of your print surface. By integrating this sensor into your 3D printer, you can significantly improve printing precision. Here are some key features:
Compatibility: 3DTouch works with various bed materials, including glass, wood, and metal.
Smart Functions: It offers self-testing, false alarm detection, and test mode for M119.
High Precision: The standard deviation in repeatability is around 0.005mm.
Troubleshooting 3D printer sensor issues can be a bit tricky, but I’m here to help. Let’s dive into some common problems related to 3D printer sensors and their potential solutions:
Reload the conductive filament into the 3D printer.
If the problem persists, disassemble and clean your 3D printer’s feeder mechanism.
Try reducing the tension of the feeder.
Stringing and Oozing:
Symptoms:
Thin strings of filament connecting different parts of your print.
Possible Solutions:
Retraction Settings:
Adjust retraction settings in your slicer software.
Increase retraction distance and speed to minimize stringing.
Enable “coast” or “wipe” features if available.
IMG Source: prusa3d.com
Sensor Maintenance Tips
Sensor maintenance is crucial for ensuring optimal performance and accurate measurements. Whether you’re dealing with camera sensors or other types of sensors, here are some essential tips to keep them clean and functional:
Camera Sensor Cleaning:
Regular Cleaning: Dust and debris can accumulate on camera sensors over time, leading to spots in your images. Use a soft brush or blower to remove dry dust from the sensor surface. Be gentle and avoid touching the sensor directly.
Wet Cleaning: If dry cleaning isn’t sufficient, consider wet cleaning using specialized sensor cleaning solutions and swabs. Follow manufacturer instructions carefully.
Automatic Cleaning at Shutdown: Configure your camera to run a cleaning cycle each time it powers down. This helps maintain sensor hygiene after every use.
Preventive Measures: Power off your camera before changing lenses to reduce static attraction to dust particles.
General Sensor Maintenance:
Keep It Clean: Regularly remove debris and oil from sensors. Proper cleaning methods are essential for maintaining all moving parts’ functionality.
Calibration: Calibrate sensors periodically by comparing them to correctly functioning reference instruments.
Proper Storage: When not in use, store sensors carefully to prevent damage or contamination.
IMG Source: adorama.com
In conclusion, the Creality K1 Filament Sensor proves to be a valuable asset in the world of 3D printing, offering not only accurate filament detection but also opportunities for customization and improvement. Whether you’re exploring disassembly tutorials, considering sensor relocation, or upgrading to the latest version, the information provided here aims to empower you in maximizing the potential of your 3D printer. By delving into the intricacies of filament sensors and their benefits, you can elevate your printing projects and delve deeper into the fascinating realm of additive manufacturing.