
Do you own a Creality K1 3D printer and find yourself grappling with extrusion issues? The Creality K1 extruder problem is a common concern among users, but fret not! In this article, we will explore effective solutions and techniques to troubleshoot and optimize your Creality K1’s extruder.
From upgraded extruders to STL file modifications, we’ve got you covered with practical advice to enhance your printing experience.
The Creality K1 3D printer’s extruder has been a topic of interest for many users. If you’ve encountered extrusion issues with your Creality K1, there are ways to address them. Here’s what you can do:
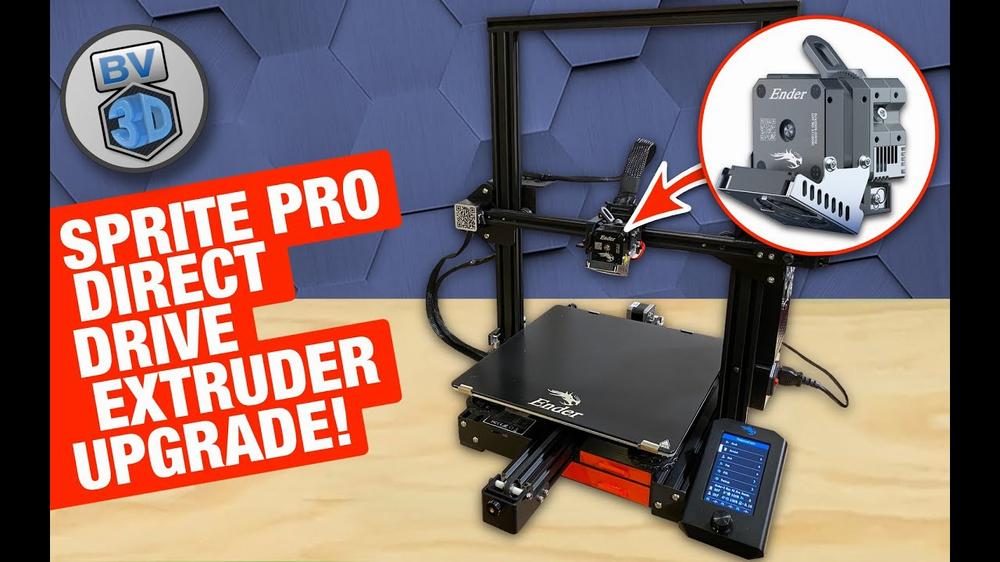
Upgraded Extruder Fix: In a helpful video by CHEP, Chuck demonstrates how he fixed his Creality K1 printer that faced extrusion problems. He walks you through the process of replacing the extruder and even provides tips on distinguishing between a good and a problematic extruder. You can watch the video here.
STL File Modification: If you’re into 3D printing and want to enhance your Creality K1’s extruder, there’s a free STL file modification available. This modification aims to improve filament extrusion and reduce jamming. While it’s still in the testing phase, it appears to have solved most of the issues. You can find the STL file on Cults 3D.
Official K1 Direct Drive Extruder Kit: Creality offers an official K1 Direct Drive Extruder Kit that includes a stepper motor hummingbird extruder. It supports 1.75mm filament and is compatible with both the K1 and K1 Max printers. You can find this kit on Amazon.
The Creality K1 is a remarkable 3D printer that boasts several impressive features. Let’s delve into its key characteristics:
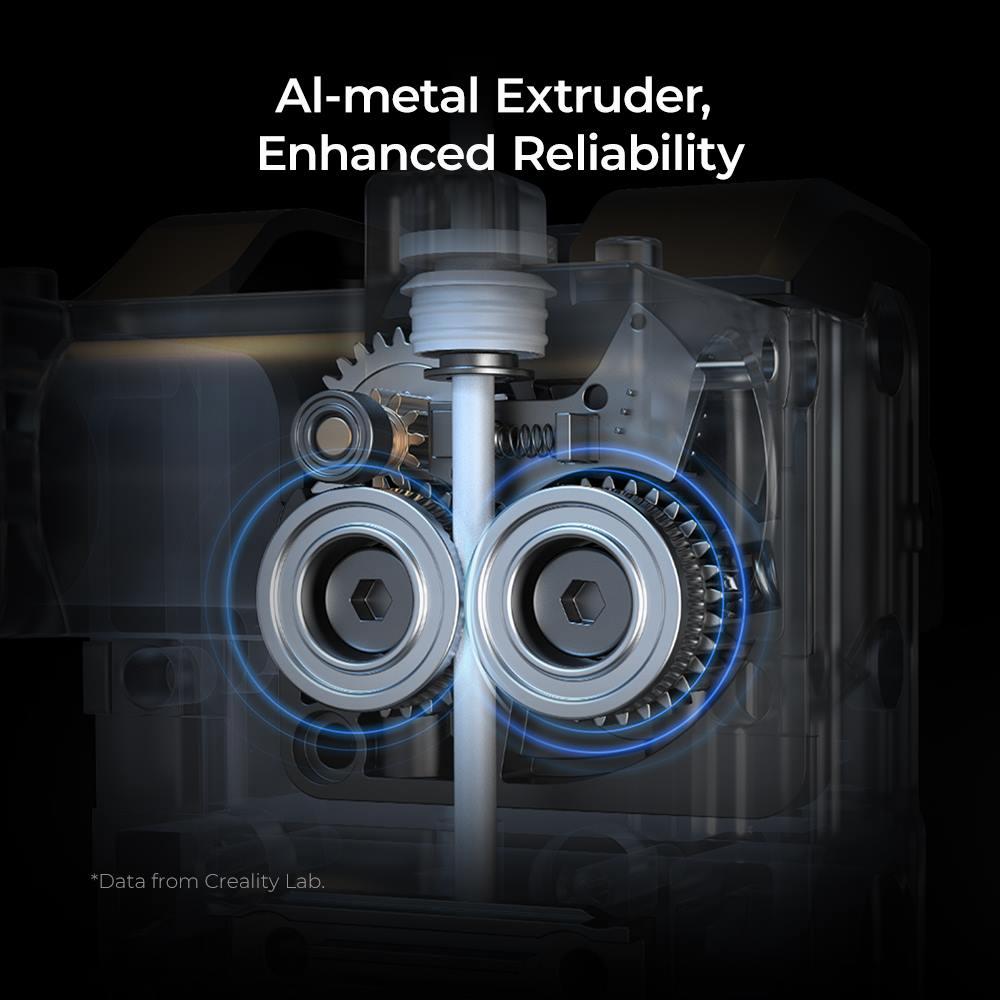
Exceptional Print Quality: The Creality K1 delivers high-quality prints, ensuring precision and clarity in your 3D models.
Large Print Volume: With a generous build area, you can create sizable objects without compromising on quality.
Advanced Technologies:
Speedy Printing:
Value Proposition:
IMG Source: shoplazza.com
Let’s walk through the Creality K1 Extruder installation step by step. Please follow these instructions carefully:
Unboxing and Initial Setup:
Additional Resources:
IMG Source: ytimg.com
Optimizing the performance of your Creality K1 3D printer’s extruder can significantly enhance your printing experience. Here are some techniques to consider:
Upgraded Extruder: Consider replacing the original extruder with an updated version. Newer extruders often offer improved performance, better filament grip, and reduced filament slipping. You can find updated extruders that are compatible with the Creality K1.
Calibration and Tension: Properly calibrate the extruder steps/mm and adjust the tension on the filament. Accurate calibration ensures that the correct amount of filament is fed during printing, preventing under-extrusion or over-extrusion.
Filament Quality: Use high-quality filament. Inconsistent filament diameter or poor-quality material can lead to extrusion issues. Opt for reputable brands and store filament properly to maintain its quality.
Nozzle Temperature: Experiment with different nozzle temperatures. Finding the optimal temperature for your specific filament type can improve extrusion consistency. Start with the manufacturer’s recommended temperature and adjust as needed.
Retraction Settings: Proper retraction settings prevent stringing and oozing. Adjust the retraction distance and speed in your slicer software to minimize filament leakage during non-print moves.
Clean Nozzle and Gear: Regularly clean the nozzle and extruder gear. Filament residue or debris can hinder smooth filament flow. Use a nozzle cleaning kit and inspect the gear teeth for any buildup.
Print Speed: Adjust the print speed. Slower speeds can improve extrusion accuracy, especially for intricate details. Experiment with different speeds to find the right balance between quality and efficiency.
Layer Height and Flow Rate: Optimize layer height and flow rate. Smaller layer heights allow finer details, but ensure your extruder can handle the flow rate. Adjust flow rate in your slicer settings to fine-tune extrusion.
For more detailed information, you can explore additional resources and guides on Creality K1 upgrades and parameter settings.

IMG Source: all3dp.com
If you’re experiencing issues with your Creality K1 3D printer’s extruder, here’s a comprehensive troubleshooting guide to help you resolve common problems:
Filament Feeding Issues:
Under-Extrusion:
Over-Extrusion:
Layer Adhesion Problems:
Nozzle Clogs:
Extruder Skipping Steps:
Temperature Fluctuations:
Remember to consult your Creality K1 user manual for specific instructions and diagrams. Additionally, you can find community-contributed troubleshooting resources, including PDF guides and videos, on the Creality Official Online Store

IMG Source: shoplazza.com
Dive into the world of precise and reliable printing by mastering the art of Creality K1 extruder optimization.