Ultimate Guide to the Creality Ender-3 V3 SE Frame

Ultimate Guide to the Creality Ender-3 V3 SE Frame

Are you seeking a budget-friendly 3D printer that doesn’t compromise on performance? Look no further than the Creality Ender-3 V3 SE. This printer is designed with beginners in mind, offering a blend of affordability and features that make it ideal for entry-level enthusiasts.

Let’s explore the impressive capabilities and design elements of the Creality Ender-3 V3 SE Frame, a printer that combines advanced technology with user-friendly features to deliver exceptional 3D printing results.

Key Features of Creality Ender 3 V3 SE

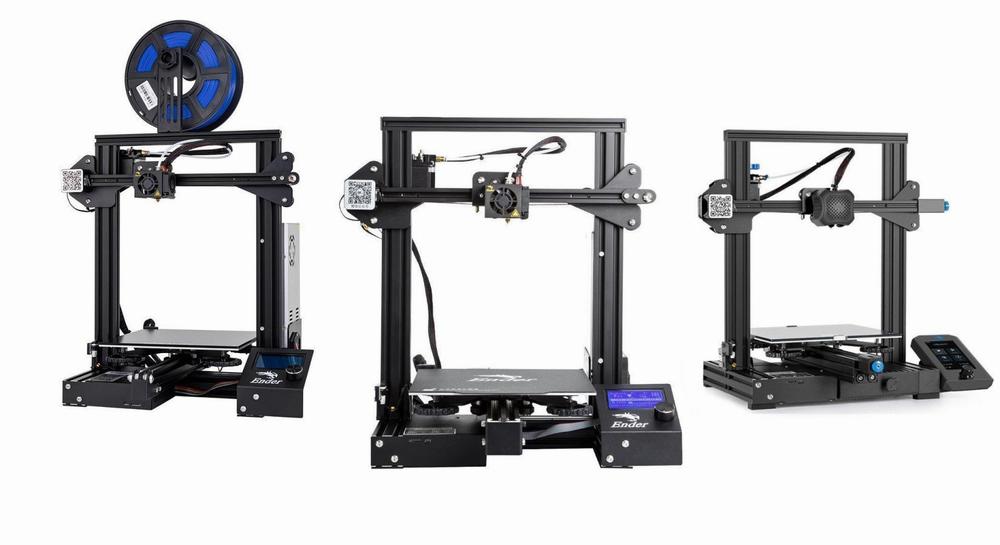
The Creality Ender 3 V3 SE is the latest iteration of the budget-friendly Ender 3 printer. It’s designed with beginners in mind, offering a balance of affordability and features. Here are some key details about this printer:

  • Build Volume: The Ender 3 V3 SE has a build volume of 220 x 220 x 250 mm (8.6 x 8.6 x 9.8 inches) .
  • Material Compatibility: It can handle materials like PLA, PETG, and TPU (up to 260 degrees Celsius) .
  • Extruder Type: The printer features a direct drive extruder .
  • Nozzle: It comes with a 0.4 mm high-flow nozzle .
  • Build Platform: The build platform is made of PC spring steel sheet and is heated .
  • Bed Leveling: Automatic bed leveling is included .
  • Filament Runout Sensor: Yes, it has a filament runout sensor .
  • Connectivity: The Ender 3 V3 SE uses a traditional SD card for file transfer .
  • Interface: It features a 3.2-inch color screen with a knob for easy navigation .
  • Printing Speed: The printer can achieve speeds of up to 250 mm/s, although its normal printing speed is around 150 mm/s for quieter operation .
  • Machine Footprint: The dimensions of the printer are 349 x 364 x 490 mm (13.7 x 14.3 x 19.3 inches) .
  • Weight: The Ender 3 V3 SE weighs 7.12 kg (15.7 lbs) .

Notably, this printer incorporates features from other successful Creality models, such as advanced auto leveling from the K1 series and the capable Sprite direct drive from the S1. Despite its budget-friendly price of $199, the Ender 3 V3 SE offers impressive value and ease of use for beginners .

Creality Ender-3 V3 SE Overview

The Creality Ender-3 V3 SE is a budget-friendly 3D printer that caters to both beginners and seasoned enthusiasts. Let’s delve into its design and construction:

  1. Partial Pre-Assembly: The Ender-3 V3 SE arrives partially pre-assembled, which makes the setup process more straightforward for users. You won’t need to start from scratch; instead, you’ll build upon the existing framework.

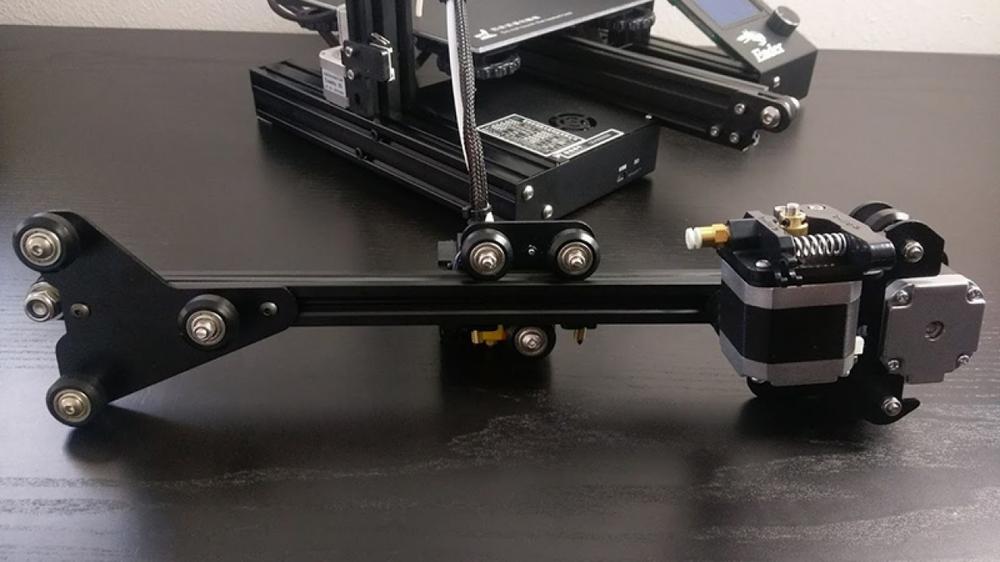
  2. Classic Ender-3 Design: The printer maintains the classic Ender-3 design, but with some stability improvements. These include dual Z-axis lead screws and a linear rail motion system. These enhancements contribute to better overall stability during printing.

  3. Frame Material: The frame of the Ender-3 V3 SE is typically made from aluminum extrusions. Aluminum is lightweight yet sturdy, providing a good balance between durability and ease of handling.

  4. Build Volume: The printer offers a build volume of 220 × 220 × 250 mm, allowing you to create moderately sized 3D prints.

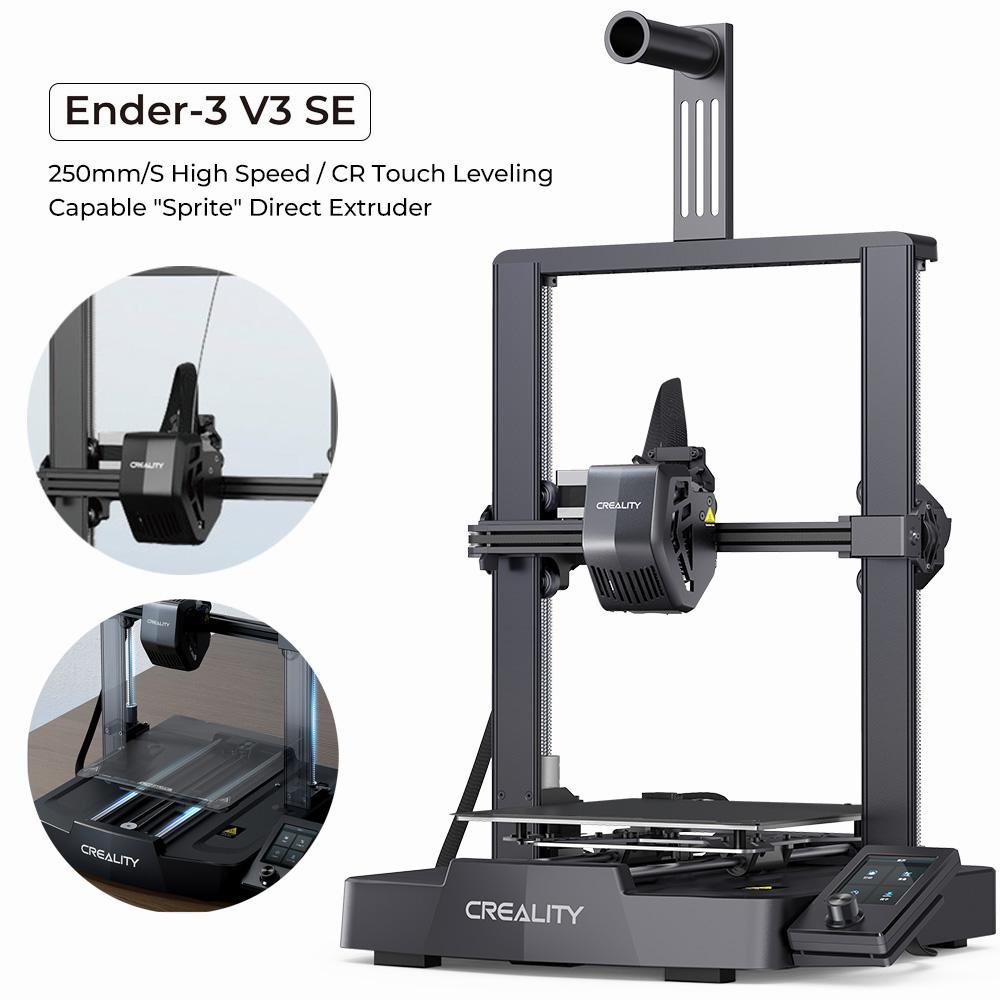
  5. Sprite Direct Drive Extruder: The Ender-3 V3 SE features a direct drive extruder called the “Sprite.” This design choice improves filament feeding and reduces the risk of filament jams.

  6. Auto Bed Leveling: One of the standout features is the fully automatic bed leveling system. It ensures that your print bed is perfectly leveled without manual adjustments. This is especially helpful for beginners who may find manual bed leveling challenging.

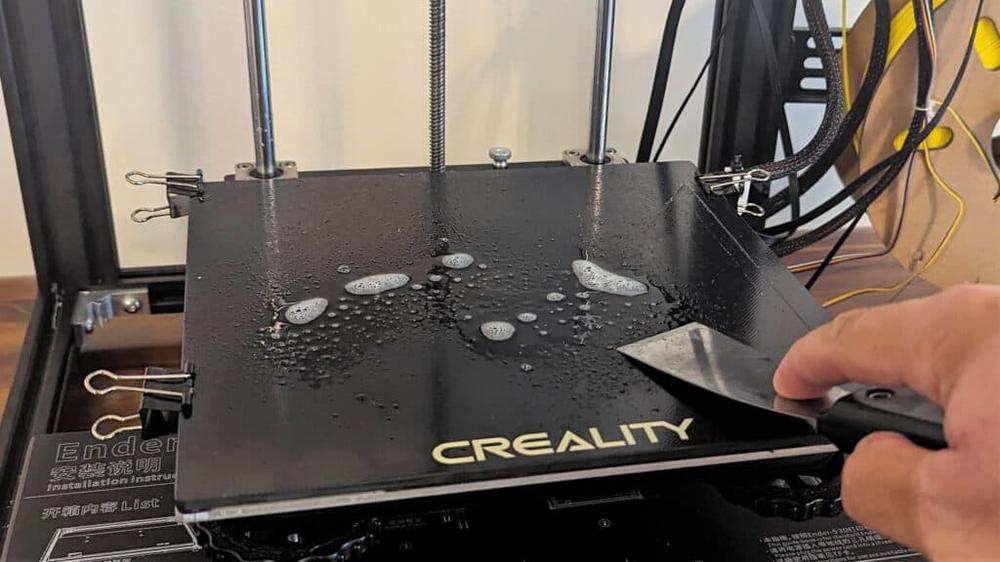
  7. Print Bed: The print bed is made of PC Spring Steel, which provides good adhesion for prints while allowing easy removal once they’re done.

  8. Temperature Range:

    • Nozzle Temperature: Up to 260°C
    • Bed Temperature: Up to 100°C
  9. Print Speed: The Ender-3 V3 SE can achieve a maximum print speed of 250 mm/s. However, keep in mind that achieving the highest print quality may require fine-tuning and calibration.

  10. Print Quality: After proper calibration, the printer delivers good print quality. Adjusting settings such as print speed, temperature, and retraction can significantly improve outcomes, especially for complex models or demanding materials like TPU.

  11. Pros and Cons:

    • Pros:
      • Beginner-friendly
      • Fully automatic bed leveling
      • Fast printing
      • Good print quality (after calibration)
    • Cons:
      • No filament sensor
      • No touchscreen
      • No PEI print bed

In summary, the Creality Ender-3 V3 SE strikes a balance between price, performance, and user-friendly features. While it requires some tweaking to unlock its full potential, this process is part of the learning experience in 3D printing.

3D printed parts for a CR-10S Pro with a Micro Swiss direct drive extruder.

IMG Source: wp.com


Creality Ender 3 V3 SE Overview

The Creality Ender 3 V3 SE is the latest iteration of the budget-friendly Ender 3 printer. Despite Creality’s focus on more advanced models, they haven’t abandoned their beginner-friendly origins. Let’s delve into the performance and features of this printer:

  1. Build Speed:

    • The Ender 3 V3 SE boasts a faster printing speed compared to its predecessors. It can achieve speeds of up to 250 mm/s thanks to its sturdy build and linear rods on the Y-axis. However, its normal printing speed hovers around 150 mm/s, which allows for quieter fan operation.
  2. Features:

    • Auto Bed Leveling: The V3 SE incorporates advanced auto bed leveling, a feature borrowed from Creality’s K1 series.
    • Direct Drive: It utilizes the extremely capable Sprite direct drive, similar to the S1 model.
    • User-Friendly Interface: The printer is simple to build, with step-by-step instructions displayed directly on the screen.
    • Connectivity: Unlike some other models, the Ender 3 V3 SE sticks to a traditional SD card for file transfer, making it suitable for users who prefer to keep their machines offline or appreciate simplicity.
    • Missing Wi-Fi: Surprisingly, Wi-Fi connectivity is absent, but if you prefer an offline approach, this won’t be an issue.
  3. Specifications:

    • Build Volume: 220 x 220 x 250 mm (8.6 x 8.6 x 9.8 inches)
    • Supported Materials: PLA/PETG/TPU (up to 260 degrees Celsius)
    • Extruder Type: Direct Drive
    • Nozzle Diameter: 0.4 mm (high flow)
    • Build Platform: PC spring steel sheet (heated)
    • Bed Leveling: Automatic
    • Filament Runout Sensor: Yes
    • Connectivity: SD card
    • Interface: 3.2″ Color Screen with Knob
    • Machine Footprint: 349 x 364 x 490 mm (13.7 x 14.3 x 19.3 inches)
    • Machine Weight: 7.12 kg (15.7 lbs)

In summary, the Creality Ender 3 V3 SE offers an incredible bargain at its price point, making it an excellent choice for beginners and budget-conscious users. Its combination of affordability, ease of assembly, and useful features places it among the best budget 3D printers available.

The image shows a black Creality Ender-3 V3 SE 3D printer with a CR Touch sensor and a Sprite direct extruder.

IMG Source: creality3dofficial.com


Enhance Your Ender-3 V3 SE 3D Printer with Upgrades and Accessories

If you’re looking to enhance your Ender-3 V3 SE 3D printer, there are several upgrades and accessories you might consider. These can improve your printing performance and overall experience. Here are some options:

  1. Ender-3 V3 SE Ultimate Accessory Pack: This comprehensive pack includes various accessories to enhance your printer. It’s a great starting point for upgrading your Ender-3 V3 SE.

  2. Creality Space Pi Filament Dryer: Keep your filament dry and prevent moisture-related issues during printing with this filament dryer.

  3. Creality Nebula Smart Kit: The Nebula Smart Kit adds intelligent features to your printer, making it easier to manage and monitor your prints.

  4. Creality Sonic Pad: Reduce vibrations and noise by adding the Sonic Pad to your printer. It provides stability and a quieter printing experience.

  5. Creality Laser Module: If you’re interested in laser engraving, this module allows you to add laser capabilities to your Ender-3 V3 SE.

  6. Creality Filament Dry Box 2.0: A filament storage solution that keeps your filament dry and dust-free, ensuring better print quality.

  7. Creality Nebula Camera: Monitor your prints remotely with the Nebula Camera. It provides live video feeds and time-lapse recording.

  8. Creality AI Camera for K1/K1 Max: Another camera option specifically designed for the K1 and K1 Max printers.

Three black Creality Ender 3 V2 3D printers are shown side by side.

IMG Source: printermods.co.uk


Maintenance Tips for Creality Ender-3 V3 SE 3D Printer

Proper maintenance of your Creality Ender-3 V3 SE 3D printer is essential to ensure optimal performance and longevity. Let’s delve into some important tips for keeping your printer in top shape:

  1. Check X and Y Belts:

    • Examine the tension on the belts that move the print head left and right (X-axis) and the heated bed back and forth (Y-axis).
    • The belts should be taut, similar to a guitar string. When plucked, they should produce a resonant sound.
    • If adjustments are needed, loosen the locking screws that hold the tension wheel in place. Tension the belt by prying back the wheel until it tightens the belt sufficiently. Then tighten the locking screws again.
    • Repeat this process for both X and Y belts if necessary. Well-adjusted belts lead to better print quality.
  2. Clean the Fans:

    • Power off your Ender-3 V3 SE and remove both mounting screws on the shroud.
    • Carefully move the shroud back to reveal the inside.
    • Use tweezers to remove dust, hair, and lint from inside the shroud and the fan blades.
    • Regular cleaning ensures proper cooling and prevents overheating issues.
  3. Z Offset Adjustment:

    • After leveling your bed, take feeler gauges or paper and edit each leveling data point to make them feel consistent.
    • The Z offset determines the ideal distance between the nozzle and the bed. Adjust it generously and perform test prints (e.g., 40x40x0.2mm squares) to fine-tune the height.
    • Glossy filament should appear glossy, not faded. Scratches or blobs indicate incorrect Z offset.
    • Avoid recalibrating the leveling or calibration buttons after adjusting the Z offset.
  4. Calibrate Esteps:

    • Adjust the extruder steps per millimeter (E-steps) to ensure accurate filament feeding.
    • Follow a calibration video (like the one you mentioned) to fine-tune the E-steps.
    • Proper E-steps prevent over-extrusion and improve print quality, especially when using PETG filament.
  5. Individual Filament Flow Calibration:

    • Use a calibration page (such as TeachingTech’s) to calibrate flow for each filament type.
    • This practice is beneficial for all printers, not just the Ender-3 V3 SE.
    • It helps achieve consistent extrusion and better overall print results.

A person is cleaning the print bed of a Creality Ender 3 3D printer with a spatula.

IMG Source: 3dprintmentor.com


In conclusion, the Creality Ender-3 V3 SE Frame stands out as a cost-effective and feature-rich 3D printer that caters to both novice users and experienced enthusiasts. With its stable frame, advanced auto bed leveling, and versatile print capabilities, this printer offers a compelling option for those looking to explore the world of 3D printing. By following the maintenance tips and considering upgrades tailored to your needs, you can further enhance your printing experience with the Creality Ender-3 V3 SE.

Embrace the possibilities of 3D printing with this reliable and affordable printer.

Comments

    Leave a Reply

    Your email address will not be published. Required fields are marked *