Ultimate Guide to Creality Ender-3 V3 SE Bowden Tube
The Creality Ender-3 V3 SE Bowden Tube plays a pivotal role in ensuring smooth and consistent filament flow in your 3D printer. Proper maintenance and understanding of this component can significantly impact the quality of your prints. Let’s delve into essential information and troubleshooting tips related to the Bowden tube for your Ender-3 V3 SE printer.
Exploring Bowden Tube Tips for Ender-3 V3 SE
The Creality Ender-3 V3 SE is a popular 3D printer, and the Bowden tube is a crucial component in its extrusion system. Let’s explore some relevant information about the Bowden tube for your Ender-3 V3 SE:
Clearing a Bowden Tube & Nozzle Clog:
If you’re experiencing printing issues due to clogs, it’s essential to address them. A clogged Bowden tube or nozzle can disrupt filament flow.
You can follow this YouTube tutorial by GreggAdventure to learn how to clear a clogged Bowden tube and nozzle on your Creality Ender 3D printer: Watch the video.
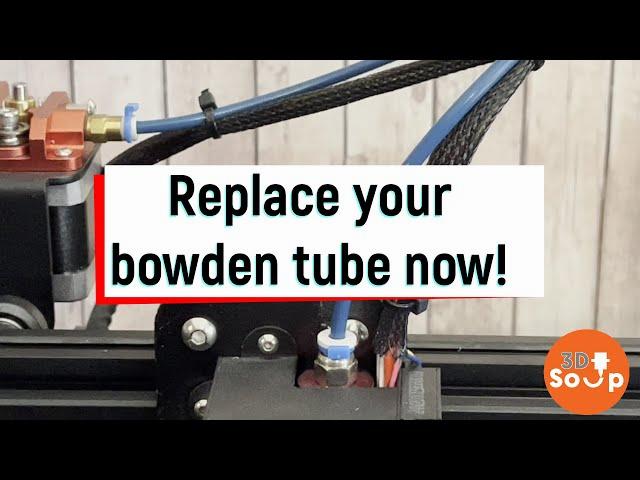
Changing the PTFE Bowden Tube:
Sometimes, you might need to replace the Bowden tube. Here’s a quick and easy tutorial on how to change the PTFE Bowden tube for your Ender 3: Watch the video.
Cold End Coupler Stuck on Bowden Tube:
Occasionally, the cold end coupler (where the Bowden tube connects) can get stuck. Depress the retaining ring and gently push the Bowden tube further into the coupler to disengage the internal sprung clip. This should allow you to remove the Bowden tube .
Useful Upgrades:
Consider upgrading your printer with the following accessories:
Capricorn Bowden Tube: A high-quality replacement for improved filament flow .
Creality Official Metal Extruder: Enhances extrusion reliability .
Nozzle Cleaning Kit: Useful for maintaining a clean nozzle .
Razor Tool: Helps with stubborn print removal .
CR-TOUCH: An auto-leveling sensor .
Key Features of Creality Ender-3 V3 SE
The Creality Ender-3 V3 SE is part of the Ender Series, designed for easy operation and ideal for 3D printing beginners. Let’s dive into the specifications for the Bowden Tube on this printer:
Build Volume: The Ender-3 V3 SE offers a build volume of 220 x 220 x 250 mm (approximately 8.75 x 8.75 x 10 inches) .
Auto Bed Leveling: This feature ensures that your print bed is perfectly leveled, making the printing process more reliable and hassle-free.
X-axis Linear Rail: The linear rail design enhances stability and precision during printing.
Strain-Based Z-Offset Calibration: The printer self-tests for Z offset, ensuring accurate layer heights.
High-Speed Printing: The Ender-3 V3 SE can achieve speeds of up to 500 mm/s.
Responsive Touch UI: The printer features an intuitive tab bar on its touch screen, allowing easy navigation and control.
Real-Time Model Preview: You can visualize your 3D model before printing, ensuring it meets your expectations.
Let’s walk through the installation of the Bowden Tube on your Creality Ender-3 V3 SE. Here are the steps you can follow:
Prepare Your Tools and Workspace:
Make sure you have the necessary tools and a clean, well-lit workspace.
Gather the Bowden tube, the hotend assembly, and any other components needed for the installation.
Remove the Old Bowden Tube (if applicable):
If you’re replacing an existing Bowden tube, carefully detach it from both the extruder and the hotend.
Pay attention to any clips or fittings holding the tube in place.
Cut the New Bowden Tube to Length:
Measure the distance from the extruder to the hotend.
Cut the Bowden tube to the appropriate length, leaving a little extra for adjustments.
Insert the Bowden Tube into the Extruder:
Slide one end of the Bowden tube into the extruder assembly.
Ensure it goes all the way in and is securely seated.
Secure the Tube with Clips or Fittings:
Use any provided clips or fittings to hold the Bowden tube in place.
Make sure it doesn’t move or wiggle.
Insert the Other End into the Hotend:
Carefully insert the other end of the Bowden tube into the hotend assembly.
Again, ensure it’s fully inserted and secure.
Check for Proper Alignment:
Verify that the Bowden tube is straight and not kinked.
Ensure it doesn’t interfere with any other components.
Calibrate and Test:
Reassemble any parts you removed during the process.
Heat up the hotend and perform a test print to ensure proper filament flow.
Remember to consult your official Creality Ender-3 V3 SE assembly guide for specific details and illustrations. You can find helpful video guides on platforms like YouTube
IMG Source: ytimg.com
Troubleshooting the Bowden Tube Issue
Let’s troubleshoot the Bowden Tube issue on your Creality Ender-3 V3 SE. Here are some steps you can follow:
Depress the Retaining Ring:
First, locate the cold end coupler where the Bowden tube is connected.
Depress the retaining ring (usually a circular plastic piece) that holds the Bowden tube in place.
Push the Bowden Tube Further In:
While holding down the retaining ring, gently push the Bowden tube further into the coupler.
This action should disengage the internal sprung clip and allow you to remove the Bowden tube.
Quality of Pneumatic Couplings:
Keep in mind that the quality of pneumatic couplings matters.
Good-quality couplings should allow multiple insertion and removal cycles without issues.
However, some couplings used by Creality printers have a reputation for early failure.
Remember to handle the components carefully and ensure that the Bowden tube is properly seated. If you encounter any difficulties, refer to your printer’s manual or seek additional guidance from Creality’s official resources.
IMG Source: redd.it
Comparison of Creality Ender-3 V3, V3 SE, and V3 KE
Let’s delve into the technical specifications of the Creality Ender-3 V3, Ender-3 V3 SE, and Ender-3 V3 KE to highlight key differences in machine details, printing parameters, speed, filament compatibility, features, and more.
Ender-3 V3:
Printing Speed: Typically operates at a pace ranging from 180-200 mm/s.
Filament Support: Compatible with various filament types.
Features: Offers a range of features suitable for 3D printing enthusiasts.
Ender-3 V3 SE:
Printing Speed: Operates at a slightly slower pace, usually between 250-300 mm/s.
Filament Support: Similar to the Ender-3 V3, it supports various filament materials.
Notable Distinctions: The V3 SE has a faster printing acceleration compared to the Ender-3 V3.
Ender-3 V3 KE:
Printing Speed: Typically operates at a pace between 250-300 mm/s.
Filament Support: Compatible with various filament types.
Key Features: The V3 KE model offers specific upgrades and enhancements.
For more detailed information, you can explore the official Creality store’s comparison articles .
IMG Source: media-amazon.com
In conclusion, mastering the nuances of the Bowden Tube for your Creality Ender-3 V3 SE is key to optimizing your 3D printing experience. By following the recommended tutorials, troubleshooting steps, and understanding the significance of this component, you can enhance the performance and longevity of your printer. Whether it’s clearing clogs, changing the PTFE tube, or addressing connectivity issues, a well-maintained Bowden tube is essential for achieving precise and high-quality prints.
Remember, investing time in learning and troubleshooting the Bowden Tube will not only improve your printing results but also deepen your overall understanding of your Creality Ender-3 V3 SE 3D printer.