Are you looking to unlock the full potential of your Creality Ender-3 V3 KE 3D printer? Dive into this comprehensive guide focusing on the features, advantages, and maintenance tips for the Creality Ender-3 V3 KE Bed. Discover how this powerhouse of a printer can revolutionize your 3D printing experience with its innovative technology and user-friendly design.
Key Features of the Creality Ender-3 V3 KE
The Creality Ender-3 V3 KE is part of the Flagship Series of FDM 3D printers. Let’s explore some of its features:
Smart Creality OS: The Ender-3 V3 KE comes with an intuitive touch UI featuring a tab bar. It offers real-time model previews and vivid motion graphics of printing parameters.
500mm/s Max Printing Speed: This printer allows for rapid printing, making it efficient for your projects.
X-axis Linear Rail: The linear rail design enhances stability and precision during printing.
Smart Self-Test: With just one tap, you can perform Z offset calibration, auto leveling, and other self-tests.
Responsive Touch UI: The user-friendly interface simplifies navigation and control.
For bed leveling, follow these steps:
Press the control knob on the Ender-3 V3 KE.
Scroll to the PREPARE menu.
Select AUTO HOME to move the hot end to the left front of the bed.
Go back to PREPARE and choose DISABLE STEPPERS.
Key Features of the Creality Ender-3 V3 KE
The Creality Ender-3 V3 KE offers several advantages that make it a compelling choice for 3D printing enthusiasts:
Klipper Firmware: The Ender-3 V3 KE implements the Klipper firmware, which significantly boosts its performance. With a top speed of 500 mm/s and an acceleration max of 8000 mm/s², it’s nearly as fast as the popular Creality K1. Klipper allows users to unlock the printer’s full potential, making it a versatile and efficient machine.
Auto Bed Leveling: The printer features advanced auto bed leveling, ensuring hassle-free printing. It can set its own Z height, similar to the Creality CR10 SE, making it extremely user-friendly, especially for beginners.
Direct Drive Extruder: The Ender-3 V3 KE comes equipped with Creality’s best extruder, the S1’s Sprite extruder, which ensures smooth filament feeding. This direct drive setup contributes to better print quality and reliability.
High-Quality Hotend: The printer pairs the Sprite extruder with the K1’s ceramic heated high-flow hotend. This combination delivers consistent extrusion and excellent heat management, allowing for reliable printing with various filaments.
Affordability: Retailing at $299 (and often on sale for $279), the Ender-3 V3 KE offers a feature-packed experience at a budget-friendly price. It’s one of the best 3D printers and an excellent choice for both beginners and experienced users.
Here are some specifications for the Creality Ender-3 V3 KE:
Build Volume: 220 x 220 x 240 mm (8.6 x 8.6 x 9.5 inches)
Material Compatibility: PLA/PETG/TPU (up to 300 degrees)
Nozzle Type: 0.4 mm high flow
Build Platform: PEI-coated spring steel sheet, heated
Connectivity: USB, Wi-Fi
Interface: 4.3-inch touch screen
Machine Footprint: 433 x 366 x 490 mm (17 x 14.4 x 19.3 inches)
Machine Weight: 7.8 kg (17.2 lbs)
IMG Source: pergear.com
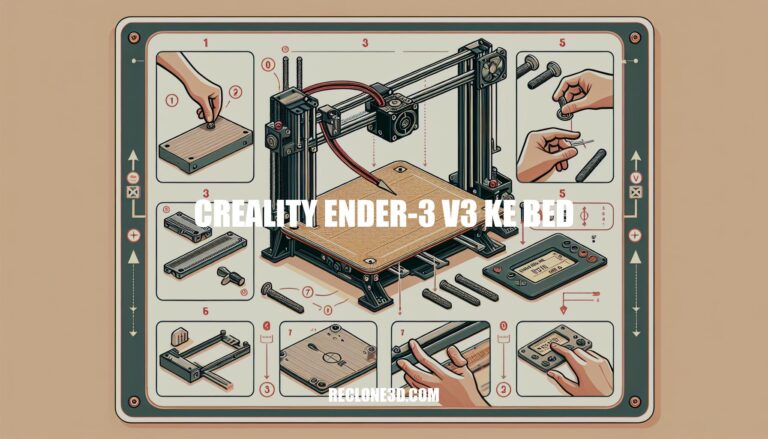
Installation Guide for Creality Ender-3 V3 KE 3D Printer
Here’s a guide to help you install the bed on your Creality Ender-3 V3 KE 3D printer. Follow these steps carefully:
Read the User Manual:
Before you begin, make sure to read through the User Manual provided by Creality. It contains essential instructions and safety guidelines for using the printer.
Assemble the Printer:
Start by assembling the printer components according to the instructions in the manual.
Pay attention to the gantry frame, display screen, and other parts.
Wiring and Connections:
Ensure that the printer is connected to the correct input voltage (either 220V or 110V).
Follow the labeled instructions to secure cables and connections, especially for the extruder, Z-axis motor, and other components.
Filament Loading:
Load the filament into the printer. You can find detailed instructions in the manual.
Use the filament recommended by the manufacturer to avoid clogs and damage to the nozzle.
For more details, refer to the User Manual and explore additional resources on Creality’s official website
!Ender-3 V3 KE
IMG Source: ytimg.com
Essential Maintenance Steps for Creality Ender-3 V3 KE 3D Printer
The Creality Ender-3 V3 KE is a fantastic 3D printer, and proper care ensures optimal performance. Here are some essential steps for maintaining your printer and specifically caring for the KE bed:
Bed Leveling:
The Ender-3 V3 KE features auto bed leveling, which compensates for any unevenness in the bed surface. However, it’s still essential to physically level the bed to minimize the software’s compensation.
To physically level the bed:
Power off your printer.
Adjust the bed screws to ensure it’s as level as possible.
You can find detailed guides online to help you with this process.
Clean the Fans:
The Ender-3 V3 KE has two fans around the hot end.
Power off your printer.
Remove both mount screws on the fan shroud to access the inside.
Use tweezers to remove any dirt or cat hair from inside and on the fan blades.
Regular Maintenance:
Keep an eye on the printer’s components, especially the nozzle and extruder.
Clean the nozzle periodically to prevent clogs.
Lubricate moving parts (such as the Z-axis lead screw) with appropriate lubricants.
Check the belts for tension and adjust if necessary.
IMG Source: redd.it
Compatibility with Software
The Creality Ender-3 V3 KE is a popular 3D printer model known for its reliability and versatility. Let’s explore its compatibility with various software options and delve into customization possibilities:
Compatibility with Software:
SimplyPrint: Yes, the Creality Ender-3 V3 KE is compatible with SimplyPrint.
OctoPrint: Unfortunately, the Ender-3 V3 KE does not natively support OctoPrint.
Mainsail: Good news! The Ender-3 V3 KE works well with Mainsail.
Fluidd: You can use Fluidd with the Ender-3 V3 KE.
Printer Specifications:
Bed Type: Square
Bed Size: 220 x 220 mm
Max Print Height: 240 mm
Heated Bed: Yes
Max Extruder Temperature: 300°C
Max Bed Temperature: 100°C
Filament Width: 1.75 mm
Probing Tool / Auto Bed Leveling: Yes
Direct Drive: Yes
Remember that while we strive to keep this information accurate, it’s always a good idea to verify with the latest sources. If you have any specific customization needs, feel free to explore community forums or reach out to fellow Ender-3 V3 KE enthusiasts for tips and tricks
IMG Source: shoplazza.com
In conclusion, the Creality Ender-3 V3 KE Bed stands out as a reliable and versatile 3D printer that offers top-notch performance and ease of use. By following the maintenance tips provided and leveraging the printer’s advanced features like auto bed leveling and direct drive extruder, you can ensure consistent and high-quality prints. Embrace the possibilities of customization with compatible software options to further enhance your printing projects.
Trust in the Creality Ender-3 V3 KE Bed to bring your 3D printing ventures to new heights of creativity and precision.