Ultimate Guide to Creality Ender 3 S1 Pro Filament Sensor
Welcome to the world of 3D printing with the Creality Ender 3 S1 Pro Filament Sensor. Imagine a seamless printing experience where interruptions due to filament depletion are a thing of the past. This innovative filament sensor is designed to detect and pause your prints when filament runs out, ensuring that your projects are completed without any hiccups.
Let’s explore the functionality and benefits of the Creality Ender 3 S1 Pro Filament Sensor in detail.
Key Features of the Filament Sensor
The Creality Ender 3 S1 Pro features a filament sensor that detects when your filament runs out during a print. This sensor is compatible with the Ender-3 S1 Pro, Ender-3 S1 Plus, CR-10 Smart Pro, and CRM4 printers. Here are some key points about this filament sensor:
Detection: The sensor continuously monitors filament levels, ensuring an uninterrupted printing process. When it detects that the filament has run out, it pauses the print, prompting you to replace the filament.
Easy Installation: Installing the filament sensor is straightforward, and it integrates seamlessly with compatible Creality printers.
Print Pause and Restart: When the worst happens and you run out of filament mid-print, the filament sensor on the Ender 3 S1 Pro is designed to save your print. It pauses the print job, allowing you to load new filament and resume printing.
Key Features of Creality Ender 3 S1 Pro Filament Sensor
The Creality Ender 3 S1 Pro features a Filament Sensor that enhances the 3D printing experience. Let’s delve into its functionality:
High-Precision Detection: The filament sensor employs a high-precision detection process. It accurately measures filament thickness and speed in real-time. This precision promotes smoother prints and ensures high-quality results, which is especially beneficial for substantial projects where precision matters.
Print Pause and Restart Feature: When the worst happens and you run out of filament mid-print, the filament sensor on the Ender 3 S1 Pro can save your print. It automatically stops the printer if the filament runs out or snaps, allowing you to renew the filament and continue printing.
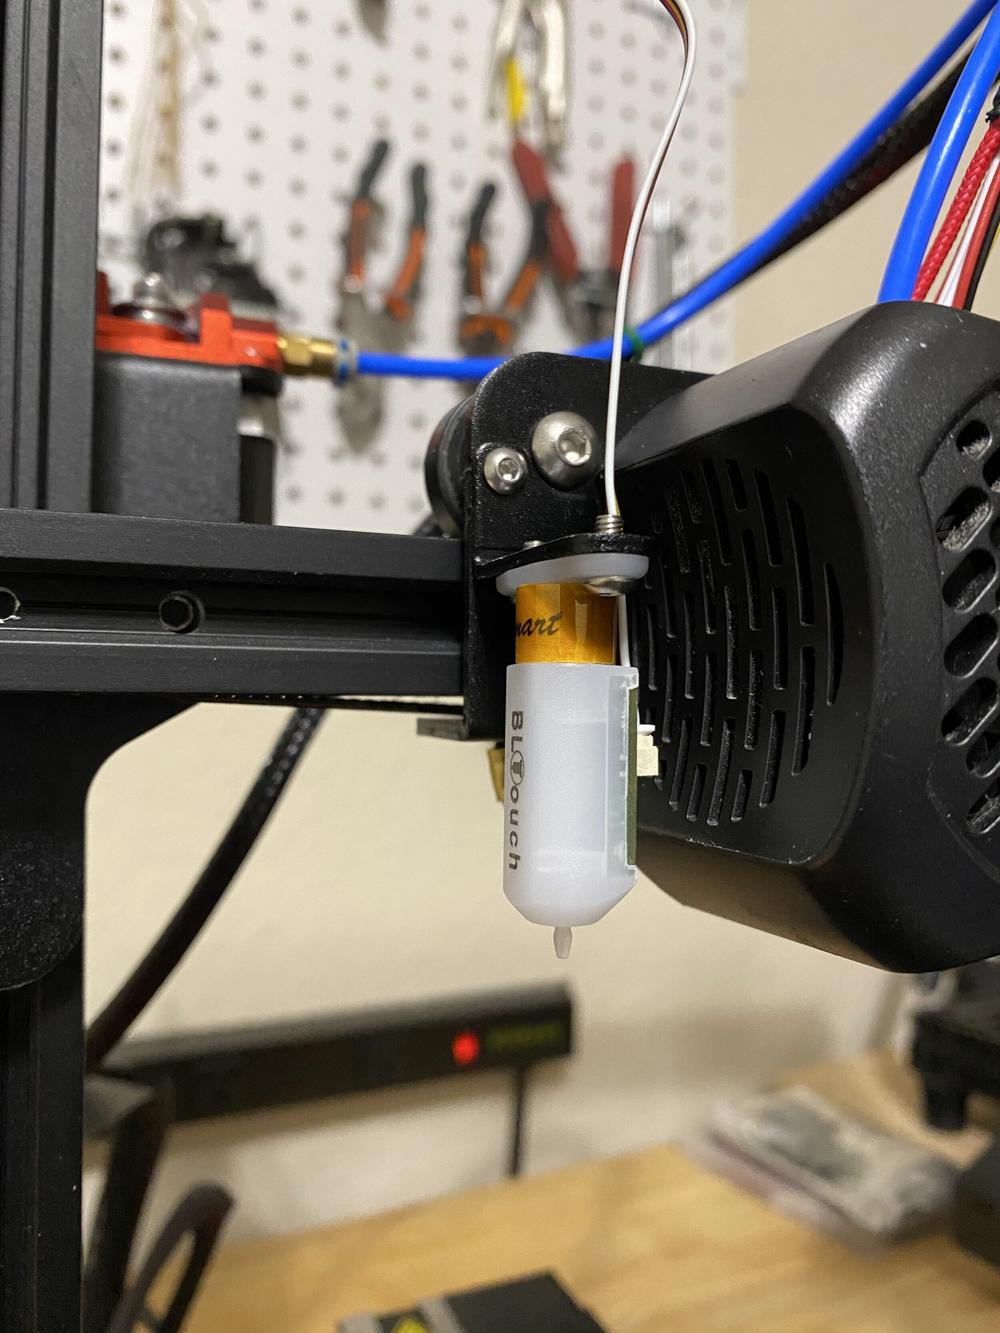
Automatic Bed Leveling: The Ender 3 S1 Pro comes with a Creality CR Touch Sensor installed. This sensor allows automatic bed leveling, compensating for small inconsistencies in the bed. It ensures that your print bed is perfectly leveled, contributing to successful prints.
All-Metal Sprite Pro Extruder: An important upgrade for the Ender 3 S1 Pro is the inclusion of an all-metal Sprite Pro Extruder. Unlike the regular Ender 3, there’s no PTFE tube inside the heat break that can get damaged over time. This design minimizes the need for extruder maintenance, making your printing experience more hassle-free.
IMG Source: alicdn.com
Installation and Calibration Guide for Creality Ender 3 S1 Pro Filament Sensor
Let’s dive into the installation and calibration process for the Creality Ender 3 S1 Pro Filament Sensor. Proper calibration ensures optimal performance and accurate filament extrusion. Here are the steps you need to follow:
Filament Sensor Installation:
First, ensure that your Ender 3 S1 Pro is powered off.
Locate the filament sensor kit. It typically includes the sensor itself, a cable, and mounting hardware.
Identify the appropriate location on your printer frame to attach the sensor. It should be close to the filament spool holder.
Mount the sensor securely using the provided screws or brackets.
Connect the sensor cable to the designated port on the printer’s control board. Refer to your printer’s user manual for specific instructions.
Power on the printer and verify that the sensor is functioning correctly.
Calibrating the Filament Sensor:
Calibrating the filament sensor ensures accurate filament detection and prevents printing failures.
Load filament into the printer as usual.
Navigate to the printer’s menu and find the option to calibrate the filament sensor (this may vary based on firmware versions).
Follow the on-screen instructions to calibrate the sensor. Typically, this involves feeding a known length of filament (e.g., 100mm) and adjusting the sensor settings until it detects the correct length.
Use a ruler or caliper to measure the actual length of filament extruded during calibration.
Adjust the sensor’s settings (usually in the printer’s configuration menu) to match the measured extrusion length.
Repeat the calibration process a few times to ensure accuracy.
Proper Maintenance Tips for Your Creality Ender-3 S1 Pro Filament Sensor
Proper maintenance of your Creality Ender-3 S1 Pro filament sensor is essential to ensure smooth 3D printing. Here are some tips to keep it in good working condition:
Check and Adjust Belts:
Inspect the X and Y belts that move the print head and the heated bed. These belts should be taut, similar to a guitar string. If they’re loose, use the larger Allen wrench provided with the printer to adjust them.
Loosen the locking screws that hold the tension wheel in place.
Pry back the wheel to tension the belt firmly.
Tighten the locking screws to maintain the tension.
Repeat the process for both X and Y belts if necessary. Well-adjusted belts lead to better print quality with fewer surface imperfections.
Clean the Fans:
There are two fans around the hot end. Dust and debris can accumulate on these fans over time.
Regularly clean the fans to ensure proper cooling and prevent overheating issues.
Inspect the Hot End:
Remove the fan shroud around the hot end.
Check the hot end for any build-up of melted filament caused by jams or other issues.
Clean the hot end if necessary to maintain optimal performance.
Filament Sensor Maintenance:
The filament sensor is crucial for detecting filament presence and preventing print failures due to filament runout.
Periodically test the filament sensor by intentionally pausing a print and removing the filament.
Observe how well it detects the filament absence and resumes printing when new filament is loaded.
If you encounter any issues, refer to the printer’s manual or seek assistance from Creality’s support.
IMG Source: th3dstudio.com
Filament Sensor Compatibility on Ender 3 S1 Pro
The Creality Ender 3 S1 Pro is an upgraded version of the Ender 3 Pro 3D printer. Let’s explore the compatibility of its filament sensor with third-party systems:
Filament Sensor on Ender 3 S1 Pro:
The Ender 3 S1 Pro features a filament sensor designed to detect when the filament runs out during a print. When this happens, it can pause the print job, allowing you to load new filament and resume printing from where it left off.
The sensor’s print pause and restart feature aims to prevent failed prints due to filament depletion.
Third-Party Compatibility:
While the Ender 3 S1 Pro’s filament sensor is primarily intended for use with the stock firmware and Creality’s official systems, some users have explored custom firmware options to enhance its functionality.
Klipper, a popular third-party firmware, has been successfully installed on the Ender 3 S1 Pro by the community. However, it’s essential to note that this upgrade is not officially supported by either Creality or Klipper developers at the moment.
If you decide to explore third-party firmware, proceed with caution and ensure compatibility with the specific features you desire.
In summary, the Ender 3 S1 Pro’s filament sensor is functional out of the box, but adventurous users may choose to experiment with alternative firmware for additional capabilities. Remember to follow community guidelines and recommendations when making modifications to your printer.
IMG Source: media-amazon.com
In conclusion, the Creality Ender 3 S1 Pro Filament Sensor is a game-changer in the realm of 3D printing. Its high-precision detection capabilities, print pause and restart features, and compatibility with various Creality printers make it an essential tool for smooth and successful printing. By following the installation and calibration steps, maintaining the sensor, and exploring potential third-party compatibility options, you can maximize the efficiency and performance of your 3D printing projects.
Embrace the power of the Creality Ender 3 S1 Pro Filament Sensor and elevate your printing experience to new heights.