If you’re delving into the world of 3D printing with the Creality CR-10, understanding the intricacies of endstops is paramount for smooth and accurate operation. Endstops are the unsung heroes of the 3D printing process, ensuring precise positioning and preventing mishaps. Let’s explore the essential aspects of Creality CR-10 endstops to unlock the full potential of your printer.
Understanding Endstops
The Creality CR-10 is a popular 3D printer, and understanding its endstops is crucial for proper operation. Let’s dive into some relevant information:
Endstops Overview:
Endstops are sensors that help the printer determine its position along the axes (X, Y, and Z). They act as limit switches, preventing the printer from moving beyond certain boundaries.
The CR-10 typically has three endstops:
X Endstop: Detects the home position along the X-axis (left to right).
Y Endstop: Detects the home position along the Y-axis (front to back).
Z Endstop: Detects the home position along the Z-axis (up and down).
Common Issues and Solutions:
If you encounter an “Endstops Z” error on your CR-10 V2, it means that the printer is having trouble homing the Z-axis. Here are some steps to troubleshoot:
Check Wiring: Ensure that the Z endstop switch is properly connected to the control board.
Inspect the Endstop Switch: Make sure the Z endstop switch is functioning correctly. You can use the M119 command in the console to check its status.
Manually Move the Carriage: If the endstops are triggered, the printer won’t move toward the endstop. Try manually moving the carriage away from the endstop and then triggering the homing process again.
Z-Offset Calibration: If you’re using an auto-leveling sensor (like BLTouch), ensure that the Z-offset is correctly set. This ensures the correct distance between the nozzle and the bed when homing.
Dual Z Motors and Misalignment:
The CR-10 V2 comes with dual Z motors, which can sometimes lead to misalignment after turning off the printer.
To address this, consider adding a second Z endstop switch. This way, you can ensure that both sides of the bed are at the same height during homing.
Key Types of 3D Printer Endstop Sensors
Let’s delve into the world of 3D printer endstop sensors. These sensors play a crucial role in ensuring precise movement and positioning within a 3D printer. Here are some key types of endstops commonly used:
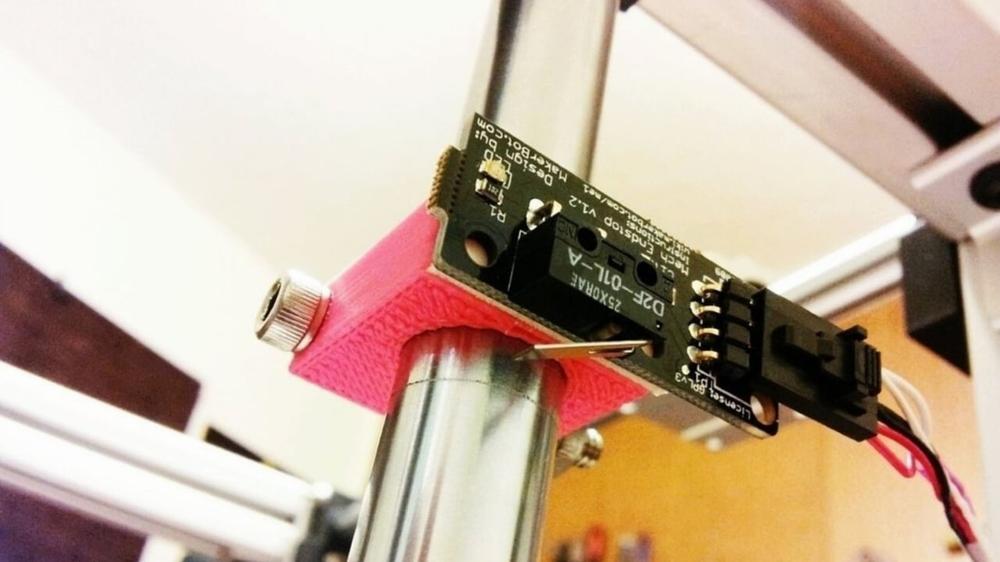
Mechanical Endstop Switches:
These are simple switches that act as physical stops for the printer’s moving parts.
When the printer’s axis reaches its zero position (such as the home position), the mechanical endstop switch is triggered.
They are reliable and cost-effective.
However, they may suffer from wear and tear over time due to mechanical contact.
!Mechanical Endstop
Optical Endstops:
Optical endstops use light sensors (usually infrared) to detect the presence or absence of an object.
When the printer’s axis reaches the zero position, the optical sensor detects the absence of an object (such as a flag or reflective surface).
They are non-contact and more durable than mechanical switches.
However, they may require precise alignment and calibration.
!Optical Endstop
Magnetic Endstops:
Magnetic endstops use magnets and Hall effect sensors.
When the moving part with a magnet approaches the sensor, it triggers the endstop.
They are reliable and durable, with minimal wear.
However, they may be affected by external magnetic fields.
!Magnetic Endstop
Filament Sensors with Endstop Functionality:
Some 3D printers incorporate filament sensors that can also serve as endstops.
These sensors detect filament presence or runout.
When the filament runs out, the printer can pause or stop the print.
Outdated firmware might cause endstop problems. Ensure that your printer’s firmware is up to date.
Check the manufacturer’s website for firmware updates specific to your printer model.
Example: Keeping firmware current can resolve compatibility issues.
Test Your Endstop for Issues:
Manually trigger the endstop by pressing it. Observe if the printer recognizes the trigger correctly.
Use commands like M119 to check endstop status in your printer’s terminal.
Example: Verify that the endstop responds as expected.
Replace the Endstops:
If all else fails, consider replacing the endstop switch.
Purchase a compatible replacement and follow installation instructions.
Example: Sometimes endstops wear out and need replacement.
IMG Source: repetier.com
In conclusion, the careful calibration and troubleshooting of Creality CR-10 endstops are crucial for maintaining the printer’s performance and achieving high-quality prints. By addressing common issues like endstop errors, dual Z motor misalignments, and calibration methods, you can optimize your printing experience and produce exceptional creations. Remember, the devil is in the details when it comes to 3D printing, and mastering the nuances of endstops will set you on the path to printing perfection with your Creality CR-10.