
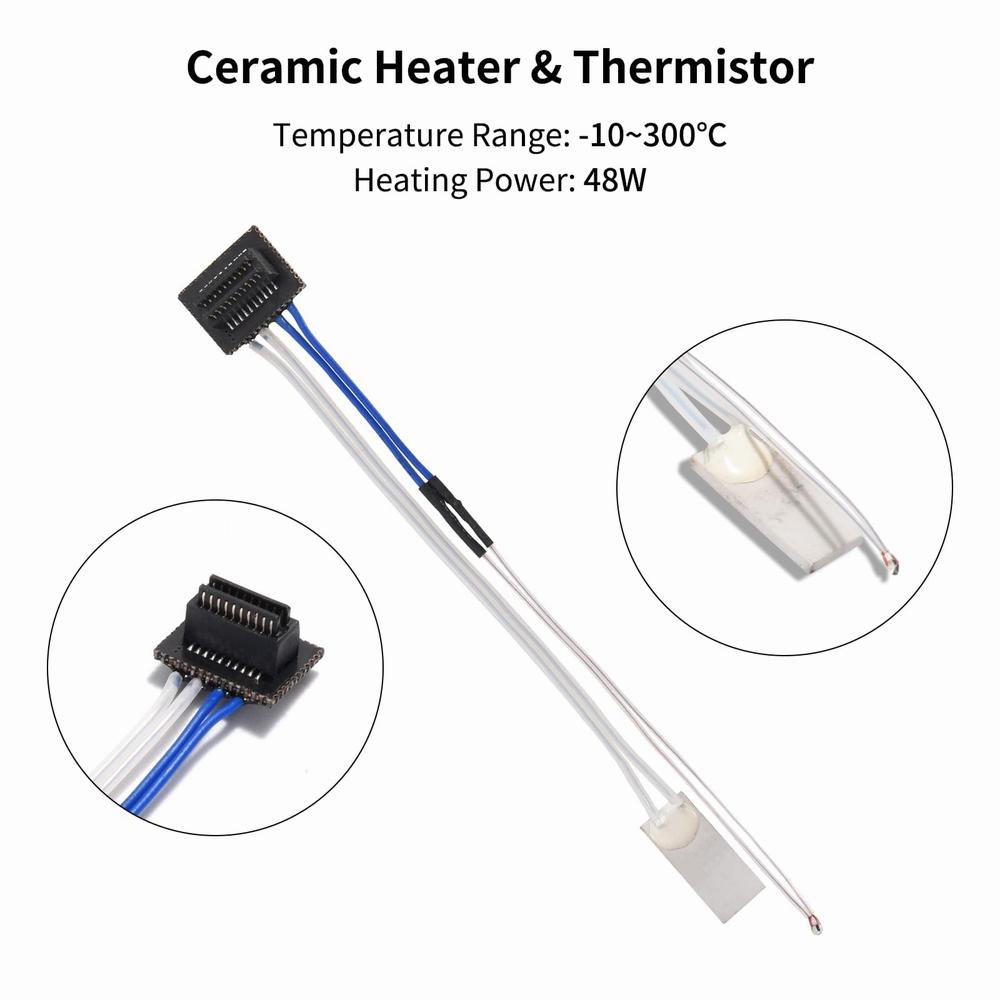
Welcome to the world of 3D printing innovation with the Bambu Lab P1S Heated Bed Thermistor. This advanced technology boasts a combined ceramic heater and thermistor module designed to enhance reliability under extreme conditions. Dive into the intricate features of the Bambu Lab P1S and discover how it can revolutionize your 3D printing experience.
The Bambu Lab P1P 3D printer features a combined ceramic heater and thermistor module, designed to enhance reliability under extreme conditions. Let’s delve into the details:
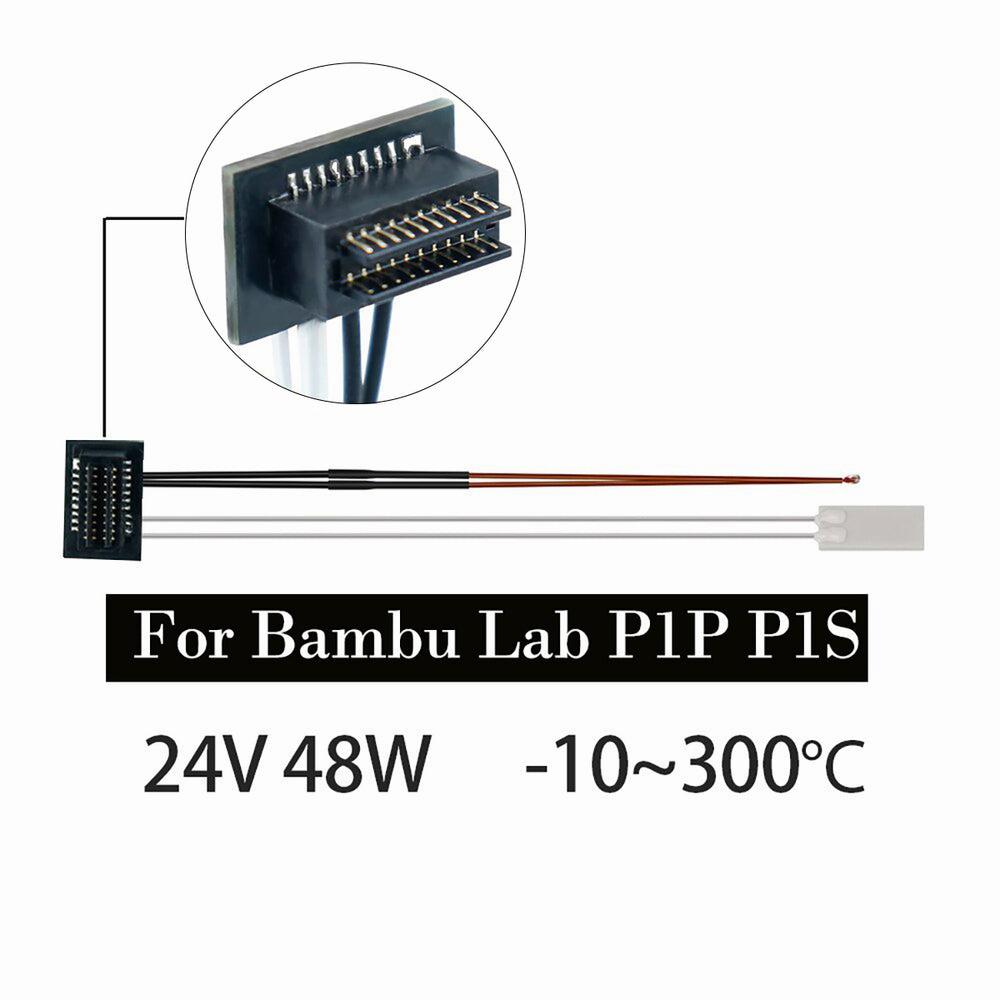
The Bambu Lab P1S Heated Bed Thermistor boasts the following features:
Integrated Design: The ceramic heater and thermistor are combined into one module with an integrated terminal connector. This design enhances the reliability of the terminal connector, even under extreme conditions.
Heating Capability: The ceramic heater can heat the nozzle up to a scorching 300°C.
Accurate Temperature Measurement: The thermistor provides highly accurate temperature measurement.
Structural Reliability: The thermistor also features a reliable structural design.
This module is specifically designed for the Bambu Lab P1P 3D printer. If you need to replace the ceramic heater and thermistor, you can find more information on the replacement process in the Bambu Lab Wiki. Here are the specifications:
IMG Source: kingroon.com
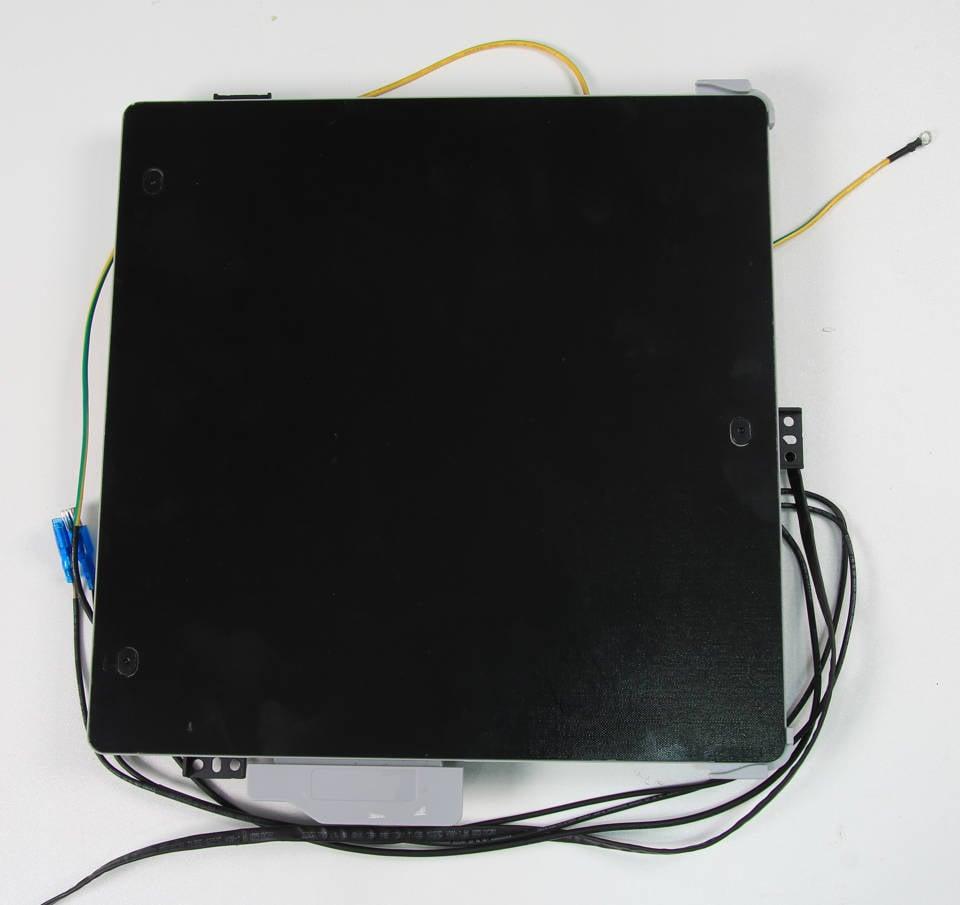
Here’s a quick start guide for installing the Bambu Lab P1S Heated Bed Thermistor:
Safety First: Before you begin, ensure that the printer is not connected to power. Safety precautions are essential during assembly.
Review the Entire Guide: Take a moment to go through the entire installation guide before proceeding. Familiarize yourself with the steps and components.
Assemble the Thermistor: Follow the instructions provided in the manual to properly install the thermistor on the heated bed. Make sure it is securely attached and positioned correctly.
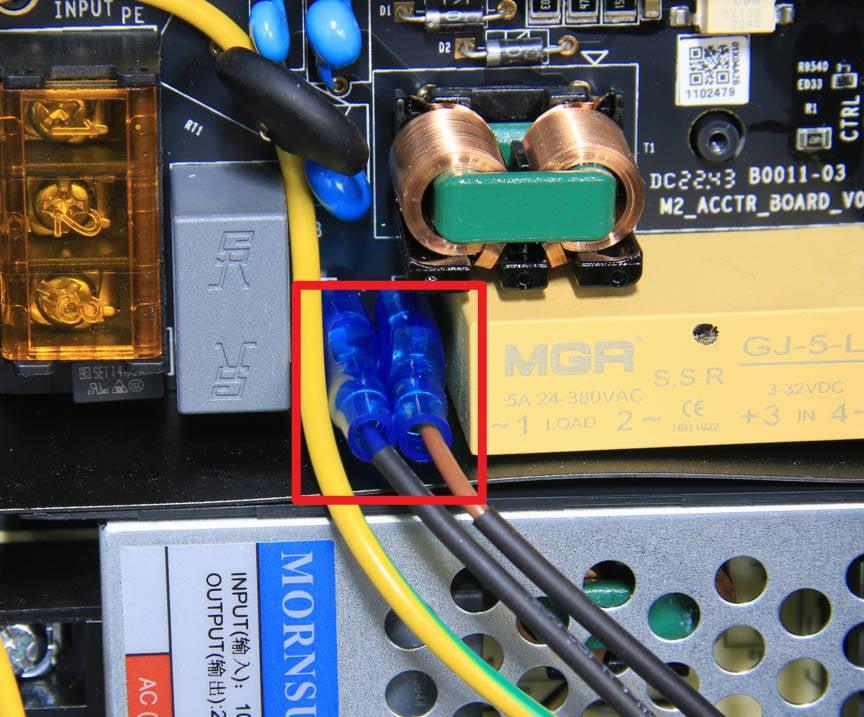
Wiring: Connect the thermistor wires to the appropriate terminals on your printer’s control board. Refer to the printer’s documentation for specific details on wiring.
Calibration: After installation, perform a calibration to ensure accurate temperature readings. You may need to adjust settings in your printer’s firmware or software.
Test Run: Once everything is set up, power on the printer and run a test print. Monitor the heated bed temperature using the thermistor.
Remember, safety is paramount. Take your time, follow the instructions carefully, and enjoy your printing experience with the Bambu Lab P1S! For more detailed information, you can refer to the P1S Quick Start Manual
IMG Source: bambulab.com
Here are some maintenance recommendations for the Bambu Lab P1S Heated Bed Thermistor:
Regular Inspection: Periodically check the thermistor for any signs of damage, wear, or loose connections. Ensure that the wiring is secure and free from fraying.
Calibration: Verify the accuracy of the thermistor’s temperature readings. If you notice any discrepancies, consider recalibrating it according to the printer’s specifications.
Cleaning: Keep the thermistor clean from dust, debris, or filament residue. Use a soft brush or compressed air to remove any particles that might affect its performance.
Secure Mounting: Ensure that the thermistor is securely attached to the heated bed. Loose mounting can lead to inaccurate temperature readings.
Cable Management: Organize the thermistor’s cables neatly to prevent tangling or strain. Proper cable management reduces the risk of damage.
Remember to consult the official Bambu Lab documentation for specific instructions related to your printer model
IMG Source: bambulab.com
Let’s dive into the user reviews for the Bambu Lab P1S Heated Bed Thermistor.
The Bambu Lab P1S is a 3D printer that has garnered attention for its impressive features. Here’s what users have to say:
Speed and Material Versatility:
Affordability and Features:
Specifications:
IMG Source: media-amazon.com
Explore the reviews and specifications to see why users are raving about the P1S and how it can elevate your printing projects to new heights.