Ultimate Guide to Anycubic Kobra 2 Neo Power Supply
Welcome to the world of 3D printing with the Anycubic Kobra 2 Neo! Today, we take a closer look at a crucial component that keeps this cutting-edge technology running smoothly – the Anycubic Kobra 2 Neo Power Supply. As we delve into the details of its power input, rated power, and troubleshooting steps, you’ll gain valuable insights into ensuring optimal performance and reliability for your 3D printer.
Anycubic Kobra 2 Neo 3D Printer Power Supply Details
The Anycubic Kobra 2 Neo 3D printer’s power supply is an essential component that ensures stable and reliable operation. Let’s delve into the details:
Power Input:
The power supply accepts both 110 V and 220 V AC input, operating at a frequency of 50 Hz or 60 Hz.
Rated Power:
The Anycubic Kobra 2 Neo’s power supply has a rated power output of 400 watts.
Troubleshooting Power Supply Issues:
If you encounter any power-related problems with your Kobra 2 Neo, consider the following steps:
Check the power supply input: Ensure that the correct voltage (110 V or 220 V) is supplied to the printer.
If you need to replace the power supply, you can find original replacement units from Anycubic. Additionally, there are helpful guides and videos available online to assist you in the replacement process
Key Power Supply Features
Let’s delve into the features of the Anycubic Kobra 2 Neo 3D printer’s power supply:
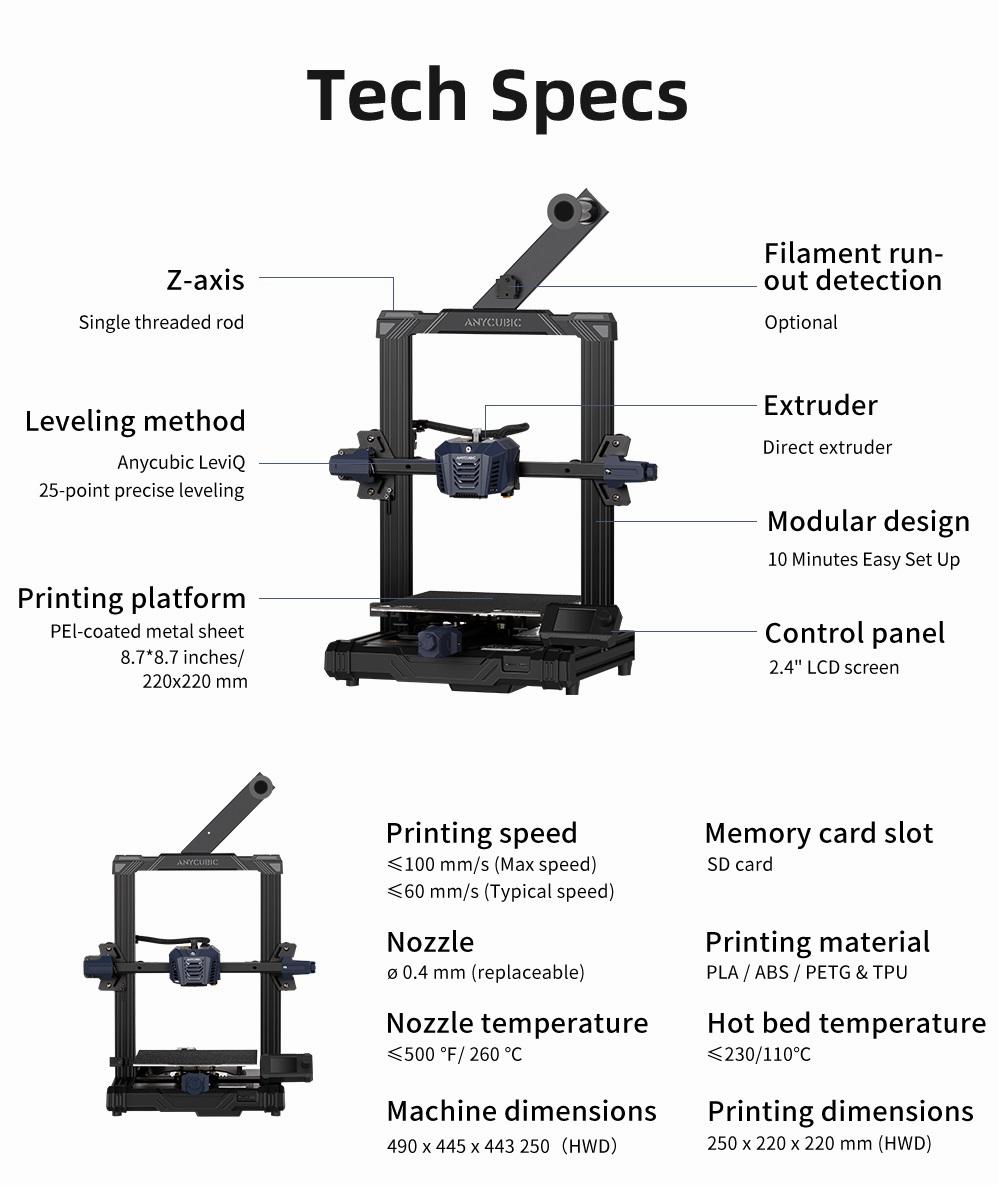
High-Speed Printing:
The Anycubic Kobra 2 Neo boasts a remarkable maximum print speed of 250mm/s. This rapid printing capability allows you to bring your ideas to life swiftly.
The recommended print speed is 150mm/s, striking a balance between precision and performance.
Power Supply Specifications:
Power Input: Supports both 110 V and 220 V AC at 50/60 Hz.
Rated Power: The power supply has a rating of 400 watts.
Troubleshooting Power Supply Issues:
If you encounter any power supply-related problems with your Anycubic Kobra 2 Neo, consider the following steps:
Check the power supply input to ensure it’s correctly connected and receiving the appropriate voltage.
Remember that the Anycubic Kobra 2 Neo offers a blend of precision, affordability, and impressive speed
IMG Source: anycubic.com
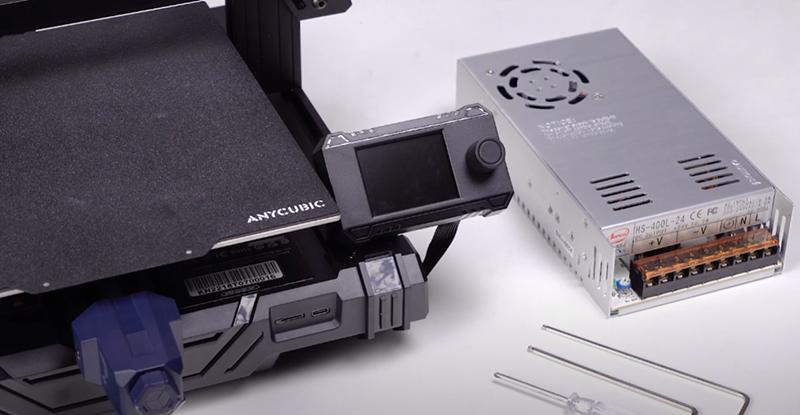
Anycubic Kobra 2 Neo Power Supply Replacement Guide
Let’s walk through the steps to replace the power supply for your Anycubic Kobra 2 Neo. Ensuring a smooth installation is essential for maintaining your printer’s functionality. Here’s a concise guide:
Required Tools:
Phillips screwdriver
M2.5 hex wrench
Disassembly Steps:
Turn off the printer.
Use the Phillips screwdriver and M2.5 hex wrench to remove any necessary screws or components that secure the existing power supply.
Installation Steps:
Install the new power supply in the designated location.
Secure it with the appropriate screws.
Ensure proper connections to the printer’s wiring.
Voltage Adjustment:
Confirm whether the input voltage mode (110 V / 220 V AC, 50 / 60 Hz) matches your local voltage.
Adjust the power supply to the correct voltage level based on your region.
Power-On Test:
Power on the printer and verify that the new power supply is functioning correctly.
For visual guidance, you can also refer to this YouTube video demonstrating the power supply replacement process.
IMG Source: shopify.com
Advantages of Anycubic Kobra 2 Neo
The Anycubic Kobra 2 Neo offers several advantages over its predecessor, the Anycubic Kobra 2. Let’s explore these differences:
Printing Speed:
The Kobra 2 Neo boasts faster printing speeds, allowing you to complete your 3D prints more swiftly.
This high-speed capability is especially beneficial for those who value efficiency and productivity.
The Kobra 2 Neo offers these improvements at a more affordable price point compared to the original Kobra.
If you’re looking for a cost-effective entry-level 3D printer, the Kobra 2 Neo is an excellent choice.
In summary, the Anycubic Kobra 2 Neo
IMG Source: ytimg.com
Troubleshooting Power Supply Issues with Anycubic Kobra 2 Neo
If you’re experiencing issues with the power supply of your Anycubic Kobra 2 Neo, here are some troubleshooting tips to help you identify and resolve common problems:
Check Power Supply Input:
Verify that the power supply is correctly connected to the printer.
Ensure that the input voltage matches the specifications (110 V / 220 V AC, 50 / 60 Hz).
Confirm that the power supply switch is in the correct position.
Blown Fuse:
Inspect the 3D printer’s fuse. If it’s blown, replace it with a new one.
A blown fuse can prevent the printer from turning on.
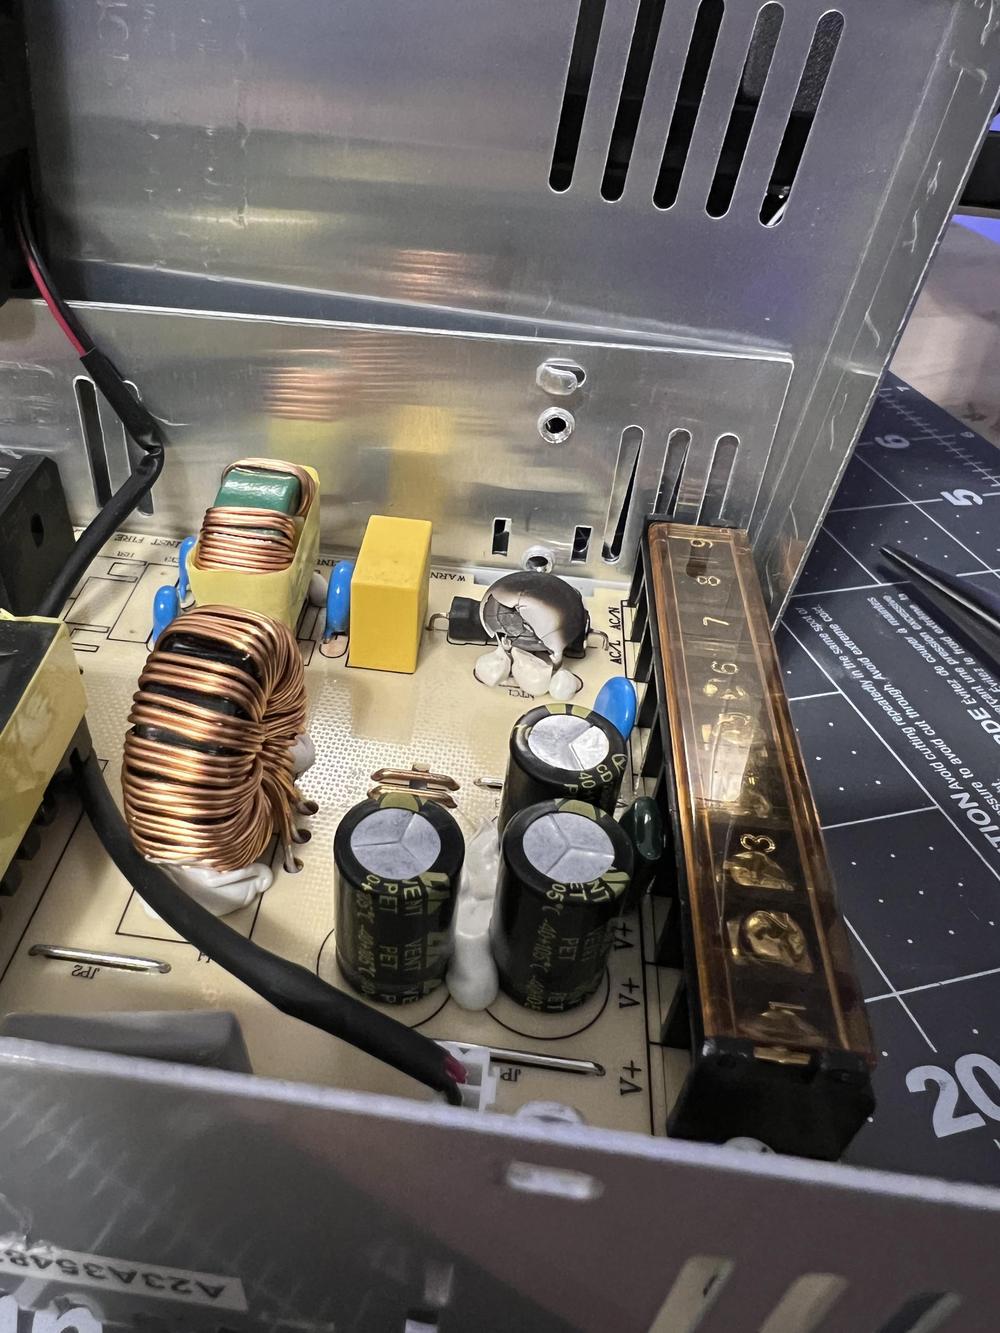
Faulty Power Supply Unit (PSU):
If the fuse is intact but the printer still won’t turn on, the PSU might be faulty.
Consider replacing the power supply unit with a compatible one.
Damaged Motherboard:
In serious cases, a malfunctioning motherboard can cause power supply issues.
Inspect the motherboard for any visible damage or burnt components.
Remember to follow safety precautions when handling electrical components. If you’re unsure or need further assistance, refer to the official Anycubic Kobra Neo Power Supply Replacement Guide. Additionally, contacting Anycubic support can provide specific guidance based on your situation.
IMG Source: redd.it
In conclusion, the Anycubic Kobra 2 Neo Power Supply plays a vital role in the functionality and efficiency of your 3D printing experience. By understanding its power input specifications, troubleshooting techniques, and proper maintenance, you can ensure seamless operation and accurate prints. Whether you’re a beginner or a seasoned 3D printing enthusiast, having a solid grasp of your printer’s power supply is key to unleashing its full potential.
Remember, a well-maintained power supply is the backbone of your Anycubic Kobra 2 Neo, paving the way for endless creative possibilities.