Ultimate Guide to Anycubic Kobra 2 Neo Heated Bed Thermistor
Welcome to the world of 3D printing with the Anycubic Kobra 2 Neo! Today, we’re focusing on a key component that ensures successful printing outcomes – the Anycubic Kobra 2 Neo Heated Bed Thermistor. Delve into the details of this essential feature that plays a critical role in temperature sensing and calibration within your 3D printer.
Anycubic Kobra 2 Neo 3D Printer with Heated Bed
The Anycubic Kobra 2 Neo 3D printer features a heated bed, an essential component for successful 3D printing. Let’s delve into the details:
Anycubic Kobra 2 Neo Thermistor Functionality
The Anycubic Kobra 2 Neo is a budget-friendly 3D printer that offers impressive printing speeds of up to 250mm/s while maintaining quality and precision. If you’re looking for an affordable option, this could be your prime choice.
Now, let’s delve into the thermistor functionality for the Kobra 2 Neo. The thermistor plays a crucial role in temperature sensing within the printer’s hotend. Here are some details:
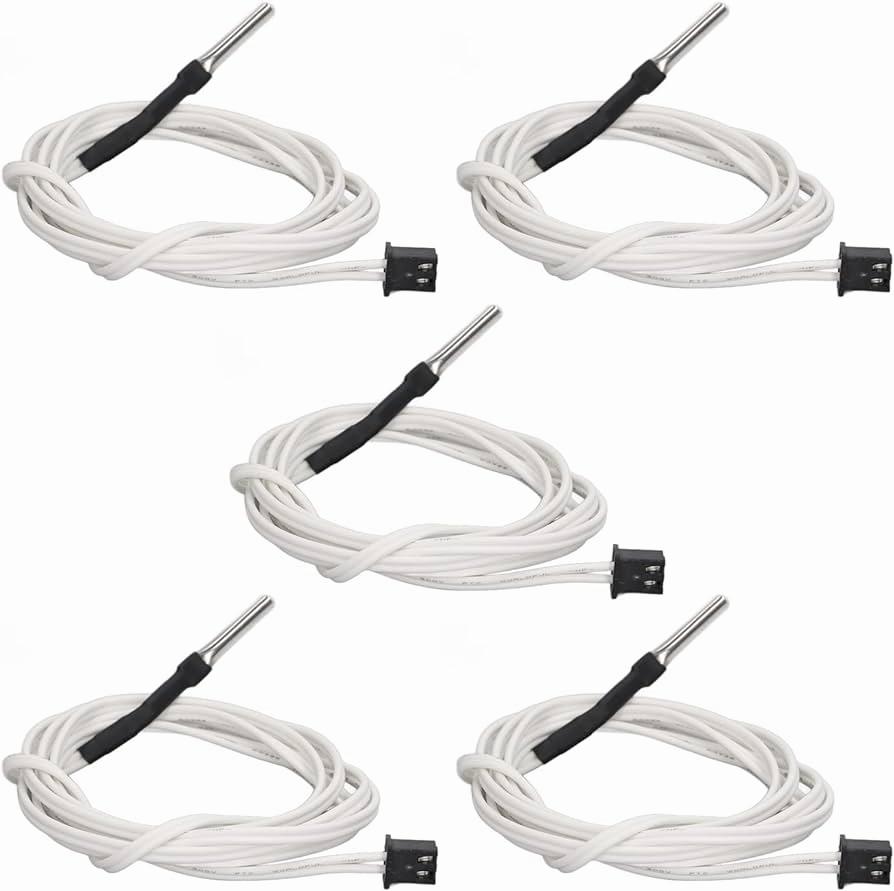
Type of Thermistor:
The Kobra 2 Neo uses a PT100 thermistor.
When installing the thermistor, ensure that it is positioned at the depth of the grub screw that holds it in place.
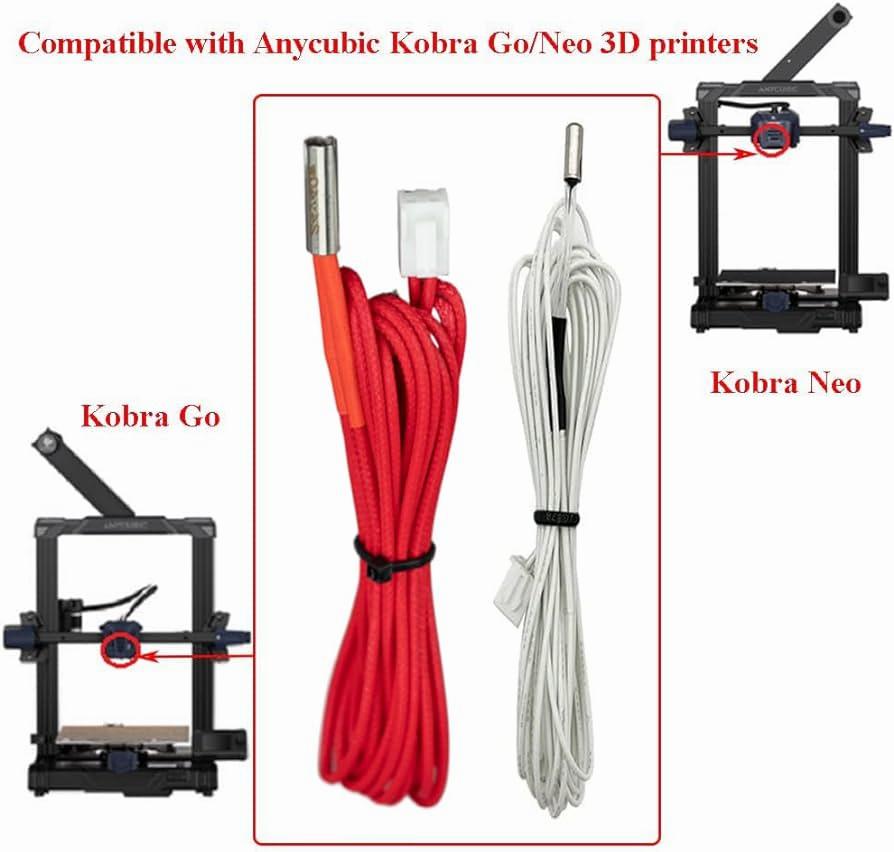
Compatibility:
Any ATC Semitec 104GT-2/104NT-4-R025H42G type thermistor should work with the Kobra 2 Neo.
While the name might sound specific, this type of thermistor is actually quite common among budget printers.
IMG Source: alicdn.com
Thermistor Installation
Let’s get you started with the thermistor installation for your Anycubic Kobra 2 Neo. Follow these steps to ensure a successful setup:
Unboxing and Inspection:
Begin by unboxing your Anycubic Kobra 2 Neo.
Inspect the contents to ensure everything is present and undamaged.
Quick Assembly:
You’ll need the hex keys and wrench that come with the printer.
Assemble the printer following the instructions provided in the Quick Start Guide.
Pay attention to the X-axis bracket and coupler adjustments.
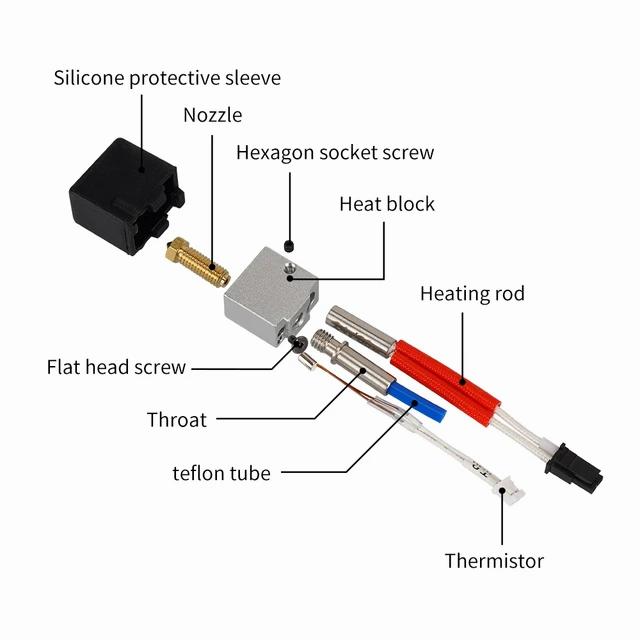
Thermistor Installation:
Locate the thermistor (the temperature sensor) and identify the small hole designated for it.
Insert the thermistor into the small hole, ensuring it reaches the depth of the grub screw that holds it in place.
Tighten the grub screw securely to prevent any movement.
The thermistor is crucial for accurate temperature readings during printing.
Heater Cartridge Installation:
The heater cartridge (responsible for heating the hotend) goes into the larger hole.
Insert the heater cartridge and clamp it down using the screws on the side.
Ensure it is firmly secured.
Final Checks:
Double-check all connections and ensure there are no loose wires.
Verify that the Z aluminum beam is accurately mounted onto the groove of the base aluminum beam.
Inspect the entire assembly for any missed steps.
Power-Up and Calibration:
Power on your Anycubic Kobra 2 Neo.
Follow the printer’s menu prompts to calibrate the bed and level the hotend.
Once calibrated, you’re ready for your first print!
Remember to consult the official user manual
!Anycubic Kobra 2 Neo
IMG Source: media-amazon.com
Troubleshooting Thermistor Issues on Anycubic Kobra 2 Neo
The Anycubic Kobra 2 Neo is a desktop-grade FDM 3D printer known for its high-speed printing capabilities. If you’re experiencing issues related to the thermistor, here are some troubleshooting steps you can follow:
Check the Hot End Fan:
The hot end fan plays a crucial role in cooling the filament extruded from the nozzle. It prevents overheating and ensures stable printing quality, especially when using materials like PLA that require rapid cooling.
Signs of a malfunctioning hot end fan include:
Overheating of the hot end.
Abnormal fan running sound.
Filament clogging at the cold end.
Inconsistent filament cooling.
If you notice any of these signs, it’s essential to address the issue promptly.
Replacement: If the hot end fan fails or wears out due to long-term use, consider replacing it with a new one. Choose a fan that is compatible with your printer model and ensures proper cooling and printing results.
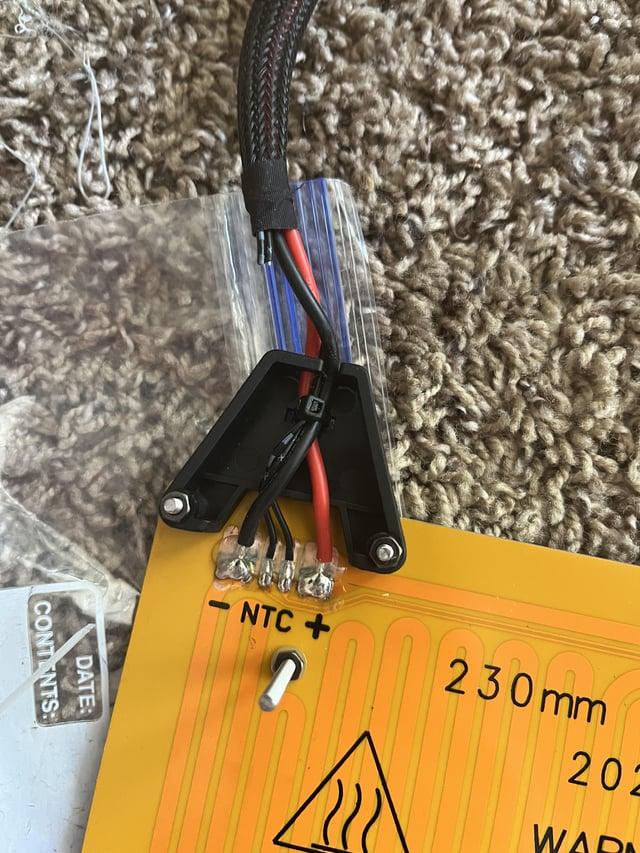
Thermal Runaway Error:
If you encounter a thermal runaway error, follow these steps:
Power off your Anycubic printer.
Remove the fan shroud by unscrewing it.
Shorten the zip ties holding the wires in place.
Detach the screw holding the thermistor in its proper position.
Replacing the Hot End:
When the hot end is worn out or malfunctioning, replacing it can prevent issues like frequent clogging and poor layer adhesion.
Filament Removal: Before replacing the hot end, ensure that you remove the filament.
Detailed steps for replacing the hot end of the Anycubic Kobra 2 Neo can be found in the printer’s instruction manual or specific advice based on your model.
IMG Source: redd.it
Exploring 3D Printer Thermistors
Let’s delve into the world of 3D printer thermistors and explore their compatibility with popular models, as well as potential upgrade options for enhanced printing performance.
Understanding Thermistors:
Virtually every 3D printer incorporates one or more thermistors. These tiny sensors play a crucial role in monitoring temperature.
A thermistor is a type of resistor whose resistance changes significantly with temperature. In 3D printers, they help regulate the hotend and heated bed temperatures.
Compatibility and Replacement:
When considering thermistor replacement or upgrades, keep the following points in mind:
Purchase the Right Replacement: Ensure you select a thermistor that is compatible with your specific printer model.
Firmware Modification: If you switch to a different thermistor model, you’ll need to modify your printer’s firmware. This involves updating the specific resistance-temperature (RT) table for the new thermistor. Otherwise, temperature measurements may be inaccurate.
Identical Replacement: If firmware modification isn’t feasible, always replace the thermistor with an identical one to maintain accurate temperature readings.
Upgrade Options:
While upgrading thermistors, consider the following options:
HICTOP 100K ohm NTC 3950 Thermistors: These are reliable replacements for many 3D printers.
Creality 3D Printer NTC Thermistor Temp Sensor: Specifically designed for Creality printers, this thermistor ensures precise temperature control.
Other High-Quality Thermistors: Explore reputable brands and models that offer improved accuracy and stability.
IMG Source: media-amazon.com
As we wrap up our exploration of the Anycubic Kobra 2 Neo Heated Bed Thermistor, it’s evident that understanding and maintaining this component is vital for achieving quality prints. Whether you’re new to 3D printing or a seasoned enthusiast, the proper installation and troubleshooting of the thermistor can make a significant difference in print accuracy and performance. By following the outlined steps and tips, you can harness the full potential of your Anycubic Kobra 2 Neo and elevate your printing experience to new heights.
Remember, precision in temperature control is the key to unlocking flawless creations with your 3D printer.