Anycubic Kobra 2 Neo Endstops: A Comprehensive Guide
Welcome to a detailed exploration of the Anycubic Kobra 2 Neo and its essential components – the endstops. The proper functioning of endstops is crucial for accurate positioning and safety in 3D printing. Join us as we delve into the world of Anycubic Kobra 2 Neo endstops and unravel their significance in enhancing your printing experience.
Understanding Endstops on the Anycubic Kobra 2 Neo
The Anycubic Kobra 2 Neo is a 3D printer that comes with several features, including endstops. Endstops are crucial components that help the printer determine its position along the X, Y, and Z axes. Let’s explore some relevant information about the endstops for the Anycubic Kobra 2 Neo:
The Importance of Endstops in 3D Printing
Endstops play a crucial role in 3D printing by ensuring accurate positioning and safety. Let’s delve into the details:
Purpose of Endstops:
Reference System for Axes: When a 3D printer powers up, its controller board doesn’t know the initial position of its axes. Endstops help establish this starting point through a process called homing. Homing can be initiated using G-code (G28) or via the LCD controller.
Safety: Endstops protect the hardware from damage by halting movement if it exceeds the physical limits of the machine.
Types of Endstops:
Hardware Endstops:
These are electrically connected to the endstop ports on the printer control board.
They provide a signal when the endstop condition is met.
Common types include:
Micro Switches: Simple and cost-effective.
Optical Endstops (Light Barriers): Use transistors to detect obstacles.
Hall Effect Sensors (Magnetic): Detect magnetic fields.
Normally Closed (NC) switches are recommended for safety.
Probes as Z-Endstops: Probes can act as endstops for the minimum Z-axis. Unlike fixed endstops, probes are mounted on the print head and can move freely across the bed.
Software Endstops:
Typically, 3D printers have hardware endstops on one side of each axis (minimum or maximum).
To protect the other side of the axes, software endstops are defined in the firmware.
These software endstops prevent movement beyond the commanded stop of the axis.
Accuracy and Precision:
Endstops need to be precise enough for the motor’s positioning accuracy.
A typical 3D printer can accurately position within +/- one 1/16th microstep (around +/- 0.01 mm).
Mechanical switches (micro switches) are often a reasonable default choice due to simplicity and affordability.
Noise rejection can be an issue with mechanical switches.
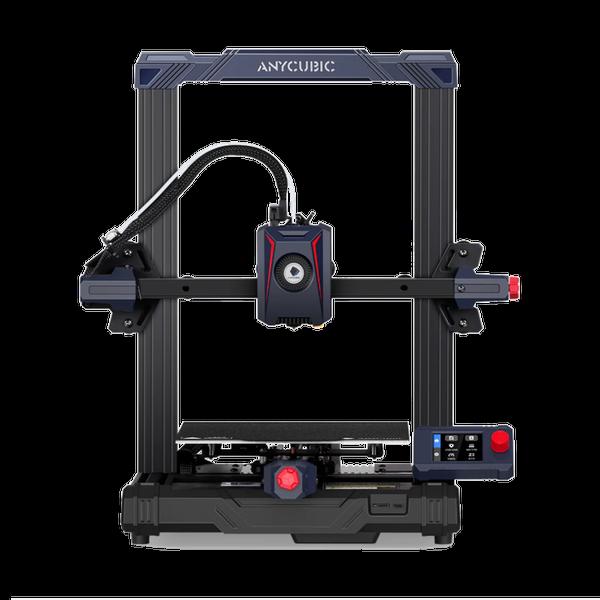
The Anycubic Kobra 2 Neo and its endstops are worth comparing to understand their performance differences. Let’s delve into the details:
Anycubic Kobra 2 Neo:
Printing Speed: The Kobra 2 Neo is an entry-level fast 3D printer. It offers a balance between speed and affordability. Notably, it supports automatic leveling, making it user-friendly.
Features:
Automatic Leveling: Simplifies bed calibration.
Cost-Effective: A budget-friendly option.
Performance: While it may not be the fastest in the Kobra 2 series, it strikes a good balance for beginners.
Price: The Kobra 2 Neo is competitively priced.
Comparison: Outperforms the Kobra Neo in terms of printing speed, convenience, and price .
Anycubic Kobra 2 Series:
The Kobra 2 Series includes several models, each catering to different needs:
Kobra 2 Pro: The fastest in the series, with a standard print speed of 300 mm/s (max speed of 500 mm/s). It completes a 3D Benchy model in just 14 minutes and 56 seconds, an 86% reduction compared to conventional FDM printers.
Kobra 2 Max: Offers the largest build volume, making it ideal for large-format prints.
Kobra 2 Plus: An all-rounded fast 3D printer with various features.
Kobra 2 Neo: The most cost-effective entry-level option, supporting automatic leveling.
Common Features:
Double Z-axis: Enhances stability.
Built-in Storage: Convenient for storing files.
LeviQ 2.0 Automatic Leveling: Ensures precise bed leveling.
Purpose: Anycubic designed the Kobra 2 Series to be fast, stable, smart, and user-friendly.
Choice of Speed: If speed is your priority, consider the Kobra 2 Pro.
Choice of Large Format: For large-scale prints, the Kobra 2 Max is the flagship choice.
Choice of Balance: The Kobra 2 Plus strikes a balance between features and affordability .
IMG Source: imagekit.io
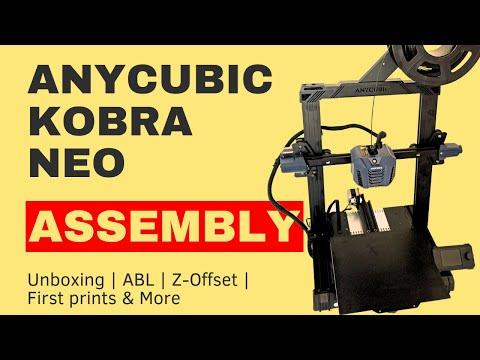
Quick Guide for Anycubic Kobra 2 Neo Installation
Let’s get you started with the Anycubic Kobra 2 Neo. Here’s a quick guide for installing the endstops:
Unboxing and Initial Inspection:
Begin by unboxing your Anycubic Kobra 2 Neo.
Inspect the components to ensure everything is in good condition.
Assembling the Printer:
You’ll need a set of hex keys and a wrench that come with the Kobra 2 Neo.
Follow these steps for quick assembly:
Cut off the zip tie on the X-axis bracket.
Turn the coupler to raise the X-axis (back side).
Install the frame, making sure the Z aluminum beam is accurately mounted onto the groove of the base aluminum beam.
Initial Setup:
Once assembled, power up your printer.
Calibrate the bed and level it properly.
Check the endstops to ensure they are correctly positioned and functioning.
First Print:
Load your preferred filament.
Choose or create a 3D model to print.
Start your first print job and observe the printer’s performance.
Remember to consult the official Anycubic Kobra 2 Neo user manual for detailed instructions and safety precautions
IMG Source: ytimg.com
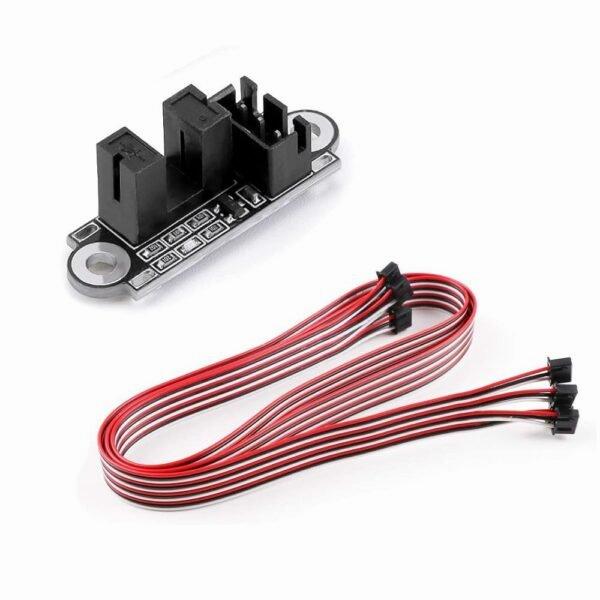
Troubleshooting Endstop Issues on Anycubic Kobra 2 Neo 3D Printer
When dealing with endstop issues on your Anycubic Kobra 2 Neo 3D printer, there are several steps you can take to troubleshoot and resolve the problem. Let’s dive into some tips:
IMG Source: shopify.com
In conclusion, understanding the role of endstops in the Anycubic Kobra 2 Neo is vital for optimizing your 3D printing process. These components serve as the bedrock for precise positioning and safe operation of your printer. By following the installation guide and troubleshooting tips provided, you can make the most of your Anycubic Kobra 2 Neo endstops and elevate your printing projects to new levels of accuracy and efficiency.