Are you experiencing power supply issues with your Anycubic Kobra 2 Max3D printer? Replacing the power supply is a crucial maintenance step that can ensure the smooth operation of your printer. In this article, we will explore the original replacement power supply available from Anycubic specifically designed for the Anycubic Kobra 2 Max.
Additionally, we will delve into common power supply problems associated with this printer and provide a detailed guide on how to replace the power supply safely and effectively.
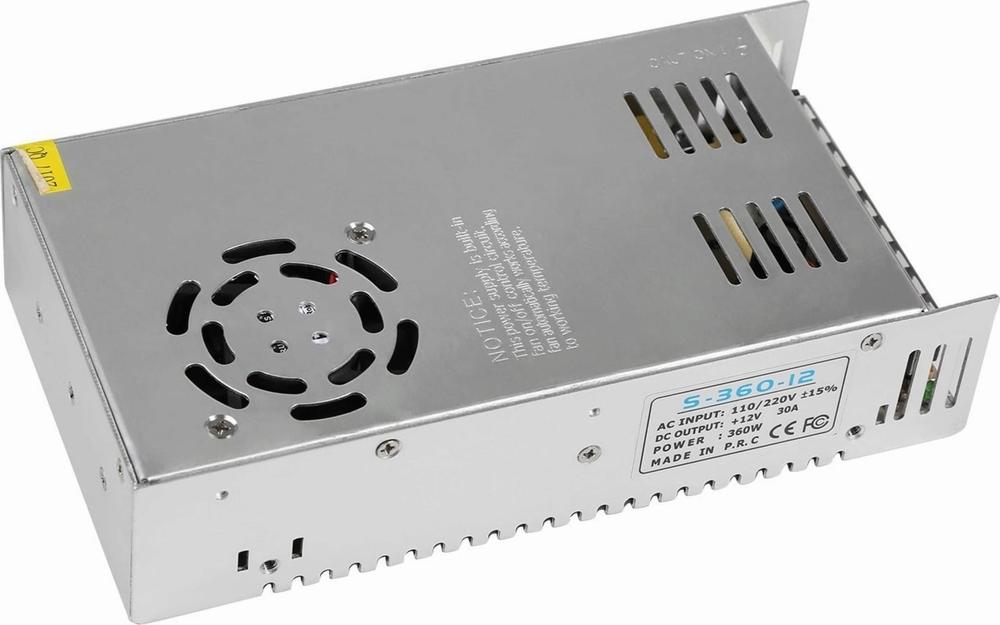
Anycubic Kobra 2 Max 3D Printer Power Supply Replacement
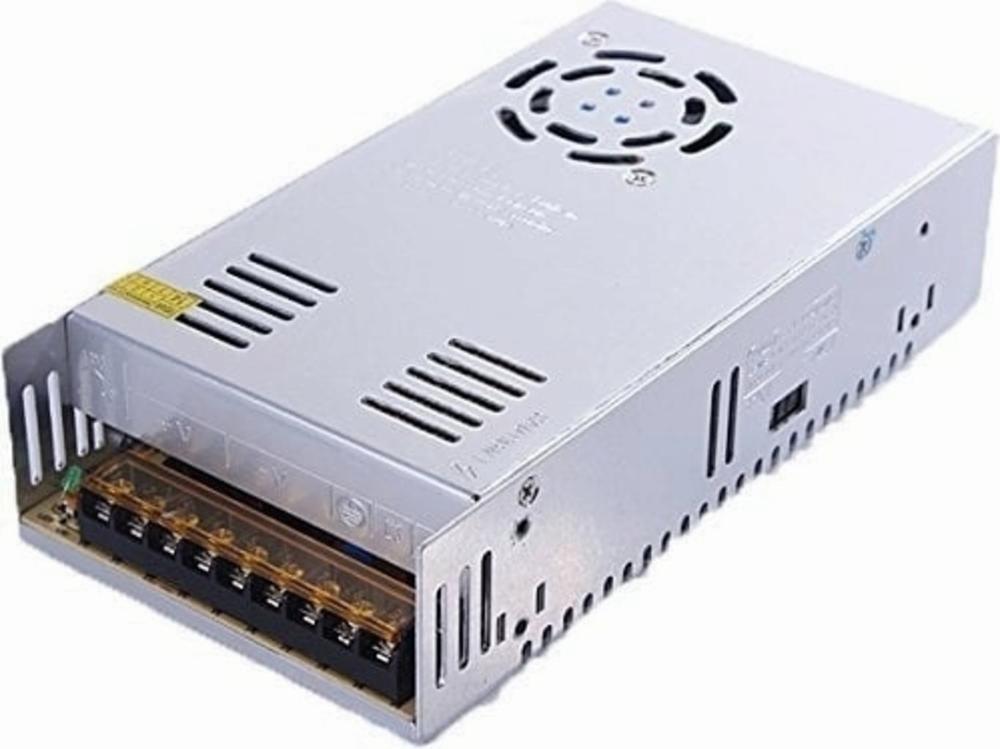
The Anycubic Kobra 2 Max 3D printer’s original replacement power supply is available from Anycubic. It is compatible with several other Anycubic models as well, including the Anycubic Vyper, Anycubic Kobra Max, Anycubic Kobra Plus, Anycubic Kobra Go, Anycubic Kobra Neo, Anycubic Kobra 2, Anycubic Kobra 2 Pro, Anycubic Kobra 2 Neo, Anycubic Kobra 2 Plus, and of course, the Anycubic Kobra 2 Max.
Here are some details about the replacement power supply:
Model Type: Kobra 2 Max
Price: $54.68 (excluding VAT and delivery costs)
Input Voltage: 110-220V (compatible with UK power supply at 230V)
Content: 1 power supply unit
Before replacing the power supply, ensure that the printer is turned off and the power cord is unplugged. If you need to replace the power supply for your Anycubic Kobra 2 Max, follow the manufacturer’s guidelines and use the appropriate tools, such as M2.5 and M3.0 hex keys and a Phillips screwdriver.
Anycubic Kobra 2 Max 3D Printer Specifications
Let’s delve into the technical specifications of the Anycubic Kobra 2 Max 3D printer.
Build Volume:
The Anycubic Kobra 2 Max boasts a massive build volume, allowing you to create larger and more intricate objects within a single print job. The specific dimensions are 420 mm (length) × 420 mm (width) × 500 mm (height).
Printing Speed:
The maximum printing speed of the Anycubic Kobra 2 Max is 500 mm/s (millimeters per second), which ensures rapid and efficient printing.
Automatic Leveling:
The printer features an upgraded LeviQ 2.0 automatic leveling system, simplifying the calibration process and enhancing overall print quality.
Power Supply:
The Anycubic Kobra 2 Max utilizes an original replacement power supply from Anycubic. Unfortunately, the specific technical details of the power supply (such as voltage, wattage, and current) are not explicitly mentioned in the available information.
Step-by-Step Power Supply Replacement Guide for Anycubic Kobra II Max
Here’s a step-by-step guide on how to replace the power supply for your Anycubic Kobra 2 Max:
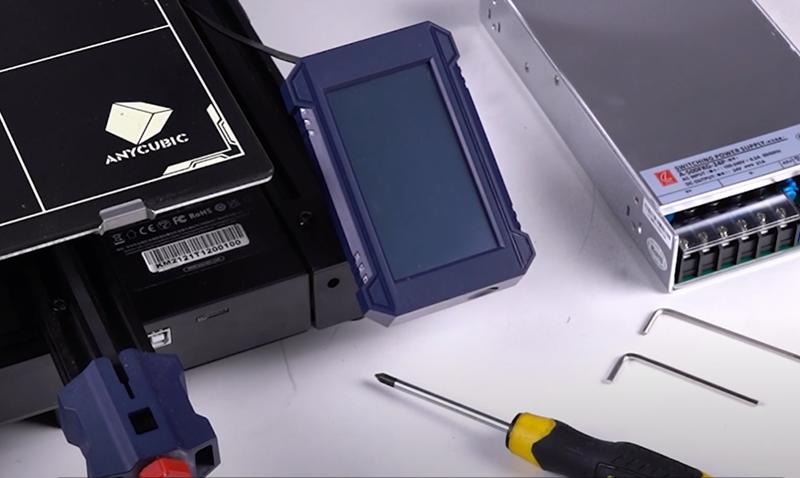
Tools Needed:
M2.5 hex key
M3.0 hex key
Phillips screwdriver
New power supply
Safety First:
Ensure that the printer is turned off.
Unplug the power cord.
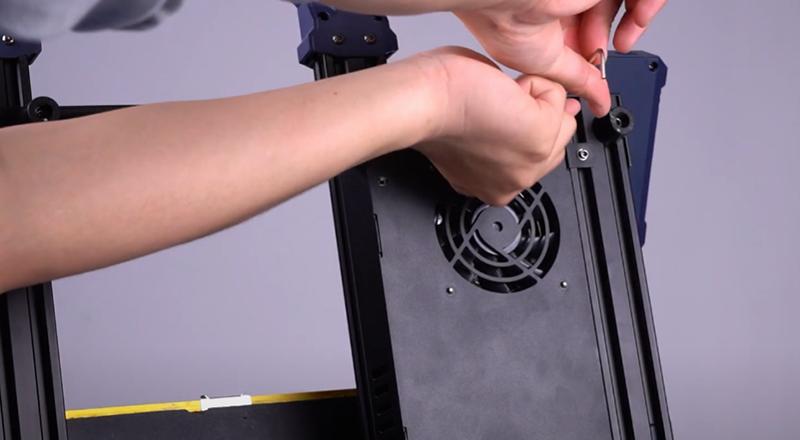
Access the Bottom Cover:
Use the M2.5 hex key to loosen the screws securing the bottom cover of the printer.
Remove the Bottom Cover:
Once the screws are loosened, remove the bottom cover to access the internal components.
Locate the Power Supply:
Identify the existing power supply unit. It should be connected to the mainboard and other components.
Disconnect the Old Power Supply:
Unplug the power supply cables from the mainboard and any other connected components.
Remove any securing screws or brackets holding the old power supply in place.
Install the New Power Supply:
Position the new power supply in the same location as the old one.
Secure it with the appropriate screws or brackets.
Reconnect the power supply cables to the mainboard and other components.
Replace the Bottom Cover:
Put back the bottom cover and tighten the screws to secure it in place.
Double-Check Connections:
Ensure all connections are secure and properly plugged in.
Power On and Test:
Plug in the power cord.
Turn on the printer and verify that the new power supply is functioning correctly.
Remember to follow safety precautions and consult your printer’s manual if you encounter any issues during the process. .
For visual assistance, you can also watch this YouTube video on replacing the power supply for the Anycubic Kobra II: Watch Video.
IMG Source: shopify.com
Common Power Supply Problems with Anycubic Kobra 2 Max 3D Printer
The Anycubic Kobra 2 Max is a 3D printer that has garnered attention, but like any complex device, it can encounter issues. Let’s delve into some common power supply problems associated with this printer:
Auto-Leveling Issues:
Some users have reported problems with the auto-leveling feature. For instance, after setting up the auto-leveling, the printer may still encounter issues during printing.
In one case, the hot end grounded into the metal plate, causing damage to the plate itself. This issue rendered the plate unusable and required ordering a replacement.
Additionally, prints may fail at various points during longer jobs (typically between 10% and 30% completion).
Smaller prints might also exhibit issues, such as skipping layers or misalignment.
Print Stopping with Error Message:
When prints fail, the screen displays the message: “waiting for cache command to complete.”
Unfortunately, there’s no way to resume the print once this error occurs. The only option is to shut down the printer and lose the ongoing print.
Firmware Update:
Anycubic recommends updating the firmware to version 2.3.6 through OTA (Over-The-Air) updates.
Some users have designed custom filament relocation brackets to mount on the top rail of the Kobra 2 Max. This allows for better space utilization and filament management.
You’ll need to order a pack of T-nuts from McMaster-Carr and two M5 x 20mm screws with flat washers for mounting to the top rail.
Filament Run-Out Sensor Relocation Bracket:
Another enhancement involves relocating the filament run-out sensor to straighten the filament feed path.
This bracket allows the filament to feed directly into the top of the extruder.
You’ll need two M5 x 20mm screws with flat washers and two M5 T-nuts to mount it to the top rail.
Additionally, you’ll need to ream out the holes slightly in the sensor to accommodate 6/32 screws for mounting.
Route a new two-conductor wire from the old mount location to the new location on the top rail.
LED Work Light:
Some users have installed a dimmable LED work light under the top extrusion rail to provide additional illumination to the work surface.
Stylus Pen Clip:
If you like using a stylus pen, consider designing a custom pen clip that can be installed onto the side of the printer operator’s touch screen.
Secure it using 3M double-sided tape to the touchscreen housing.
USB-Powered LED Strip Light:
Installing a 12-inch USB-powered LED strip light under the top rail can provide more concentrated light onto the build plate.
Use ty-wraps to secure the light and wiring from the USB port up to the top rail.
Considerations:
While these enhancements are great, some users suggest a few tweaks:
For filament roll relocation, consider making an adapter from the two mounting holes to the top rail T-slot. This would allow the use of ball-bearing filament designs that work with the OEM metal filament bracket.
Regarding the run-out sensor relocation, moving the spool to the top renders its original location completely useless. However, ensure that the bowden tube remains functional after this modification.
IMG Source: nice-cdn.com
Ensuring a reliable power supply is essential for the optimal performance of your Anycubic Kobra 2 Max. By understanding the compatibility of the replacement power supply and potential enhancements for your printer, you can address any power-related issues effectively. Remember to follow the provided step-by-step guide for replacing the power supply and consider the outlined enhancements to further enhance your printing experience.
With this information at your disposal, you can confidently tackle power supply issues and maximize the capabilities of your Anycubic Kobra 2 Max 3D printer.