Ultimate Guide to Anycubic Kobra 2 Max Bowden Tube
Are you ready to dive into the world of 3D printing with your Anycubic Kobra 2 Max? One crucial component you’ll need to master is the Bowden Tube, which plays a vital role in guiding filament for your prints. Let’s explore a step-by-step guide to installing and maintaining the Anycubic Kobra 2 Max Bowden Tube to ensure seamless printing experiences.
Anycubic Kobra 2 Max Hot End Replacement Guide
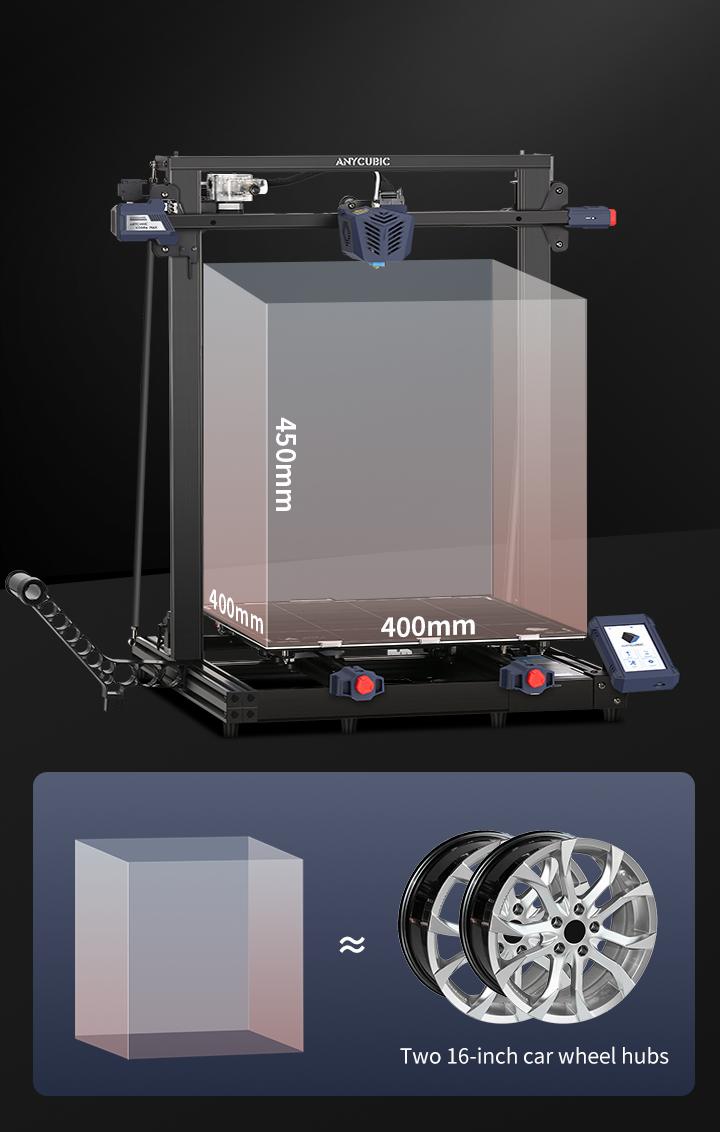
The Anycubic Kobra 2 Max is a popular large-format FDM printer known for its impressive print size of 400x400x450mm. If you’re looking to maintain or replace the hot end of your Kobra Max, here’s a step-by-step guide:
Safety First: Before proceeding, remove the filament from the print head, turn off the printer, and unplug the power plug to ensure safety.
Tools Needed: Gather your tools, including an M2.0 hex wrench and a new hot end.
Step-by-Step Replacement:
Step 1: Use the M2.0 hex key to remove the four screws securing the housing around the hot end. Also, unplug the wiring connector that connects to the print head.
Step 2: Press the quick connector and pull off the Teflon tube (also known as the Bowden tube). This tube connects the hot end to the extruder.
Step 3: Replace the old hot end with the new one. Reconnect the Teflon tube to the print head.
Step 4: Securely install the new hot end by using the M2.0 hex key to tighten the four screws. Reconnect the wiring plug to the print head.
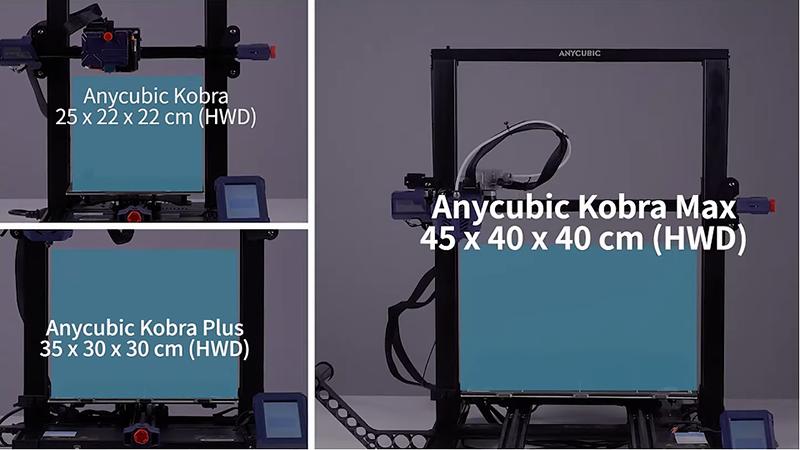
Large Print Size: The build volume is 88L, allowing for substantial creations. The print area dimensions are 420mm x 420mm x 500mm.
Automatic Leveling: The Kobra 2 Max features an upgraded LeviQ 2.0 automatic bed leveling system.
Material Compatibility: It supports High-Speed PLA filament.
Accessories Bundle: You can choose from different bundle options, including a painting kit.
The Anycubic Kobra 2 Max is designed for speed, precision, and ease of use. Whether you’re a seasoned maker or a beginner, this printer offers a great 3D printing experience. You can find more details and pricing on the official Anycubic website
IMG Source: shopify.com
Installing the Bowden Tube
Let’s walk through the installation process for the Bowden Tube on the Anycubic Kobra 2 Max. Follow these steps to ensure a successful setup:
Unboxing and Initial Setup:
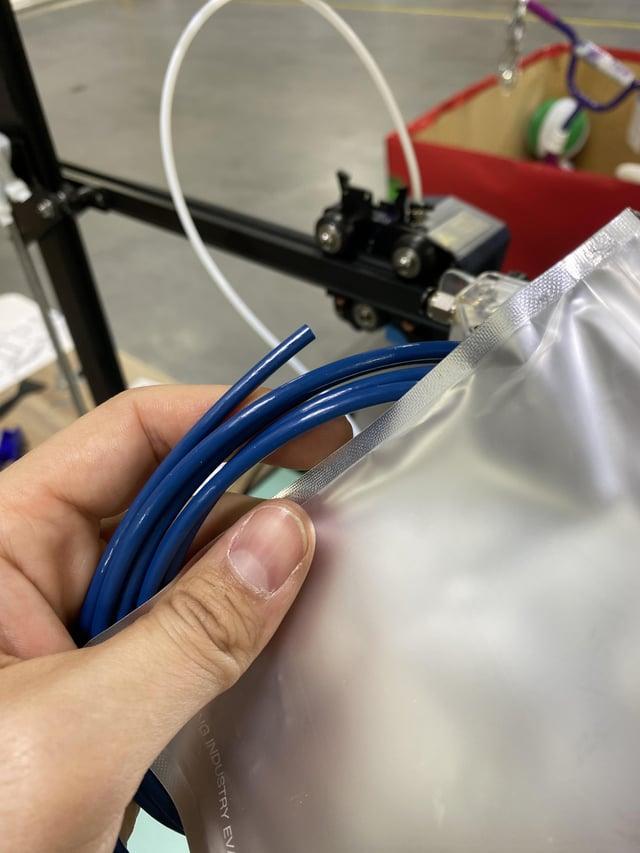
Begin by unboxing your Anycubic Kobra 2 Max. Grip the tracks on both sides of the Kobra 2 Max base to carefully remove it from the box. Remember that there are also accessory parts and kits included.
Take a moment to familiarize yourself with the components and layout.
Installing the Bowden Tube:
Locate the Bowden tube, which is responsible for guiding filament from the extruder to the hot end.
The Bowden tube typically connects to the extruder assembly and runs along the X-axis.
Cut off any zip ties or packaging materials that secure the Bowden tube in place.
Ensure that the tube is properly seated in the couplers at both ends (extruder and hot end).
If necessary, adjust the coupler to raise or lower the X-axis assembly to align with the Bowden tube.
Make sure the Z aluminum beam is accurately mounted onto the groove of the base aluminum beam.
Testing and Calibration:
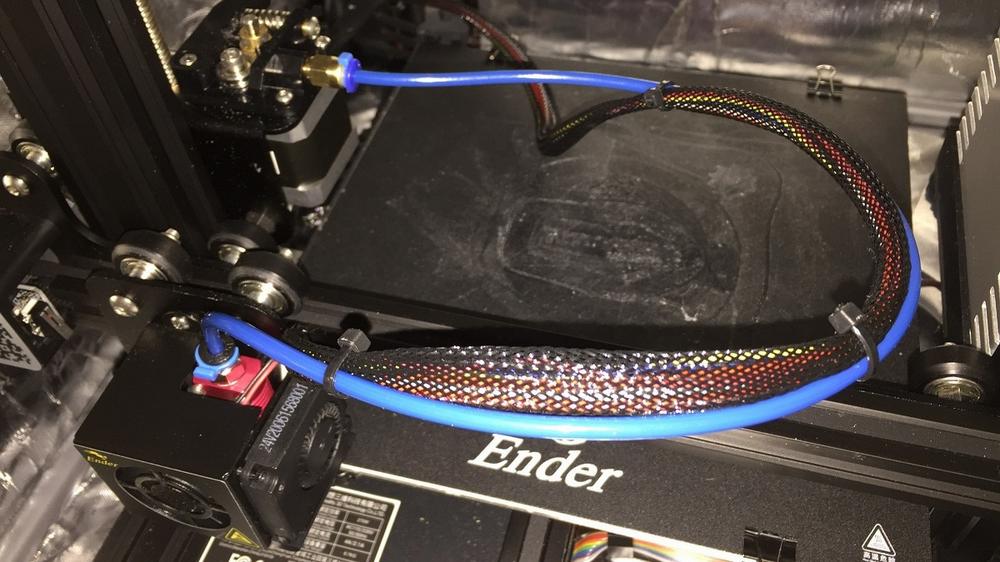
Once the Bowden tube is installed, power on your Anycubic Kobra 2 Max.
Run a test print or perform a manual extrusion to verify that filament flows smoothly through the tube.
Check for any kinks, bends, or obstructions in the Bowden tube.
Calibrate your printer settings as needed to achieve optimal performance.
Remember that proper installation of the Bowden tube is crucial for reliable 3D printing. If you encounter any issues, consult the official Anycubic Kobra 2 Max user manual or seek assistance from the Anycubic community
IMG Source: redd.it
Tips for Bowden Tube Maintenance
Proper maintenance of your Bowden tube is essential for optimal 3D printing performance. Here are some tips to keep your Bowden tube in excellent condition:
Regular Replacement: Consider replacing the Bowden tube every six months, especially if you use your 3D printer frequently. Over time, wear and tear can affect its performance.
Quality Filaments: Use high-quality filaments to prevent issues like warping and clogging within the tube. Inferior filaments can lead to blockages and affect print quality.
Cooling: Ensure proper cooling for your printer. Excessive heat can cause the filament inside the Bowden tube to melt prematurely, leading to problems during printing.
Clean Regularly: Check for dust and debris that may accumulate inside the Bowden tube. Regularly clean it to maintain smooth filament flow.
Let’s delve into a comparison of the Anycubic Kobra 2 Max with its competitors. The Kobra 2 Series, launched by Anycubic in September 2023, includes several fast 3D printers. Here’s a breakdown to help you understand the differences:
Anycubic Kobra 2 Max:
Choice of Large Format: The Kobra 2 Max is the flagship large-format 3D printer in the series.
Printing Speed: While not the fastest, it offers impressive speed.
Build Volume: It boasts a substantial build volume of up to 88L.
Features: The Kobra 2 Max includes features like double Z-axis, built-in storage, LeviQ 2.0 automatic leveling, smart Z-offset, vibration compensation, and flow control.
Stability and User-Friendliness: Anycubic has optimized stability, making it a reliable choice for large-scale prints.
Anycubic Kobra 2 Pro:
Choice of Speed: The Kobra 2 Pro stands out as the fastest 3D printer in the series.
Print Speed: It achieves a standard print speed of 300 mm/s and a maximum print speed of 500 mm/s.
Acceleration: With an impressive acceleration of 20,000 mm/s², it excels in handling complex paths and fine details.
Anycubic Kobra 2 Neo:
Choice of Entry-Level: The Kobra 2 Neo is the best entry-level fast 3D printer.
Cost-Effective: It’s cost-effective and supports automatic leveling.
Ideal for Beginners: If you’re new to 3D printing, the Kobra 2 Neo is a great starting point.
Choice of Balance: The Kobra 2 Plus is an all-rounded fast 3D printer.
Features: It combines speed, size, and printing experience effectively.
Upgrades: The Kobra 2 Plus includes features like Anycubic APP support, double Z-axis, built-in storage, and more.
IMG Source: shopify.com
In conclusion, proper installation and maintenance of the Bowden Tube for your Anycubic Kobra 2 Max are essential for achieving consistent and high-quality 3D prints. By following the detailed steps provided and incorporating regular upkeep practices, such as tube replacement and cleaning, you can enhance the longevity and performance of your printer. Remember, a well-maintained Bowden Tube leads to successful printing outcomes and overall printer efficiency.
Dive into your 3D printing journey with confidence, armed with the knowledge to tackle the Anycubic Kobra 2 Max Bowden Tube like a pro.