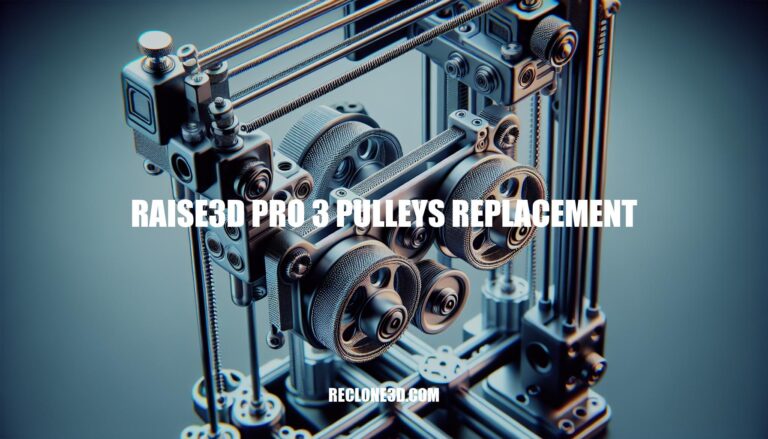
Are you looking to enhance the performance of your Raise3D Pro 3 3D printer? One crucial maintenance task you may need to undertake is replacing the pulleys. Proper maintenance ensures smooth and accurate 3D printing results, and understanding the process is key to keeping your printer in optimal condition.
Learn the essential steps involved in replacing the pulleys on your Raise3D Pro 3 model for seamless operation and improved print quality.
If you need to replace the pulleys on your Raise3D Pro 3 3D printer, here are the steps you can follow:
Loosen the Retaining Screws in Pulleys:
Loosen the Belt Block Screws:
Remove the Belt:
Install the New Belt:
Remember to follow the specific instructions provided by Raise3D for your Pro 3 model. If you need further assistance or have any other questions, feel free to consult the official Raise3D Support Center.
Additionally, you can explore Raise3D’s spare parts and accessories for your printer. They offer high-quality 3D printing components to help you maintain and service your machine.
To check for pulley wear and tear on your Raise3D Pro 3 printer, follow these steps:
Daily Maintenance:
Pulley Inspection:
Remember that regular printer maintenance is essential for consistently high-quality 3D printing results and keeping your printer in good condition. If you encounter any issues, consider contacting Raise3D after-sales support
Replacing pulleys in your Raise3D Pro 3 printer is an essential maintenance task to ensure smooth and accurate 3D printing. Here’s a step-by-step guide to help you through the process:
Safety First:
Access the Pulleys:
Identify the Faulty Pulley:
Loosen the Belt:
Remove the Old Pulley:
Install the New Pulley:
Adjust Belt Tension:
Test the Movement:
Calibrate and Test Print:
Final Check:
Remember to consult your Raise3D Pro 3 user manual for specific details related to your printer model. If you encounter any difficulties during the process, don’t hesitate to seek professional assistance or reach out to Raise3D support
When selecting pulleys for your Raise3D Pro 3 printer, consider the following factors to ensure optimal performance:
Material and Durability: Choose pulleys made from robust materials such as aluminum or steel. These materials withstand wear and tear, ensuring longevity.
Tooth Profile: Pulleys typically have either GT2 or HTD tooth profiles. GT2 (2 mm pitch) is common for 3D printers and works well with GT2 belts. HTD (5 mm pitch) is another option, but ensure compatibility with your printer’s belt type.
Teeth Count: The number of teeth on the pulley affects precision. More teeth provide finer resolution. For 3D printers, 16-tooth or 20-tooth pulleys are commonly used.
Bore Size: Ensure the pulley’s bore size matches your printer’s motor shaft diameter. Common sizes include 5 mm and 8 mm.
Flanges: Pulleys with flanges prevent the belt from slipping off during operation. Consider using flanged pulleys for added security.
Quality: Invest in high-quality pulleys to minimize backlash and ensure smooth motion.
Remember to consult your Raise3D Pro 3 user manual for specific recommendations and guidelines
When you’ve replaced the pulley on your Raise3D Pro 3 printer, recalibrating is essential to ensure accurate printing. Here are the steps you should follow:
Offset Calibration:
Filament Insertion:
Future Improvements:
In conclusion, maintaining the pulleys on your Raise3D Pro 3 printer is essential for ensuring precision and reliability in your 3D prints. By following the step-by-step guide provided, you can confidently undertake the pulley replacement process with ease. Remember to prioritize safety, consult the official Raise3D resources for specific instructions, and reach out to Raise3D Support if you encounter any challenges.
With proper maintenance and quality pulley replacements, your Raise3D Pro 3 printer will continue to deliver exceptional printing results. Keep your printer running smoothly by staying proactive with pulley replacements and regular maintenance.