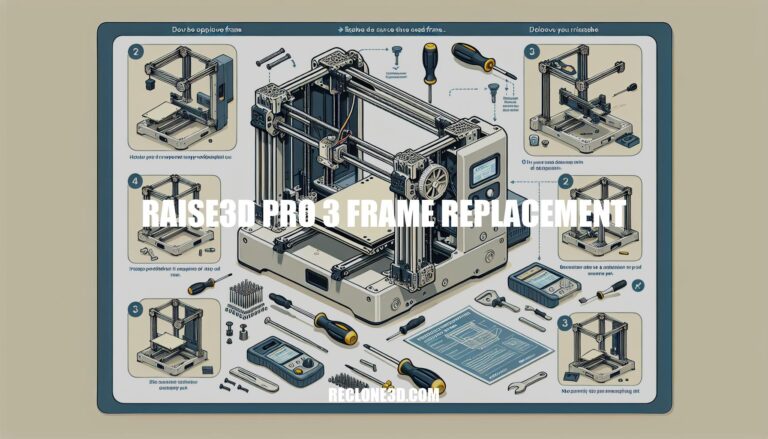
Welcome to the guide on replacing the frame of your Raise3D Pro 3 3D printer. As a proud owner of this advanced printing machine, maintaining its functionality is crucial for achieving high-quality prints. Whether you’re experiencing frame damage or looking to upgrade, understanding the process of frame replacement is essential.
Let’s dive into the detailed steps required to ensure a successful replacement without compromising on print performance.
Replacing the frame on your Raise3D Pro 3 printer is an important task. Let’s break down the process step by step:
Unload Filament:
Adjust Build Plate and Extruders:
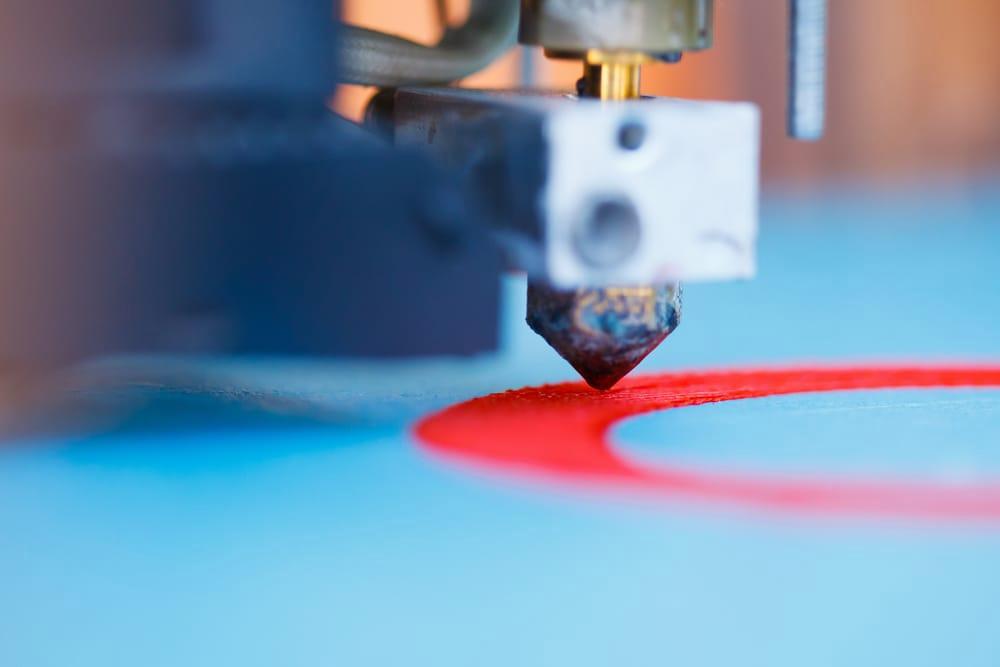
Remove the Old Nozzle:
Remember, replacing nozzles can be complicated, so follow the instructions carefully to avoid filament leakage during printing. If you encounter any issues, refer to the official Raise3D Support Center for detailed guidance
Frame damage in 3D printers can lead to various issues that affect print quality and overall performance. Here are some common signs of frame damage to watch out for:
Prints Not Sticking to the Bed: If your prints consistently fail to adhere properly to the build plate, it could be due to frame misalignment or warping caused by frame damage. Ensure proper bed leveling and check for any visible deformities in the frame.
Inconsistent Layers and Layer Separation: Frame misalignment or damage can result in layers shifting or separating during printing. If you notice gaps between layers or cracks in your prints, inspect the printer’s frame for any signs of weakness or distortion.
Weak or Under-Extruded Infill: Damaged frames may cause inconsistent extrusion, leading to weak infill structures. If your infill appears sparse or lacks strength, examine the frame for cracks, bends, or other issues.
Deformed Infill Patterns: Frame damage can affect the overall rigidity of the printer, resulting in irregular infill patterns. Look for unusual bulges, warping, or misshapen infill sections.
Scratches on Top Layers: If you notice scratches or imperfections on the top layers of your prints, it could be a sign of frame damage. These scratches may occur due to vibrations or misalignment during printing.
Gaps and Holes: Frame misalignment can cause gaps or holes in printed objects. Inspect the frame for cracks, loose bolts, or any structural weaknesses.
Remember that addressing frame damage promptly is essential for maintaining print quality and preventing further issues. Regularly check your 3D printer’s frame for any signs of wear, and consider reinforcing or repairing it if necessary.
IMG Source: amazonaws.com
When selecting a replacement frame for your Raise3D Pro 3 3D printer, there are several important factors to consider. Let’s break it down:
Material: Opt for a frame made from high-quality materials such as aluminum or steel. These materials can handle the stress of printing and provide stability.
Strength: Choose a frame that can resist impact and withstand any vibrations during the printing process. A sturdy frame ensures better print quality and longevity.
Rigidity: Look for a frame that maintains its shape even under strain. Rigidity is crucial for precise printing and preventing warping or misalignment.
Remember to explore official resources and tutorials provided by Raise3D for specific instructions on replacing parts, including frames. You can find detailed guides on their support center
IMG Source: googleusercontent.com
Replacing the frame of your Raise3D Pro 3 3D printer is a significant task, but with proper guidance, you can do it successfully. Here’s a step-by-step guide to help you through the process:
Remove Components from the Old Frame:
Unscrew and Remove the Old Frame:
Prepare the New Frame:
Remember to consult the user manual for your Raise3D Pro 3 printer for any additional details or specific steps. If you encounter any difficulties, don’t hesitate to reach out to Raise3D’s support team for further assistance
IMG Source: endurancelasers.com
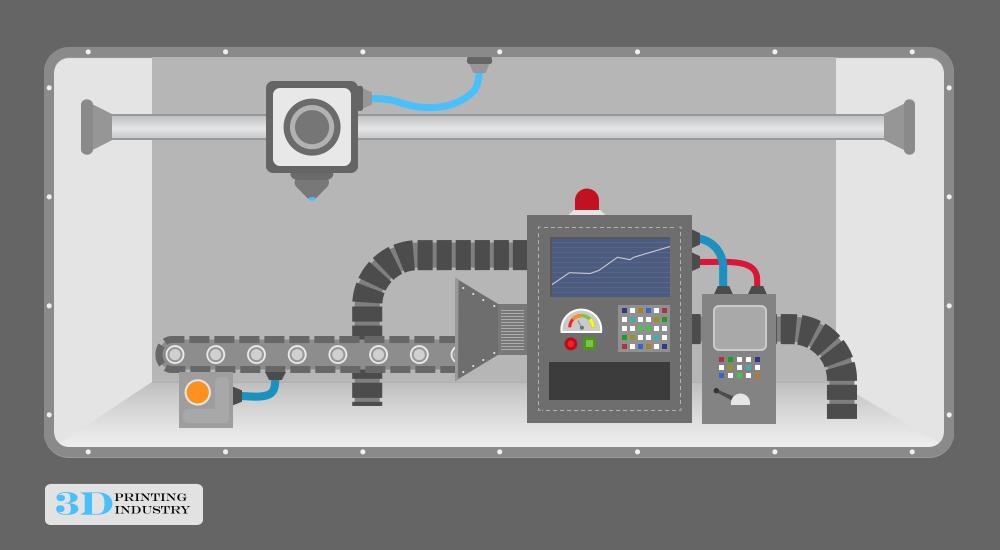
Testing your 3D printer after a frame replacement is crucial to ensure optimal performance and accurate prints. Let’s delve into why this step matters and what you should consider:
Dimensional Accuracy and Precision:
Tolerance Tests:
Consistency and Quality:
Test Prints:
IMG Source: 3dprintingindustry.com
For any further assistance or detailed guidance on Raise3D Pro 3 frame replacement, don’t hesitate to consult official resources or reach out to Raise3D’s support team. Keep your Raise3D Pro 3 in top condition by addressing frame issues promptly and effectively.