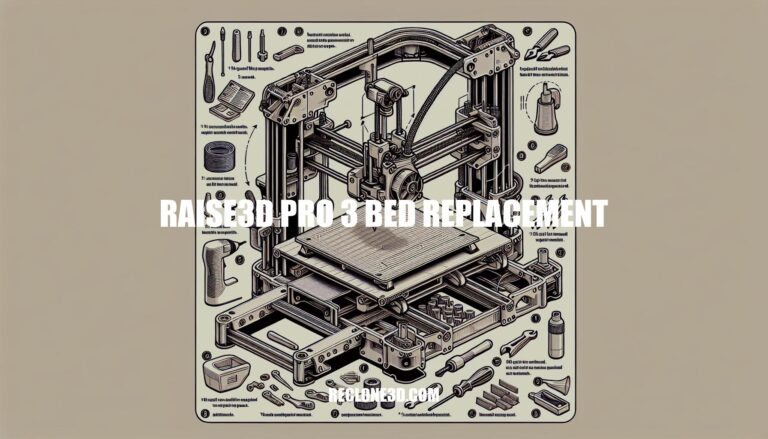
Are you looking to replace the bed on your Raise3D Pro 3 3D printer? Well, you’ve come to the right place. In this detailed guide, we will walk you through the step-by-step process of replacing the bed, ensuring that you can continue printing with optimal results.
Let’s dive into the essential steps and considerations for a seamless bed replacement.
Replacing the bed on your Raise3D Pro 3 3D printer is a straightforward process. Here’s a step-by-step guide to help you through it:
For additional details, you can refer to the official Raise3D Support Center documentation on bed replacement.
Let’s dive into the factors to consider when selecting a replacement bed and explore some popular bed options for comparison:
Support and Comfort: Prioritize a mattress that provides adequate support for your body. Consider your preferred sleep position (back, side, or stomach) and choose a mattress that aligns your spine properly. Additionally, look for comfort features like cushioning and pressure relief.
Firmness Level: Mattresses come in various firmness levels (soft, medium, firm). Your personal preference and any specific health conditions (such as back pain) will influence your choice. Test different firmness levels to find the one that suits you best.
Material Type:
Motion Isolation: If you share the bed, consider a mattress with good motion isolation to prevent disturbances when your partner moves.
Edge Support: Strong edge support ensures stability when sitting or sleeping near the edges.
Temperature Regulation: Some materials retain heat (like memory foam), while others dissipate it better (like latex). Choose based on your temperature preferences.
Durability and Longevity: Invest in a mattress that will last. Look for high-quality materials and consider warranties.
Budget: Set a budget and explore options within that range. Remember that a good mattress is an investment in your health.
Here are some well-regarded mattresses across different types:
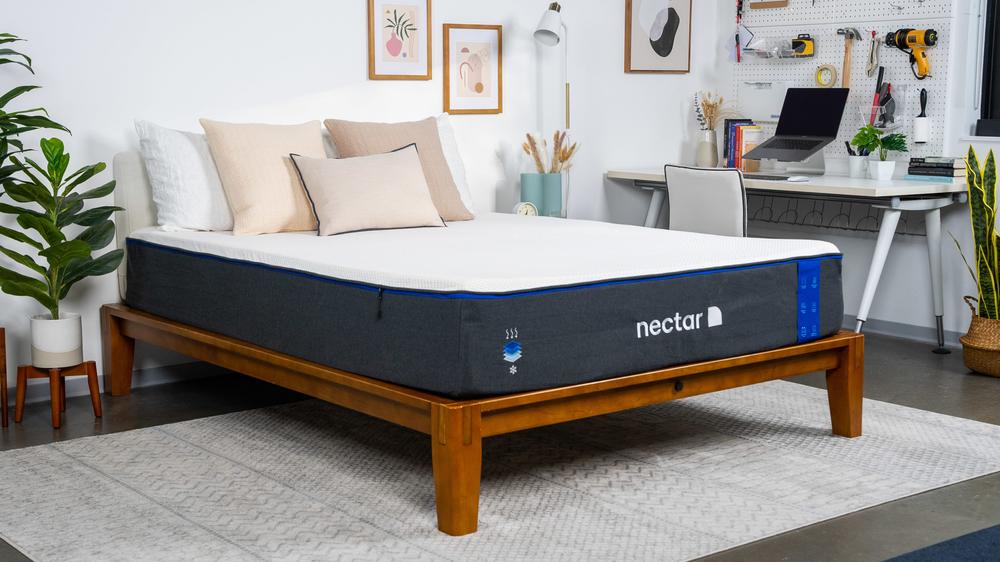
IMG Source: sleepfoundation.org
Here’s a step-by-step guide to help you replace the bed on your Raise3D Pro3 Series 3D printer:
Remember to consult the user manual for your specific printer model for detailed instructions and safety precautions
IMG Source: lawnlove.com
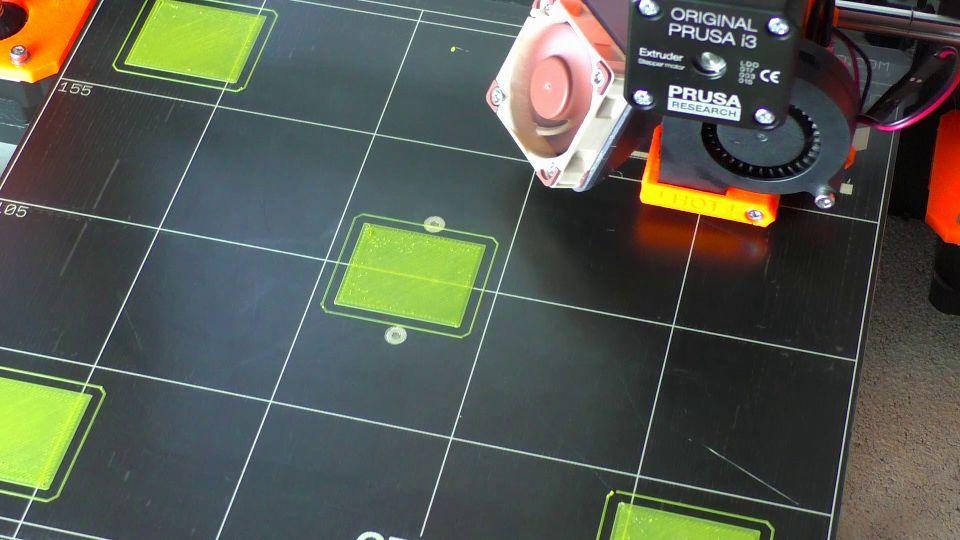
3D printer bed calibration is crucial for achieving optimal print results. Whether you’re a beginner or an experienced user, proper calibration ensures accurate dimensions, smooth surfaces, and high-quality prints. Let’s delve into the importance and process of 3D printer bed calibration:
Preparations:
Print Quality Before Calibration:
Calibration Steps:
For more detailed instructions, you can refer to this comprehensive guide on first-time 3D printer calibration.
IMG Source: hobbyhoarder.net
Proper maintenance can significantly extend the lifespan of your bed, ensuring you get the most out of your investment. Here are some essential tips for maintaining your bed’s longevity:
Rotate and Flip Regularly: To distribute wear evenly, rotate your mattress 180 degrees every few months. If your mattress is double-sided, consider flipping it over occasionally to prevent sagging in one spot.
Use a Mattress Protector: Invest in a good-quality mattress protector. It acts as a barrier against spills, stains, dust mites, and allergens, safeguarding your mattress and prolonging its life.
Wash Bedding Frequently: Regularly wash your sheets, pillowcases, and other bedding. Having multiple sets of bedding allows you to rotate them, prolonging the life of each set and allowing time for thorough cleaning and airing.
Control Room Temperature and Humidity: Extreme temperature fluctuations and high humidity levels can impact your mattress. Aim for a comfortable room temperature and use a dehumidifier if necessary.
Invest in a Supportive Bed Frame: A sturdy bed frame provides essential support for your mattress. Make sure it’s designed to evenly distribute weight and prevent sagging.
Vacuum and Spot Clean: Regularly vacuum your mattress to remove dust, dead skin cells, and allergens. For spills and stains, use a clean, damp cloth to blot the affected area. Avoid harsh chemical cleaning agents that may damage the materials.
Avoid Jumping on the Bed: Excessive jumping or rough handling can strain the mattress springs and fabric. Encourage gentle use to maintain its integrity.
Follow Manufacturer Guidelines: Refer to the manufacturer’s instructions for specific care recommendations. Different mattress types (memory foam, innerspring, etc.) may have varying maintenance requirements.

IMG Source: marketbusinessnews.com
Whether you’re a beginner or an experienced user, proper bed replacement is a fundamental aspect of 3D printing that shouldn’t be overlooked. Get ready to elevate your printing game with a fresh bed for your Raise3D Pro 3 printer.