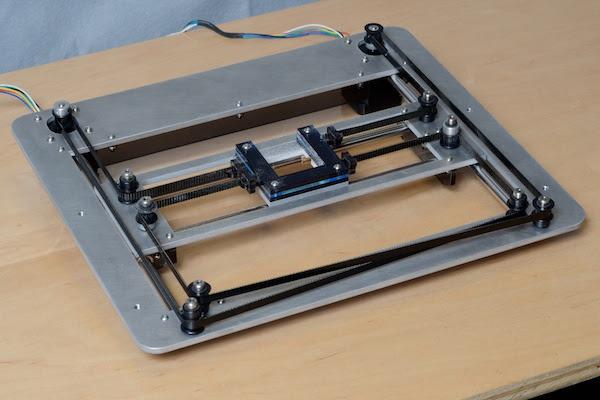


Are you looking to enhance the performance of your Raise3D Pro 2 3D printer? Replacing the pulleys is a critical maintenance task that can significantly impact the quality of your prints. In this comprehensive guide, we will walk you through the detailed steps for both hotend and Y-axis belt replacement.
Let’s dive in and discover how you can effectively maintain your 3D printer by replacing the pulleys.
Replacing the pulleys on your Raise3D Pro2 3D printer is an essential maintenance task. Let’s walk through the steps for both the hotend replacement and the Y-axis belt replacement:
Lower the Build Plate:
Unload Filaments:
Remove the Hotend:
Inspect the Replacement HotEnd:
Wiring Process:
Reassemble:
Loosen the Grub Screws in Pulleys:
Loosen the Screws Holding the Belt Block:
Install the New Belt:
Remember to follow the manufacturer’s guidelines and safety precautions during these procedures. If you have any questions, feel free to reach out to Raise3D support
Maintaining your Raise3D Pro2 3D printer is crucial for consistent high-quality printing results. Let’s focus on the XY axes, which include the pulleys. Here are some guidelines to help you identify and address worn-out pulleys:
Check the Gantry Rods: Before each print job, inspect the gantry rods to ensure they are clean and free from debris. Dirty rods can affect smooth movement.
Drive Belt Tension: Every 300 working hours, check the tension of the drive belt on the X/Y axis. If it’s too loose, tighten it appropriately. Loose belts can lead to inaccuracies in print positioning.
Tighten Screws on X/Y Axis and Motor Pulleys: Also every 300 working hours, verify that the screws securing the X/Y axis and motor pulleys are tight. Loose screws can cause misalignment and affect print quality.
Test Print Head Movement: Every 200 working hours, check if the print head moves freely when the motors are disabled. If it doesn’t move smoothly, investigate further. Sometimes, worn-out pulleys can cause resistance.
Lubricate the X/Y Axis and Gantry Rods: Lubricate these components every 300 working hours or whenever you notice issues with extruder movement or noise during motion.
Remember to follow safety precautions, turn off the printer, and let it cool down before performing any maintenance tasks. If you encounter specific issues, consider reaching out to Raise3D’s support for expert assistance.

IMG Source: redd.it
When selecting replacement pulleys for your Raise3D Pro 2, it’s essential to ensure they are authentic and compatible with your printer. Here are some steps to guide you:
Identify the Correct Pulley Type:
Check the Grub Screws and Belt Block:
Install the New Pulleys:
Remember to follow the manufacturer’s guidelines and safety precautions during the replacement process. If you have any doubts, consult the official Raise3D support resources or community forums for additional advice

IMG Source: thewirecutter.com
Replacing pulleys in your Raise3D Pro 2 3D printer is a straightforward process. Here’s a step-by-step guide to help you through the process:
Safety First:
Access the Components:
Loosen the Pulley Set Screws:
Replace the Pulley:
Tighten the Set Screws:
Reassemble:
Calibration:
Remember that regular maintenance and replacement of components are essential for optimal 3D printing performance. If you encounter any issues or need further assistance, consult your printer’s manual or reach out to the manufacturer’s support.

IMG Source: ytimg.com
Properly maintaining your 3D printer after replacing pulleys is essential for optimal performance. Here are some steps to ensure everything runs smoothly:
Properly Tighten Your 3D Printer Belt:
If you feel excessive resistance when moving the axis with the stepper motors off, adjust the tension or consider replacing the belt.
Decrease Jerk, Acceleration, & Printing Speed:
Properly Tighten Any Loose Screws & Nuts:
Install a Cooling Fan or Heatsink:
Check Pulley for Any Damages:
Ensure Correct Motor Driver Current:
Replace the Damaged Belt/Bearing:

IMG Source: googleusercontent.com
Keep your printer in top condition by regularly checking and replacing pulleys as needed to optimize its performance and longevity.