Are you considering upgrading or replacing the frame of your Raise3D Pro 2 3D printer? This comprehensive guide offers step-by-step instructions and valuable tips to help you navigate the process seamlessly. Whether you’re looking to enhance print quality or address specific issues, understanding the intricacies of frame replacement is essential for optimal printer performance.
Let’s delve into the essential considerations and strategies for a successful Raise3D Pro 2 Frame Replacement journey.
Replacing Components on Raise3D Pro 2 3D Printer
If you’re looking to replace the frame of your Raise3D Pro 2 3D printer, here are some steps and resources to guide you:
Fan Replacement:
If the fans on your Raise3D Pro 2 are damaged or not functioning optimally, it’s essential to replace them to ensure proper cooling. You can follow this YouTube video that demonstrates how to change the extruder cooling fan on the Pro 2 or Pro 2 Plus.
Additionally, you might want to check the extruder side cooling fan as well for any issues.
Heated Bed Replacement:
To replace the heated bed, follow these steps:
Press the Z home button to fully home the bed.
Lower the bed to the proper position (around 50-100mm) using the Z value button in the Utilities page.
Turn off the power, open the front door, and loosen the two lock screws to remove the build plate.
Hot End Replacement:
If you need to replace the hot end on your Raise3D Pro 2 series printer, here’s a step-by-step process:
Gather the necessary tools: 2.5mm hex wrench and 1.5mm hex wrench.
Lower the build plate.
Follow the detailed instructions provided in this guide to replace the hot end.
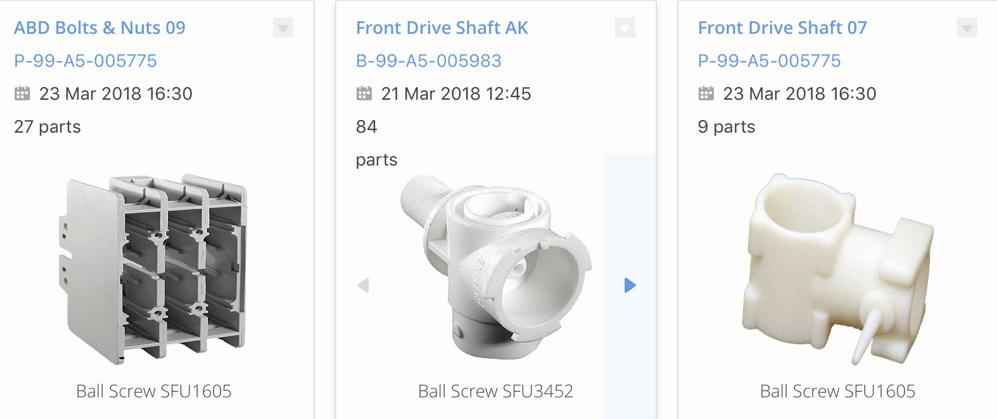
Spare Parts:
If you require specific spare parts, you can explore the Pro2 Series Spare Parts section on the Raise3D website. This includes items like hardened nozzles, build surfaces, hot end assemblies, and more.
Assessing and Replacing 3D Printer Frames
Assessing and replacing a 3D printer frame is essential for maintaining print quality and stability. Let’s dive into some considerations and options:
Frame Materials and Rigidity:
Aluminum: Most 3D printer frames are made of aluminum due to its lightweight and sturdy properties. Ensure the frame is rigid and free from any bends or warping.
Steel: Some printers use steel frames for added durability, but they can be heavier.
Visual Inspection: Check for cracks, dents, or signs of wear on the frame.
Squareness: Ensure the frame is square by measuring diagonals. Adjust if needed.
Tightness: Tighten all bolts and screws to prevent wobbling.
Replacement Options:
Upgrading Existing Frame:
Aluminum Extrusions: If your printer uses aluminum extrusions (e.g., 2020, 2040 profiles), you can replace individual sections or upgrade to thicker profiles.
Corner Brackets: High-quality corner brackets can reinforce joints and improve stability.
Complete Frame Replacement:
Consider purchasing a new frame kit compatible with your printer model.
Look for frames designed for your specific printer (e.g., Creality Ender 3, Prusa i3, etc.).
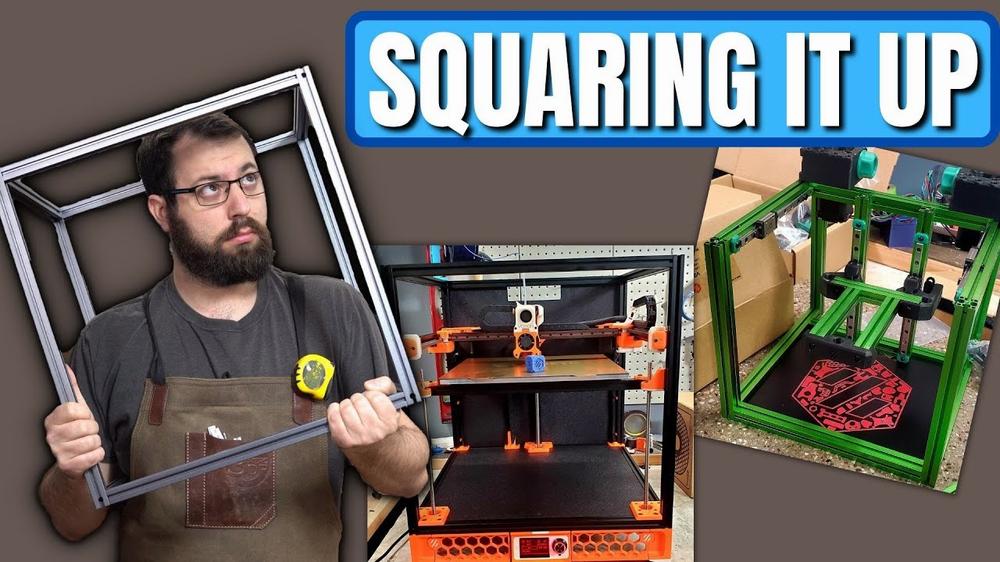
Squaring the Frame:
Eccentric Nuts: Adjust eccentric nuts to align the frame.
Belt Tension: Ensure belts are properly tensioned.
First Layer Impact: A square frame affects first layer adhesion.
For more detailed information, you can refer to this article on 3D Printer Frame Considerations.
IMG Source: amfg.ai
3D Printer Frame Disassembly Guide
Disassembling a 3D printer frame can be a meticulous process, but I’ll guide you through the steps. Keep in mind that the specifics may vary depending on your printer model, so always refer to your printer’s documentation if available. Here’s a general step-by-step guide:
Preparation:
Unplug the Printer: Ensure the printer is unplugged from the power source.
Unload Filament: Make sure the filament is unloaded from the hotend.
Gather Tools: Prepare the necessary tools (included in your printer kit or similar ones from a hardware shop). Consider using a box to organize the disassembled parts.
Y-Axis Disassembly:
Motor and Heatbed Disassembly (Part 1): Begin by removing the Y-axis motor and heatbed components. Follow any specific instructions for your printer model.
Motor and Heatbed Disassembly (Part 2): Continue disassembling the Y-axis components.
Motor and Heatbed Disassembly (Part 3): Complete the Y-axis disassembly.
Idler Disassembly:
Y-Axis Idler: Remove the idler components associated with the Y-axis.
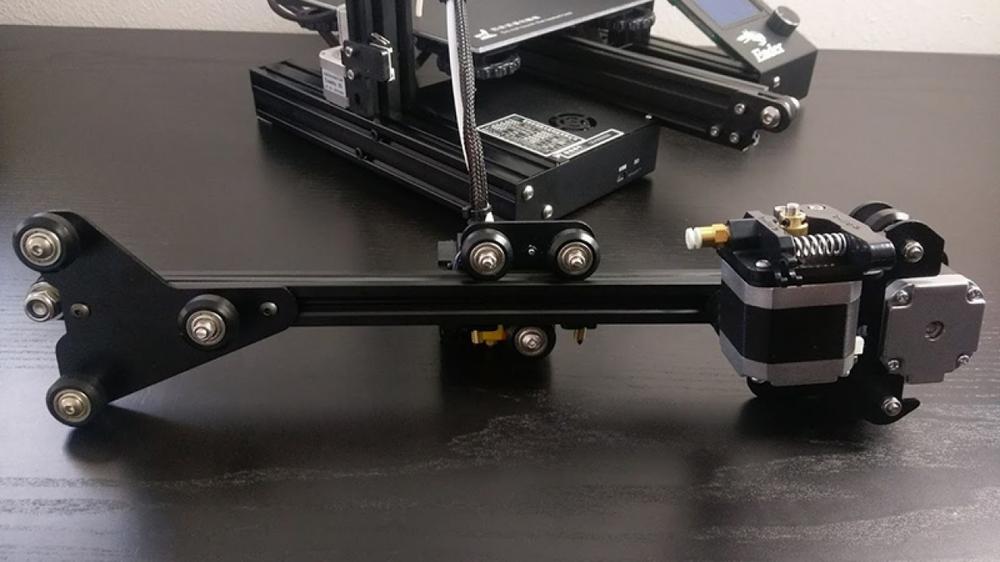
Extruder Removal:
Extruder Removal (Part 1): Carefully detach the extruder assembly from the printer.
Extruder Removal (Part 2): Continue disassembling the extruder.
Extruder Disassembly:
Take apart the extruder assembly, paying attention to the details.
Essential Steps for Proper Installation of a 3D Printer Frame
Properly installing a new frame on your 3D printer is essential for reliable performance and successful prints. Here are some helpful steps to guide you through the process:
Identify Your Kit Type:
Determine whether you have a pre-assembled, partially assembled, or DIY printer kit.
Pre-assembled kits come ready to use out of the box.
Partially assembled kits require some additional assembly.
DIY kits involve substantial assembly from scratch.
Read and Follow Assembly Instructions:
Regardless of the kit type, carefully read the assembly instructions provided by the manufacturer.
Understanding the setup process upfront is crucial.
Organize components and follow the steps diligently to ensure safe and reliable performance.
Check Levelness and Squareness:
If your printer is pre-assembled, plug in any necessary extensions and equipment.
Verify that everything is level and square:
A level build platform is crucial for precise filament deposition and successful object construction.
Use an auto bed leveling (ABL) sensor or manually level the bed.
Ensure minimal gap between the print bed and the nozzle to prevent poor adhesion of the initial layer.
Follow the calibration process specific to your printer model.
For more detailed instructions, you can refer to resources like Xometry’s guide on how to set up a 3D printer.
IMG Source: ytimg.com
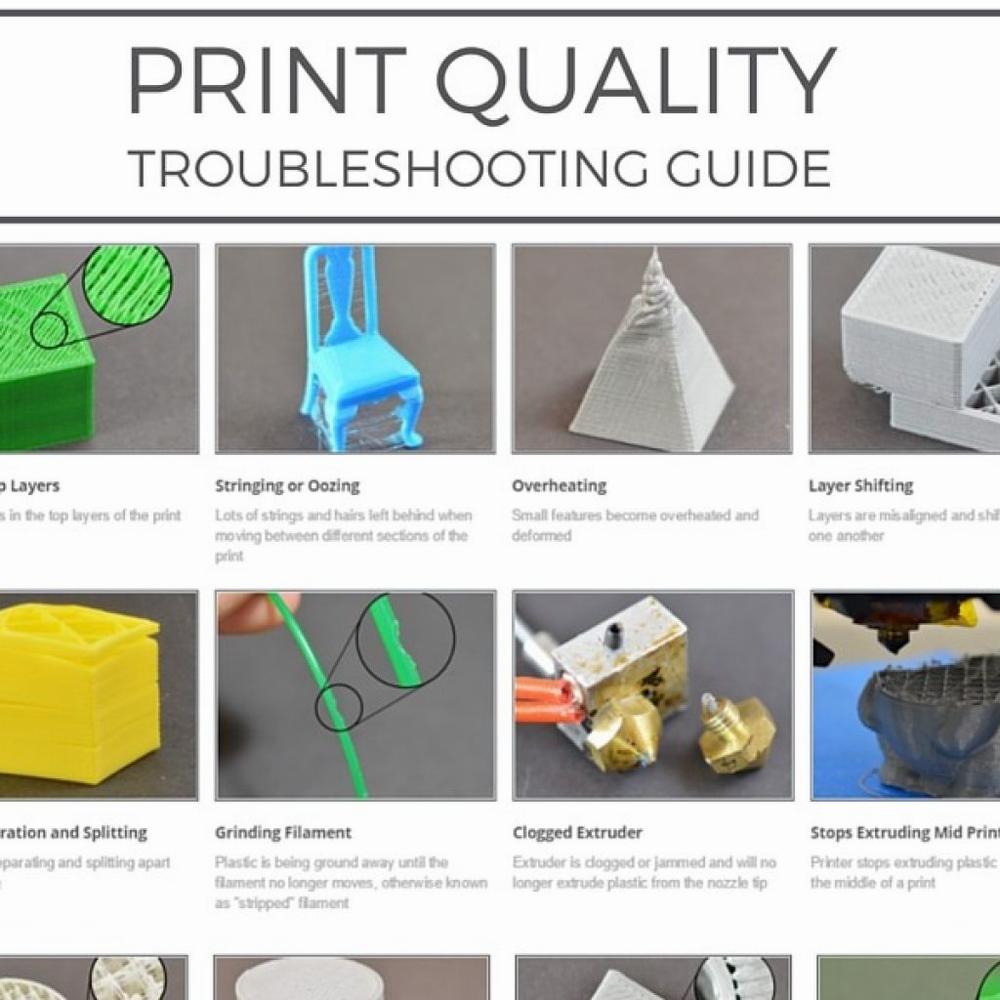
Tips for Optimizing 3D Printer Print Quality
After replacing the frame of your 3D printer, there are several steps you can take to optimize print quality. Here are some helpful tips:
Calibrate Your Printer:
Ensure that your printer’s bed leveling is accurate. A well-leveled bed is crucial for consistent layer adhesion and proper first-layer adhesion.
Calibrate the nozzle height to maintain the correct distance between the nozzle and the print bed. This ensures proper filament deposition.
Temperature Settings:
Nozzle temperature: Adjust the nozzle temperature based on the filament type you’re using. Refer to the manufacturer’s recommendations.
Bed temperature: Proper bed temperature helps with adhesion. Make sure it’s set correctly for the filament material.
Layer Height:
Lower layer height results in finer details and smoother surfaces. Experiment with different layer heights to find the right balance between quality and print time.
Print Speed:
Slower print speeds often lead to better quality. Reduce the print speed for outer layers to enhance surface finish.
Cooling:
Cooling fans: Use cooling fans to prevent overheating and improve overhangs. Proper cooling reduces stringing and warping.
Fan ducts: Consider installing or designing custom fan ducts for better airflow around the printed object.
Stabilize Your Printer:
Frame rigidity: Ensure that the new frame is sturdy and well-assembled. Tighten any loose bolts or connections.
Belt tension: Check and adjust the tension of belts (such as the X and Y belts) to prevent layer shifting during printing.
Check for Ghosting and Ringing:
Ghosting (also known as ringing) occurs when vibrations affect the print quality. Stabilize your printer to minimize these artifacts.
Inspect the Nozzle and Filament Path:
Clean the nozzle: Regularly clean the nozzle to prevent clogs and ensure smooth filament flow.
Check filament path: Ensure that the filament spool unwinds smoothly and doesn’t get tangled.
Remember that patience and experimentation
For more detailed information, you can explore resources like and .
IMG Source: simplify3d.com
In conclusion, replacing the frame of your Raise3D Pro 2 printer can significantly impact the quality and stability of your 3D prints. By following the outlined steps for fan replacement, heated bed replacement, and hot end replacement, you can ensure smooth operation and reliable performance. Additionally, considering factors like frame materials, rigidity, and proper calibration will elevate your printing experience.
Remember, a well-assembled and sturdy frame is the foundation for achieving exceptional results with your 3D printer. Embrace the process of Raise3D Pro 2 Frame Replacement as an opportunity to enhance your printing capabilities and explore new horizons in 3D printing technology.