How to Remove Supports from 3D Print

How to Remove Supports from 3D Print

Are you struggling to figure out how to remove supports from your 3D prints without damaging the final product? Look no further! In this comprehensive guide, we’ll walk you through the essential steps and techniques to safely and effectively eliminate supports from your 3D prints.

Whether you’re a beginner or an experienced enthusiast, mastering the art of support removal is crucial for achieving flawless results. So, let’s dive in and explore the best practices for removing supports from your 3D prints.

Tips for Removing 3D Print Supports Safely

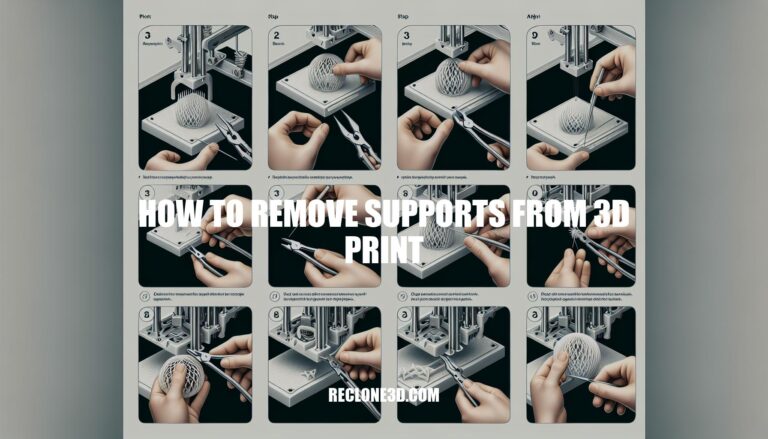
Removing supports from a 3D print can be done carefully to avoid damaging the print. Here are some general steps to follow:

  1. Adjust Settings: If possible, adjust your 3D printer settings to make supports easier to remove. This includes increasing the Z distance between the support and the print, and using a support interface layer with a different pattern direction.

  2. Orient the Model: Try to orient the model in a way that minimizes the need for supports.

  3. Use Tools: Employ tools like clippers, metal spatula, metal hooks, or a wood burning tool to carefully remove the supports. Always wear safety glasses and a respirator when working with plastic to protect yourself.

  4. Go Slow: Take your time and be patient. Rushing the process can damage the model or the fine details.

  5. Post-Processing: After removing the supports, you may need to sand the areas to smooth out any imperfections. Remember, the best method may vary depending on your specific 3D printing project, so it’s always good to refer to the manual or guidelines provided with your 3D printer for the best results .

3D Print Support Structures

3D printing support structures play a crucial role in successfully creating intricate 3D models. Let’s delve into the basics and techniques for using supports effectively:

  1. What are 3D Print Support Structures?

    • Support structures provide stability during 3D printing by holding up overhangs and bridges.
    • As a 3D model is built layer by layer, not every section lies directly on the print bed. Some features extend over the print, necessitating support.
    • After printing, these structures can be removed.
  2. Do 3D Prints Always Require Supports?

    • Not every model needs supports. It depends on the model’s properties and features.
    • For example, consider the Daenerys Bust below:
      !Daenerys Bust
  3. Automatic vs. Custom Supports:

    • Automatic Supports (Cura):
      • Enable supports in your slicer (e.g., Cura).
      • Adjust settings like support infill, pattern, overhang angle, and Z distance.
    • Custom Supports (Cura):
      • Install the Custom Supports Plugin.
      • Check for islands or overhangs on the model.
      • Manually place supports where needed.
  4. Common Issues with Supports:

    • Large Support Distances:
      • Ensure supports are close enough to the model.
    • Tiny Support Points:
      • Avoid very small support contact points.
  5. Advanced Techniques:

    • Support Air Gap (Cura):
      • Adjust the gap between supports and the model.
    • Support Blockers (Cura):
      • Block specific areas from having supports.
    • Tree Supports:
      • Tree-like structures that touch overhangs at specific points.
      • Easier to remove and less damaging to the underside of overhangs.

For more detailed instructions, check out this comprehensive guide

A 3D printed translucent figurine of a person riding a dinosaur.

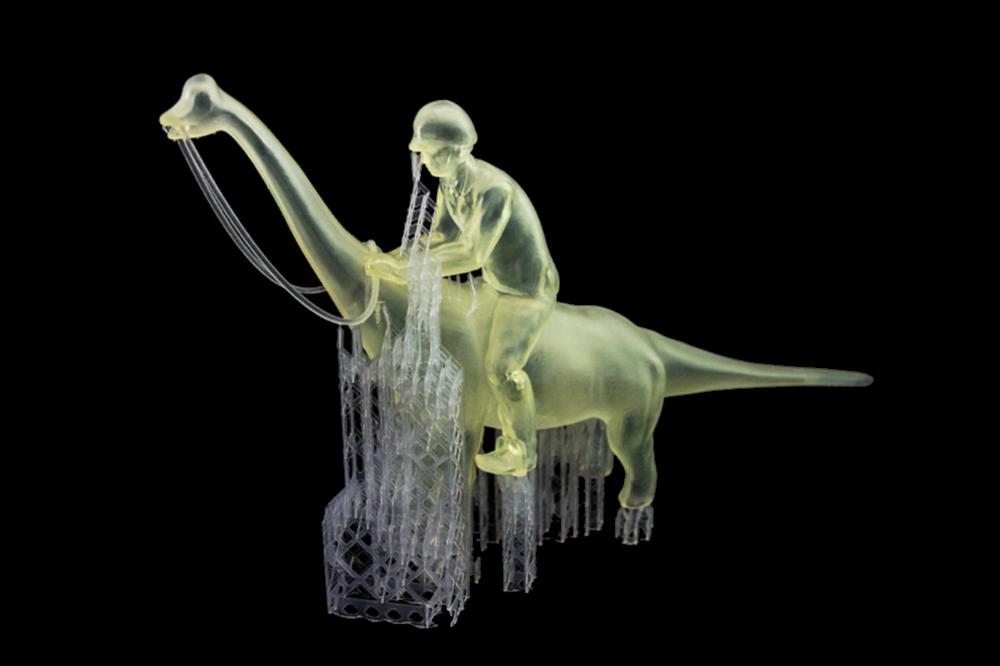
IMG Source: materialise.com


Best Tools for Removing 3D Print Supports

When it comes to removing 3D print supports, having the right tools can make the process much easier and more efficient. Here are some of the best tools you can use:

  1. Flush Cutter: A flush cutter is a small, sharp tool that allows you to snip off supports close to the model. It’s especially useful for removing smaller sections of support material without damaging your print.

  2. Tweezers: A good pair of tweezers helps you grab and remove tiny support remnants. Look for tweezers with fine tips for precision.

  3. Needle-Nose Pliers: Needle-nose pliers are handy for gripping and twisting larger support sections. They provide better leverage for removing stubborn supports.

  4. X-acto Knife: An X-acto knife with extra blades is great for carefully cutting away supports. Be cautious not to damage the model while doing so.

  5. Small Files: Use a filing tool to manage rough edges left by supports. Rub the file against stubborn pieces of material to smooth them out.

  6. High Grit Sandpaper: Sandpaper with a high grit (fine texture) can help you smooth any remaining rough spots after removing supports.

Remember to analyze your model after printing to identify support locations. Start by removing smaller sections first, as they are weaker and easier to clear. Then tackle the larger, harder-to-remove sections with care
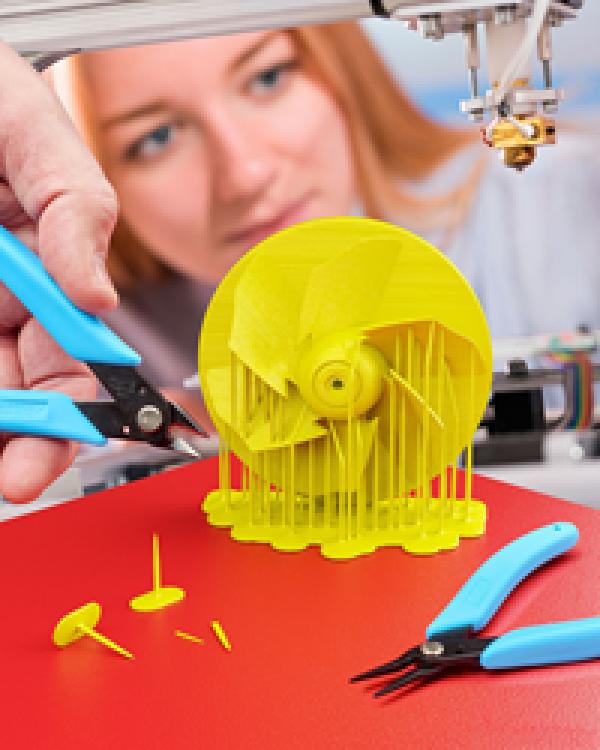
A woman in the background uses wire cutters to remove a 3D printed fan from the build platform.

IMG Source: wp.com


Effective Support Removal Techniques

When it comes to safely removing supports from 3D printed objects, there are several methods you can employ. Let’s explore some effective techniques:

  1. Break Supports Off:

    • This is the easiest way to remove supports. If you’ve used an easy-to-remove pattern like tree supports, it should be relatively straightforward.
    • Many people use tweezers or needle-nose pliers to grip supports at the base and break them off. Properly cured supports should snap off cleanly.
    • Be cautious not to apply too much force, especially if the supports are attached to thin parts of the model.
  2. Clip Supports Off:

    • Small cutters can allow you to smoothly clip supports off at the base. This method can be cleaner and faster than using tweezers.
    • Ensure you have enough space to insert the cutters, or design entry points in your supports for easier removal.
  3. Use a Knife:

    • An X-Acto or craft knife can be helpful for cutting away small supports.
    • Slide the edge of the knife under the base of the support and gradually lift it away from the print.
    • Take your time to prevent unintended damage to the print, and trim off any remaining support remnants.
  4. Post-Processing:

    • After removing the supports, you may need to sand the areas to smooth out any imperfections.
    • Remember that patience is key—rushing the process can damage the model or its fine details.

Additionally, if you’ve used dissolvable supports (such as PVA or HIPS), you can soak your print in water or limonene to remove them

A 3D printer is printing a blue plastic figurine.

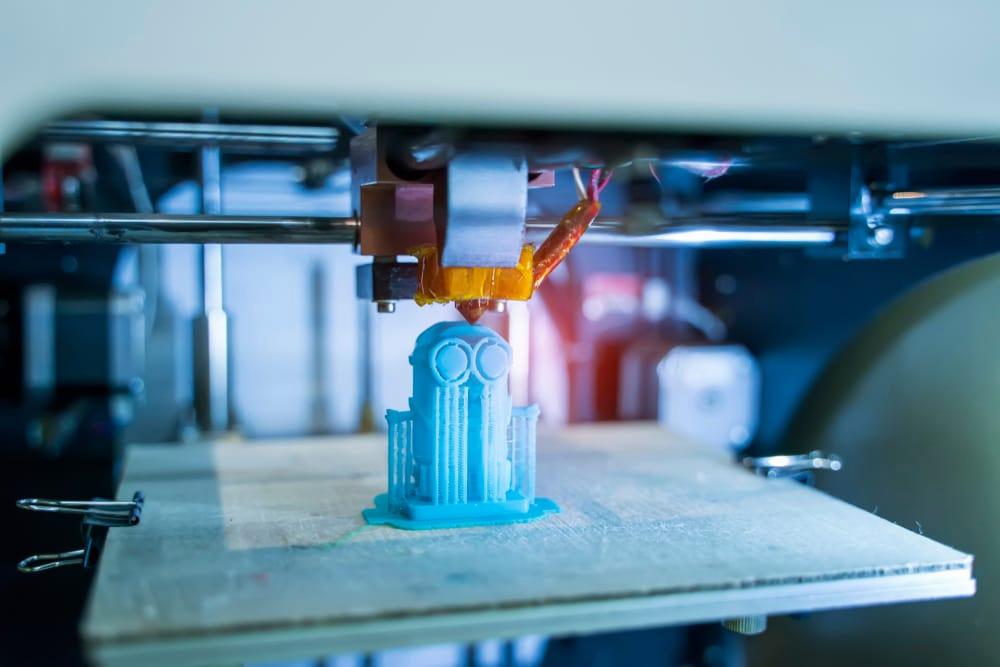
IMG Source: amazonaws.com


Techniques for Polishing 3D Printed Objects

To achieve a polished finish on your 3D printed objects, there are several techniques you can employ. Let’s explore some of them:

  1. Sanding & Polishing:

    • Sanding and polishing are common post-processing methods to improve surface finish. Use sandpaper to reduce surface roughness, sharp edges, and visible layer lines. Start with coarser grits and gradually move to finer ones.

      Polishing compounds or pastes can further enhance the finish.

    • Consider using sandpaper sheets like the YXYL 120 to 5,000 Assorted Grit Sandpaper Sheets available on Amazon.
  2. Apply Primer & Fill Gaps/Seams:

    • Apply a thin layer of primer to cover imperfections or rough surfaces on your 3D prints. This can help create a smoother finish.
    • Fill gaps and seams using fillers like epoxy putty or body filler. Sand down the filled areas for a more even surface.
  3. Painting:

    • Painting your 3D prints can significantly improve their appearance. Choose suitable paints and apply them carefully for a polished look.
  4. Adjust Slicer Settings:

    • Optimize your slicer settings to enhance surface quality:
      • Enable ironing in Cura.
      • Adjust top/bottom order to improve the top surface.
      • Utilize the cooling fan effectively.
      • Set an optimal layer height.
      • Disable Z-hop when retracted.
      • Adjust travel speed, outer wall speed, and outer wall acceleration.
  5. Epoxy Coating:

    • Applying an epoxy coating can create a smooth and glossy finish.
  6. Acetone Vapor Smoothing:

    • Vapor smoothing with acetone can melt the outer layer of your 3D print, resulting in a polished appearance.
  7. Replace the Nozzle:

    • A worn-out nozzle can affect print quality. Replacing it can lead to better surface finish.
  8. Tighten Hotend Assembly & Belts:

    • Ensure that your printer’s components are properly tightened to minimize vibrations and improve print quality.
  9. Print Model Face Down:

    • Printing the model face down can reduce visible layer lines on the top surface.
  10. Fix Vibrations around the 3D Printer:

    • Stabilize your printer setup to avoid vibrations during printing.
  11. Try Printing with Matte Filament:

    • Matte filaments can provide a smoother finish compared to glossy ones.
  12. Metal Plating (Electroplating):

    • For a truly polished look, consider electroplating your 3D prints with metal coatings.

Turbine blades before (left) and after (right) undergoing thermal polishing

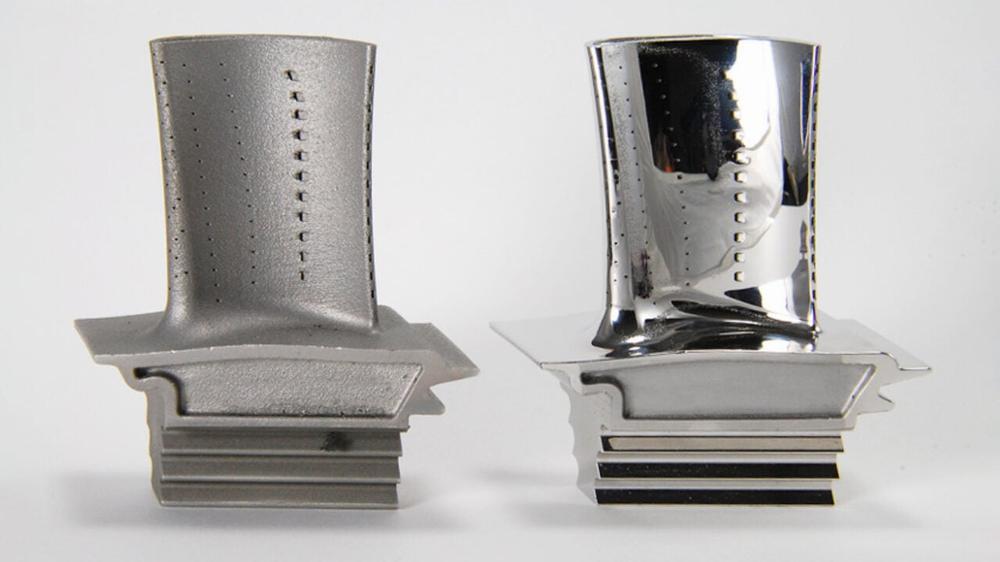
IMG Source: 3dnatives.com


In conclusion, mastering the art of removing supports from 3D prints is a skill that can elevate the quality of your prints to a whole new level. By following the right techniques, using the correct tools, and practicing patience, you can ensure that your final prints are clean, smooth, and free from any support remnants. Remember, the process may vary depending on your specific 3D printing project, so always refer to the manual or guidelines provided with your 3D printer for the best results.

So, go ahead and put your newfound knowledge into practice, and watch as your 3D prints truly come to life without a trace of those pesky supports in sight!

Comments

    Leave a Reply

    Your email address will not be published. Required fields are marked *