Welcome to a comprehensive guide on the FlashForge Adventurer 5M 3D printer and its innovative nozzle system. The quick-release nozzle of the Adventurer 5M opens up a world of possibilities in 3D printing, allowing for seamless nozzle changes and enhanced printing flexibility. Dive into the details of the FlashForge Adventurer 5M Nozzle as we explore its features and maintenance tips to optimize your printing experience.
FlashForge Adventurer 5M 3D Printer Nozzle Features
The FlashForge Adventurer 5M 3D printer comes with a quick-release nozzle that allows you to switch printing modes effortlessly. Here are some details about the nozzle and the printer:
Nozzle Options:
The nozzle is available in different sizes: 0.25mm, 0.4mm, 0.6mm, and 0.8mm.
You can choose the appropriate nozzle size based on your printing requirements.
Printer Features:
Printing Size: The Adventurer 5M offers a build volume of 220mm x 220mm x 220mm.
PEI Magnetic Bending Platform: This platform allows you to remove printed models quickly.
Touchscreen Interface: The 4.3-inch touchscreen simplifies printing operations.
Half the Time: With the 0.6mm nozzle, you can save time during printing.
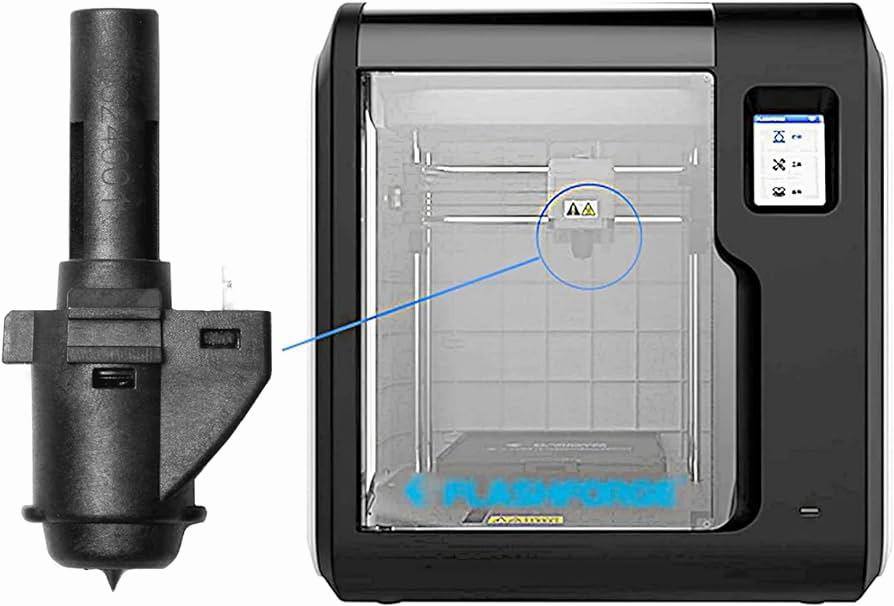
If you need to replace the nozzle, follow these steps:
Press the left and right clips to remove the old nozzle.
Install the new nozzle back into the extruder, ensuring that the nozzle slot and the bottom of the extruder are at the same level.
Tap Filament and then Load to initiate the nozzle replacement process when you see filament coming out of the new nozzle.
Remember that product images are for illustrative purposes only and may differ from the actual product due to enhancements and monitor differences
Technical Specifications
Let’s delve into the technical specifications of the Flashforge Adventurer 5M 3D printer:
Basic Parameters:
Extruder Quantity: 1
Printing Precision: ±0.1 mm (Test of 100mm cube)
Position Precision:
X/Y axis: 0.0125 mm
Z axis: 0.0025 mm
Max Extruder Speed: 600 mm/s
Max Acceleration: 20,000 mm/s²
Layer Thickness: 0.1 – 0.4 mm
Build Size: 220 mm × 220 mm × 220 mm
Nozzle and Printing Features:
Nozzle Diameter:
Default: 0.4 mm
Optional: 0.25 mm, 0.6 mm, 0.8 mm
PEI Magnetic Bending Platform:
Quick-release platform for easy model removal
Ensures a smooth and fine bottom surface for printed models
4.3-Inch Touchscreen:
Simplifies printing operations
Allows you to dive into the details
0.6 mm Nozzle:
Reduces print time by half
Provides options for thicker layers
Prioritizes width over wire diameter
Auto Leveling:
Advanced system measures nozzle height relative to the build plate
Automatically compensates for discrepancies, ensuring a flawless first layer
Maintaining the nozzle of your Flashforge Adventurer 5M is essential for optimal 3D printing performance. Let’s dive into the necessary steps for nozzle maintenance:
Unclogging the Nozzle:
If you encounter extrusion issues or poor print quality, it might be due to a clogged nozzle.
Follow the manufacturer’s instructions to unclog the nozzle. Typically, this involves heating the nozzle and using a thin wire or needle to clear any obstructions.
Be cautious while handling the hot nozzle.
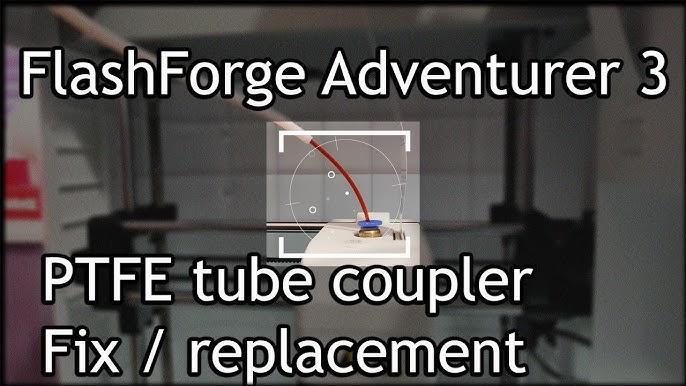
Replace the Filament Guide Tube:
The filament guide tube ensures smooth filament feeding from the spool to the extruder.
If the tube is damaged or worn out, replace it with a new one.
Insert the new filament guide tube into the extruder and the other end into the filament detection sensor.
Install the Screen:
Before installation, remove the tape from the screen cable gently to avoid damage.
Insert the screen’s buckle into the printer’s slot and push it according to the arrow direction to lock it in place.
Replace the Extruder Cable:
If you experience connectivity issues or damaged cables, consider replacing the extruder cable.
Follow the manufacturer’s guidelines for proper cable replacement.
Replace the Motherboard (if needed):
In rare cases, a faulty motherboard may affect printer performance.
Consult the user manual or seek professional assistance to replace the motherboard.
Load & Change Filament:
Regularly load fresh filament spools and ensure they are properly fed into the extruder.
If you need to change filament colors or types, follow the filament loading/unloading procedures.
Remember to consult the official user manual for detailed instructions specific to your Flashforge Adventurer 5M
IMG Source: ytimg.com
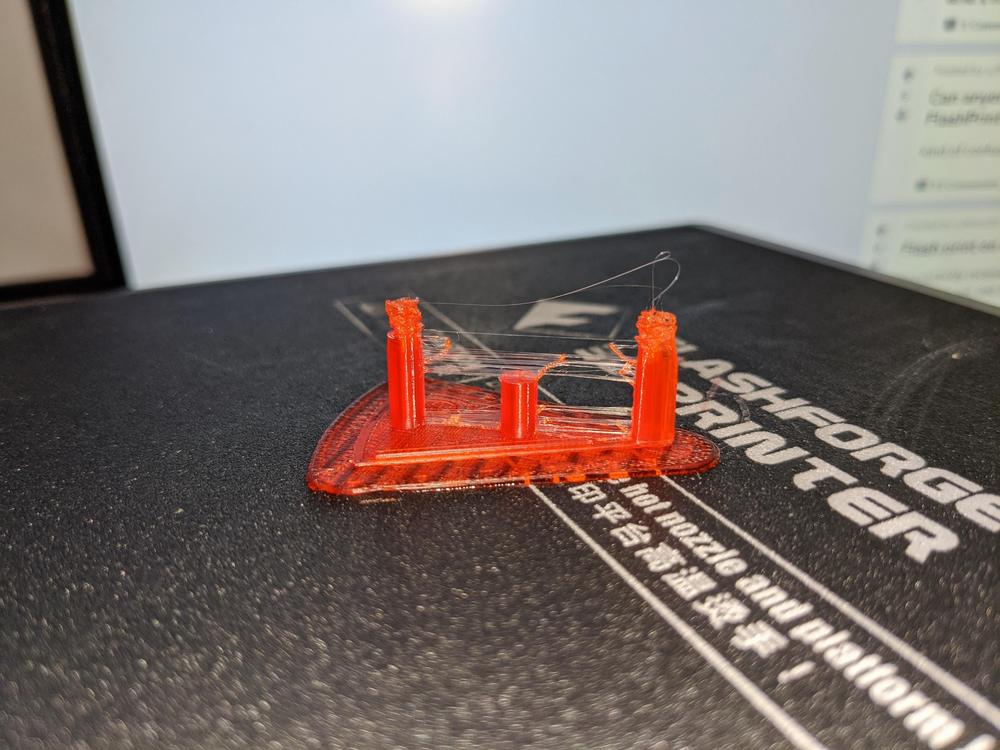
Troubleshooting Nozzle Issues
Let’s troubleshoot the nozzle issues with your Flashforge Adventurer 5M. Here are some steps you can follow:
Check Filament Flow:
Ensure that the filament is feeding properly into the nozzle.
Look for any bends or kinks in the filament. If necessary, cut the tip of the filament to make it smooth and flat.
Reinsert the filament guide tube and filament back into the extruder.
Tap the Load button to initiate filament loading.
Nozzle Clogging:
If the nozzle is clogged, it might cause printing problems.
Check whether there are any filament residues at the nozzle tip or uncleared print bed.
Clean the nozzle and bed by removing any residues.
Restart the printer and perform auto-leveling again.
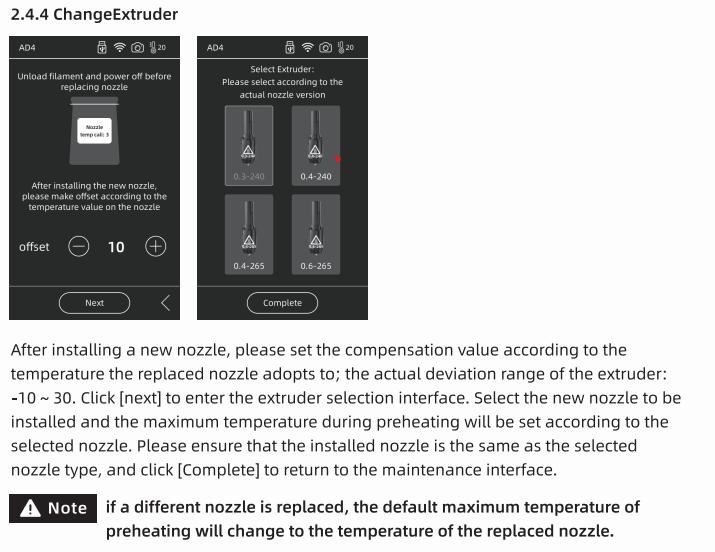
Nozzle Replacement:
If the nozzle remains clogged or damaged, consider replacing it.
Remove the filament guide tube and cut the filament.
Press the left and right buckles to remove the old nozzle.
Trim the filament along the nozzle top.
Insert the new nozzle into the extruder until you hear a “click” sound, indicating that the buckle position has changed.
Ensure that the nozzle slot aligns flush with the bottom of the extruder.
Remember to follow safety precautions and refer to the user manual for detailed instructions on maintenance and troubleshooting. You can find the complete user manual for the Flashforge Adventurer 5M here
IMG Source: redd.it
Maximizing 3D Print Quality with Flashforge Adventurer 5M
The Flashforge Adventurer 5M is a versatile 3D printer with several features that can help you achieve excellent print quality. Let’s explore some tips and techniques to maximize your 3D print quality using this printer:
Nozzle Selection:
The Adventurer 5M comes with a 0.6mm nozzle by default. This larger nozzle size allows for faster printing while maintaining decent quality.
If you prioritize speed, stick with the 0.6mm nozzle. However, if you need finer details, consider switching to a smaller nozzle (e.g., 0.4mm).
Layer Thickness:
Adjust the layer thickness (also known as layer height) in your slicer software. Smaller layer heights (around 0.1mm) generally result in smoother surfaces and finer details.
Experiment with different layer heights to find the right balance between quality and printing time.
Platform Adhesion:
Proper adhesion between the print bed and the model is crucial for quality prints.
Try the following methods to improve adhesion:
Increase the platform temperature.
Add a brim during slicing.
Apply glue to the build surface.
Ensure the platform is level.
Auto-Leveling:
The Adventurer 5M features an advanced auto-leveling system. It measures the nozzle height relative to the build plate and compensates for any discrepancies.
This ensures a flawless first layer, which is essential for overall print quality.
Quick-Release Nozzle:
The printer allows you to switch between different nozzle diameters (0.25mm, 0.4mm, 0.6mm, and 0.8mm) effortlessly.
Consider using the 0.4mm nozzle for finer details and the 0.6mm nozzle for faster prints.
PEI Magnetic Bending Platform:
The flexible magnetic printing platform makes it easy to remove prints.
Ensure the platform is clean and free from oil or dirt for optimal adhesion.
Software Settings:
Use slicing software like FlashPrint to streamline the slicing process.
Monitor print status and manage the printer online using FlashForge Cloud Control.
Take advantage of features like filament run-out reminders and power loss recovery.
In conclusion, the FlashForge Adventurer 5M Nozzle stands out as a versatile and user-friendly component of this cutting-edge 3D printer. By understanding the various nozzle options, printing features, and maintenance techniques, you can harness the full potential of the Adventurer 5M for your creative projects. Whether you’re unclogging the nozzle, selecting the right nozzle size, or troubleshooting nozzle issues, this guide equips you with the knowledge to ensure smooth and high-quality 3D prints.
Embrace the power of the FlashForge Adventurer 5M Nozzle and elevate your printing capabilities today.