Ultimate Guide to Flashforge Adventurer 5M Electronics Board
Are you looking to enhance the performance of your Flashforge Adventurer 5M 3D printer? Dive into the world of the Flashforge Adventurer 5M Electronics Board and discover how this crucial component can elevate your 3D printing experience. From design reliability to electrical performance, get ready to explore the key aspects that ensure seamless operation and optimal functionality of your printer.
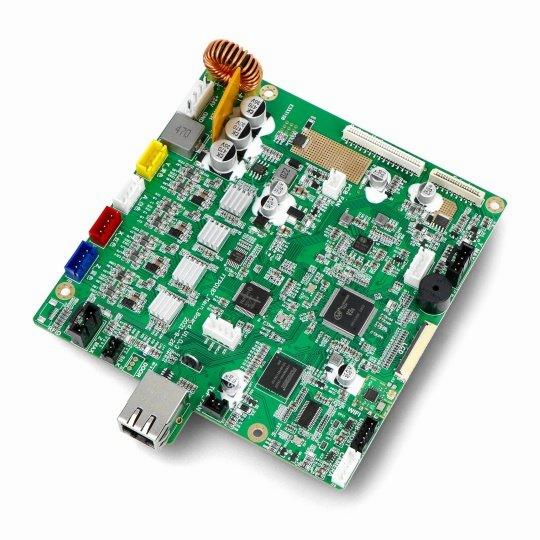
Exploring the Electronics Board of the Flashforge Adventurer 5M Pro
The Flashforge Adventurer 5M is a 3D printer that boasts several impressive features. Let’s focus on the electronics board for this model.
Mainboard of Adventurer 5M Pro:
The mainboard is a crucial component that controls the printer’s functions. For the Adventurer 5M Pro, you can find a replacement mainboard available for $79.00.
It’s compatible with the Adventurer 5M Pro model and ensures smooth operation during printing.
Additionally, you can bundle it with a 0.6mm-280°C Hardened Nozzle Kit for an enhanced printing experience.
Specifications of the Adventurer 5M:
Printing Size: The build volume is 220 x 220 x 220 mm.
CoreXY Structure: This design provides rapid yet stable movement during printing.
Auto Leveling: Ensures a flawless first layer by automatically adjusting the print bed.
Quick-Release Nozzle: Allows you to switch printing modes effortlessly.
PEI Magnetic Bending Platform: Provides a smooth printing surface for your creations.
If you’re looking to replace or upgrade the electronics board, make sure to explore the official Flashforge shop for the right components
Flashforge Adventurer 5M 3D Printer Specifications
Let’s delve into the specifications of the Flashforge Adventurer 5M 3D printer:
CoreXY Structure: The Adventurer 5M features a rapid yet stable CoreXY machine configuration. This design ensures efficient movement while maintaining stability during printing.
Auto Leveling: The printer incorporates an advanced auto-leveling system that measures the nozzle height relative to the build plate. It automatically compensates for any discrepancies, resulting in a flawless first layer.
Quick-Release Nozzle: The Adventurer 5M allows you to switch printing modes effortlessly using quick-release nozzles in multiple diameters (0.25/0.4/0.6/0.8). This flexibility inspires creativity and originality.
Printing Size: The build volume of the Adventurer 5M is 220 mm x 220 mm x 220 mm.
PEI Magnetic Bending Platform: The printer features a flexible magnetic printing platform with a PEI surface. This platform allows for easy model removal and ensures a smooth and fine bottom surface.
4.3-Inch Touchscreen: The Adventurer 5M simplifies printing operations with its intuitive 4.3-inch touchscreen interface.
Software Compatibility:
The printer supports various printing modes and materials.
Filament Run-out Reminder: It pauses printing when filament runs out, prompting you to change filament.
Power Loss Recovery: Ensures seamless progress in case of power outages.
High-speed Filament: The Adventurer 5M supports high-speed filament for faster printing.
Integrated Printing Management: FlashPrint 5 enables remote multi-device control, print classification management, and remote print status monitoring.
Basic Parameters:
Extruder Quantity: 1
Printing Precision: ±0.1 mm (Test of 100 mm cube)
Position Precision: X/Y axis 0.0125 mm; Z axis 0.0025 mm
In summary, the Flashforge Adventurer 5M combines ease of use, stability, and advanced features to provide an excellent 3D printing experience. Whether you’re a beginner or an experienced user, this printer offers versatility and reliability for your creative projects.
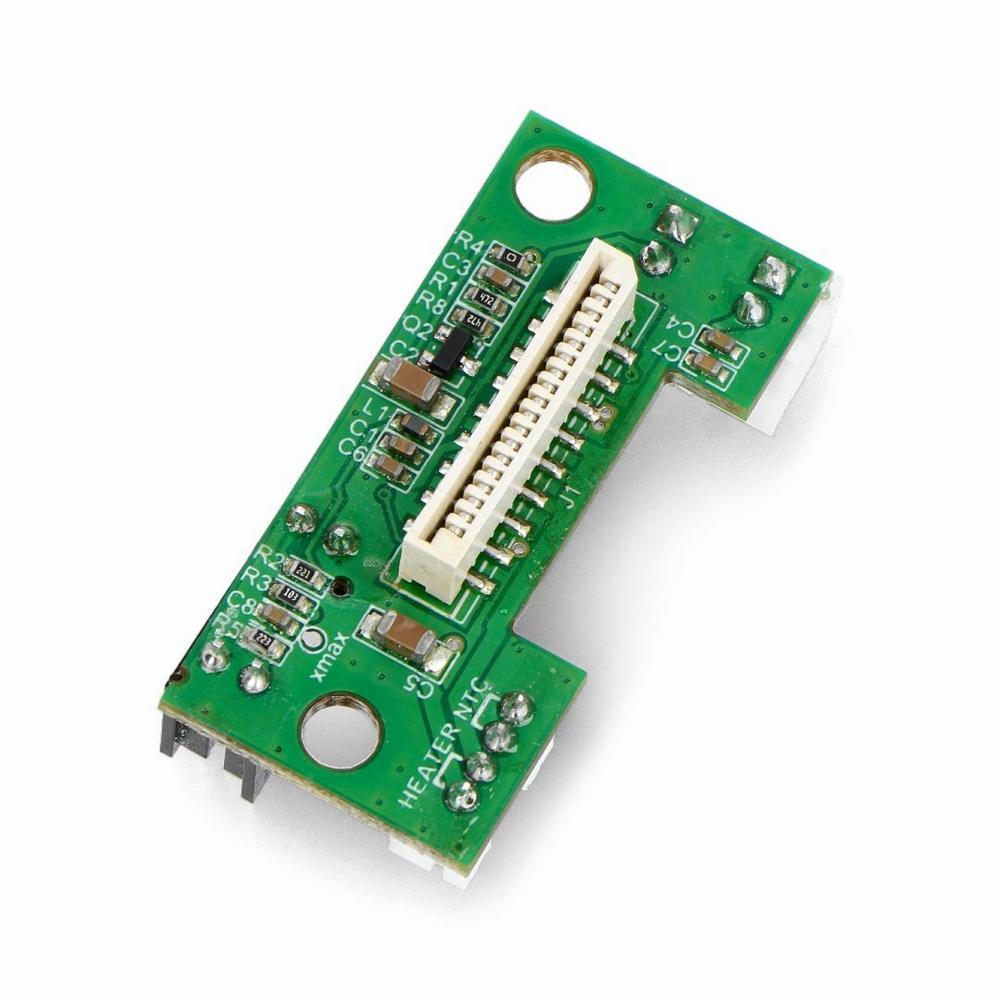
IMG Source: botland.store
Installation Guide for the Electronics Board in Flashforge Adventurer 3D Printer
Let’s delve into the installation process for the Electronics Board in your Flashforge Adventurer 3D printer. This guide will help you get started with your printing journey using the Adventurer 3.
Unpacking and Accessories:
Begin by unpacking your Adventurer 3. Check for any residues in the extruder or minor scratches on the build tape; these won’t affect print quality.
Familiarize yourself with the included accessories.
Interface Overview:
The Adventurer 3 has an intuitive interface. Here are some key components:
Build Plate: Where your prints will be created.
Tools: Necessary for maintenance and adjustments.
Network Settings: Configure network connectivity.
Preheat: Warm up the printer.
Settings: Adjust various parameters.
About: Access printer information.
Filament: Manage filament loading and unloading.
Printing Process:
Load Filament: Insert filament into the extruder.
Model File Transfer: Transfer your 3D model files to the printer.
Print: Start the printing process.
You can use FlashCloud Print or PolarCloud Print for cloud-based printing.
Model Removal: Carefully remove the printed model.
Filament Replacement: Swap out filament when needed.
Using the Camera:
The Adventurer 3 features a camera.
You can control the camera switch via the lower computer.
Explore FlashCloud Camera and PolarCloud Camera functionalities.
Error Handling: Refer to the guide for troubleshooting tips.
Remember to follow safety precautions:
Keep your workspace tidy.
Avoid operating the Adventurer 3 near flammable materials.
Maximizing the performance and reliability of electronics boards is crucial for ensuring seamless operation. Let’s delve into some key aspects:
Design Reliability:
Power Design and EMI Prevention: During the design phase, consider power design and electromagnetic interference (EMI) prevention. Proper stackup design, signal-to-plane layer proximity, and ground plane positioning impact reliability. Wider power and ground fan-out traces help prevent hotspots and ensure smooth current flow.
Decoupling Capacitors: These serve as secondary power sources, distributing the load and preventing one device’s draw from affecting others. They also shunt transients to the ground, maintaining steady DC while filtering out high-frequency AC.
Electrical Performance:
Heavy Copper PCBs: These exhibit lower resistance and impedance, leading to improved electrical performance. Reduced signal loss, minimized voltage fluctuations, and enhanced signal integrity are especially beneficial for high-speed or high-frequency applications.
Advanced Techniques and Standards:
High-Speed Digital and Mixed-Signal PCBs: Utilize advanced software tools to design efficient and reliable boards that meet modern system requirements.
Manufacturing Processes: Employ cutting-edge manufacturing methods for optimal performance.
IMG Source: bruker.com
Troubleshooting Guide for Flashforge Adventurer 5M Electronics Board
Here’s a troubleshooting guide for the Flashforge Adventurer 5M electronics board. If you encounter any issues, follow these steps to diagnose and address them:
Filament Guide Tube Clogged:
Issue: During filament change, the filament cannot pass through the filament guide tube.
Causes:
Uneven (inclined) surface of the filament end, causing it to get stuck at the filament detection position.
Filament breaks off inside the filament guide tube.
Solutions:
Rotate the filament or trim the filament end to ensure it feeds smoothly.
Remove any broken filament remains from the guide tube.
Filament Extrusion Issue:
Issues:
Under-extrusion during printing.
No filament extrusion.
Causes:
Filament tangles.
Mismatched parameter settings.
Nozzle or extruder clogs.
Solutions:
Check if filament is tangled on the spool.
Ensure the nozzle temperature matches the filament’s recommended temperature.
Clear nozzle blockages using the provided unclogging pin tool.
If needed, replace the nozzle or check for extruder blockage.
No Extrusion on the First Layer:
Cause: Distance too close.
Solution: Re-level the bed.
Model Not Sticking to the Build Plate:
Cause: Build plate damage or severe wear, resulting in an uneven surface.
Solution: Inspect the build plate and consider replacing it if necessary.
Nozzle Scraping Against the Build Plate:
Cause: Incorrect nozzle height.
Solution: Re-level the bed to ensure proper clearance.
No Filament Extruded During Filament Loading:
Cause: Filament not feeding properly.
Solution: Check the filament guide tube, nozzle, and extruder for any blockages.
Other Hardware Issues:
These include problems with auto-leveling, touchscreen responsiveness, bed heating, and more. Refer to the user manual for specific troubleshooting steps.
Remember to consult the user manual for detailed instructions and illustrations on troubleshooting specific issues. If you encounter any error messages or network-related problems, the manual provides further guidance
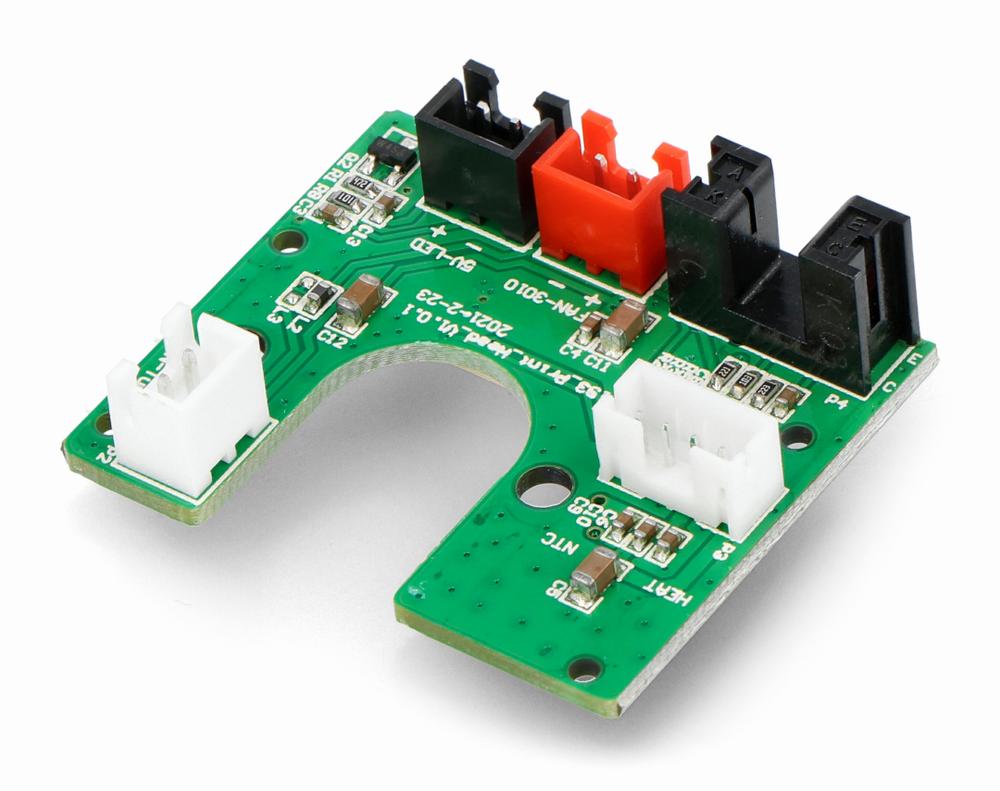
IMG Source: botland.store
In conclusion, the Flashforge Adventurer 5M Electronics Board stands out as a vital component that plays a significant role in the overall functioning of your 3D printer. By understanding the nuances of design reliability and electrical performance, you can maximize the board’s capabilities and ensure smooth printing operations. As you troubleshoot potential issues and explore advanced techniques, you’ll unlock the full potential of your Flashforge Adventurer 5M printer.
Whether you’re a novice or experienced user, leveraging the power of the electronics board will undoubtedly enhance your 3D printing journey. Embrace the possibilities and elevate your creations with the Flashforge Adventurer 5M Electronics Board.