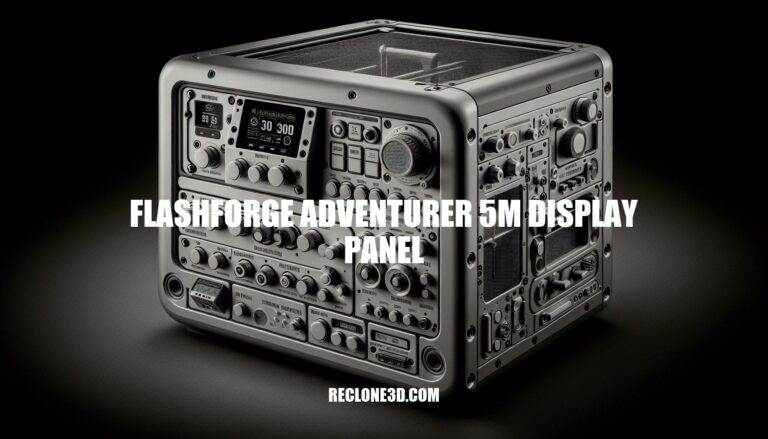
Optimizing the Flashforge Adventurer 5M Display Panel
Are you looking to enhance your 3D printing experience with the Flashforge Adventurer 5M display panel? Dive into this detailed guide to discover how this cutting-edge technology can revolutionize your printing process. From the intuitive touchscreen interface to advanced features like auto-leveling and quick-release nozzles, the Flashforge Adventurer 5M offers a blend of user-friendly design and high-performance capabilities.
Let’s explore the ins and outs of the display panel and how it can elevate your 3D printing projects to the next level.
Key Features of Flashforge Adventurer 5M
The Flashforge Adventurer 5M is a 3D printer that boasts several impressive features. Let’s dive into the details of its display panel and other functionalities:
Display Panel:
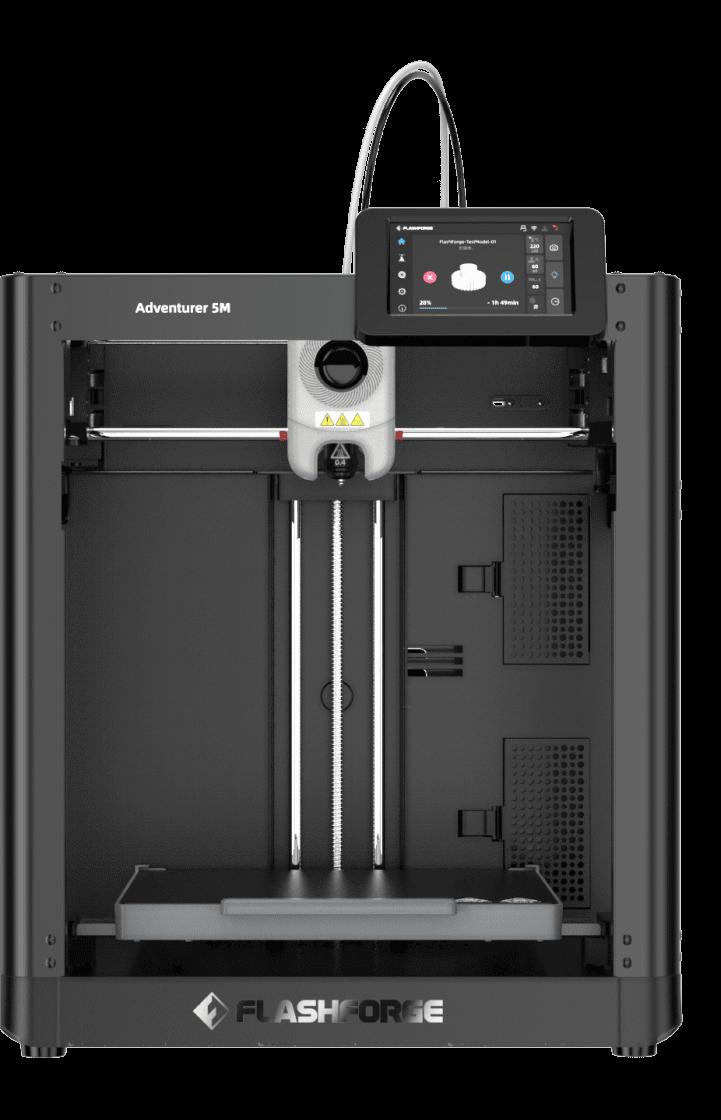
The Adventurer 5M features a 4.3-inch touchscreen display panel. This intuitive interface simplifies printing operations, allowing you to navigate settings, monitor progress, and manage your prints with ease.
With the display, you can adjust parameters, select printing modes, and explore various options directly on the printer. It provides a user-friendly experience, especially for beginners.
The touchscreen allows you to access essential functions without the need for complicated installation or testing.
Auto Leveling:
The Adventurer 5M incorporates an advanced auto-leveling system. It measures the nozzle height relative to the build plate and automatically compensates for any discrepancies. As a result, you get a flawless first layer, which is crucial for successful 3D prints.
Quick-Release Nozzle:
Switching between different printing modes is a breeze thanks to the quick-release nozzles. You can choose from multiple diameters (0.25/0.4/0.6/0.8) to inspire your creativity and achieve different levels of detail in your prints.
PEI Magnetic Bending Platform:
The Adventurer 5M comes with a flexible magnetic printing platform made of PEI (Polyetherimide). Here’s why it’s great:
Easy Removal: You can remove your printed models quickly and effortlessly.
Smooth Surface: The PEI surface ensures a smooth and fine bottom layer for your 3D prints.
Bending Resistant: The platform resists bending, maintaining stability during printing.
Software Compatibility:
The printer is compatible with FlashPrint 5, which enhances your printing experience:
Filament Run-out Reminder: It pauses printing when filament runs out, prompting you to change the filament spool.
Power Loss Recovery: In case of power outages, it ensures seamless printing progress.
High-Speed Filament: The Adventurer 5M supports high-speed filament, allowing you to explore faster printing options.
Integrated Printing Management: FlashPrint 5 enables remote multi-device control, print classification management, and real-time monitoring of print status.
Specifications:
Build Size: 220 x 220 x 220 mm (8.7 x 8.7 x 8.7 inches).
Layer Thickness: Adjustable from 0.1 mm to 0.4 mm.
Max Extruder Speed: Up to 600 mm/s.
Position Precision: X/Y axis: 0.0125 mm; Z axis: 0.0025 mm.
Printing Precision: ±0.1 mm (tested with a 100 mm cube).
In summary, the Flashforge Adventurer 5M combines ease of use, stability, and versatility, making it an excellent choice for both beginners and experienced 3D printing enthusiasts.
The Flashforge Adventurer 5M boasts a user-friendly interface that caters to both beginners and experienced users of FDM (Fused Deposition Modeling) 3D printers. Let’s delve into the details:
Touchscreen Display: The 4.3-inch touchscreen simplifies printing operations. Here’s what it offers:
Real-Time Monitoring: Keep track of your print status directly on the display.
Effortless Navigation: Dive into the details with ease, adjusting settings and exploring options.
Quick-Release Nozzle Switching: Swap between nozzles (0.25/0.4/0.6/0.8) swiftly to inspire your creativity.
PEI Magnetic Bending Platform: The flexible magnetic printing platform ensures easy model removal and a smooth bottom surface.
Auto Leveling: The advanced auto-leveling system measures the nozzle height relative to the build plate, compensating for any discrepancies and providing a flawless first layer.
Optimizing 3D Printer Settings Using Display Panel
Optimizing 3D printer settings is crucial for achieving high-quality prints. While many adjustments are typically made in slicing software, some settings can also be tweaked directly on the 3D printer’s display panel. Here are some steps to optimize your 3D printer settings using the display panel:
Layer Height: Adjust the layer height (also known as print resolution) directly on the printer. Smaller layer heights result in finer details but longer print times. Larger layer heights are faster but may sacrifice detail.
Print Speed: Most printers allow you to adjust the print speed. Slower speeds often lead to better quality, while faster speeds reduce printing time. Find a balance that suits your needs.
Temperature Settings:
Nozzle Temperature: Set the nozzle temperature based on the filament type you’re using. Refer to the filament manufacturer’s recommendations.
Bed Temperature: Adjust the bed temperature for good adhesion. Too hot can cause warping, while too cold may lead to poor adhesion.
Infill Density: Modify the infill density directly on the printer. Higher infill percentages make the print stronger but take longer. Lower infill percentages save time but may compromise strength.
Retraction Settings: Adjust retraction settings to minimize stringing and oozing. Retraction distance and speed can be fine-tuned on the printer.
Cooling Fan: Enable or adjust the cooling fan during printing. Proper cooling helps prevent overheating and improves print quality.
Flow Rate: Some printers allow you to adjust the flow rate (extrusion multiplier). Fine-tune this to ensure accurate extrusion.
For more detailed slicer settings, you can explore slicing software like Cura, Simplify3D, or PrusaSlicer. These tools provide extensive control over various parameters, allowing you to fine-tune your prints to perfection.
IMG Source: starmicronics.com
Optimizing your 3D Printer Display Panel
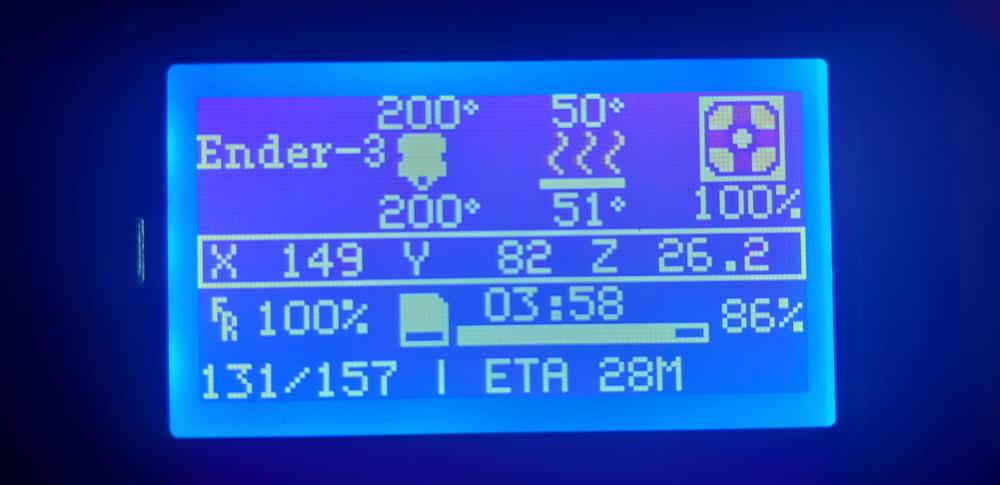
Let’s explore some tips to make the most of your 3D printer display panel. Whether you have an LCD screen, click encoder input, or an SD card reader, optimizing their usage can enhance your 3D printing experience. Here are some recommendations:
LCD Screen Setup:
Connections: Ensure that the LCD screen is properly connected to your 3D printer’s control board. Follow the manufacturer’s instructions for wiring.
Firmware Configuration: Check your printer’s firmware settings. You may need to modify configuration files (such as Marlin) to enable the LCD screen. Look for lines related to the display and uncomment them if necessary.
Functionality: The LCD screen allows you to control your printer, navigate menus, and monitor print progress. Familiarize yourself with its functions, including temperature adjustments, bed leveling, and filament loading.
Smart Controllers: Consider upgrading to a Full Graphic Smart Controller for a more feature-rich experience.
SD Card Reader:
Inserting SD Cards: Make sure the SD card is inserted correctly into the reader. Most printers read G-code files from the SD card for printing.
File Organization: Organize your G-code files on the SD card. Create folders for different projects or types of prints. Keep filenames descriptive.
Printing from SD: Use the LCD screen to select files from the SD card and initiate prints. It’s convenient for standalone printing without a connected computer.
Click Encoder Input:
Navigation: The click encoder (rotary knob) allows you to scroll through menus and select options. Practice using it to navigate settings, adjust temperatures, and start prints.
Calibration: If the encoder feels too sensitive or not responsive enough, adjust the settings in your firmware. Look for parameters like ENCODER_PULSES_PER_STEP and ENCODER_STEPS_PER_MENU_ITEM.
Custom Menus: Some firmware versions allow custom menus. Consider adding shortcuts for frequently used functions (e.g., preheat, auto-leveling) to save time during setup.
Note: The information provided here is based on general principles and may vary depending on your specific printer model and firmware setup.
IMG Source: redd.it
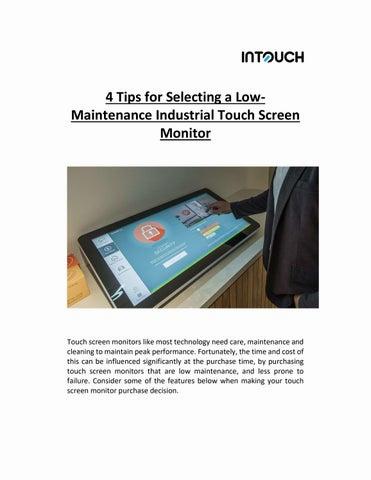
Dos and Don’ts for Touchscreen Maintenance
Keeping your touchscreen displays clean and well-maintained is essential for optimal performance and hygiene. Here are some dos and don’ts to follow:
DO: Use a Microfiber Cloth
When cleaning a touchscreen, a microfiber cloth is your best friend. These cloths are gentle enough to avoid scratching your screen but tough enough to remove smudges, fingerprints, and other gunk.
To clean your touchscreen effectively, simply wipe it down with a dry microfiber cloth, covering every part of the screen. If you need to remove more stubborn smudges, you can dampen the fabric with a bit of water or a cleaning solution specifically designed for touchscreen displays.
DON’T: Use Abrasive or Chemical Cleaners
Avoid using abrasive or chemical cleaners. These can damage the screen, leaving scratches, discoloration, or even permanent harm.
Stick to warm water and a microfiber cloth, or use a cleaning solution specifically designed for touchscreen displays.
DO: Turn Off Your Device Before Cleaning
Always turn off your device before cleaning the touchscreen. This prevents accidental activation of apps or windows while cleaning, which can lead to additional smudges and frustration.
DON’T: Apply Excessive Pressure
While it may be tempting to scrub away tough smudges, excessive pressure can damage the screen. Use only gentle pressure when cleaning, using small, circular motions to remove stubborn dirt without harming the screen.
DO: Clean Your Screen Frequently
Establish a regular cleaning routine to prevent the buildup of grime and bacteria.
The cleaner your screen stays, the better the overall user experience, and the longer its life will be.
Remember, maintaining a clean touchscreen not only enhances usability but also contributes to a healthier environment.
IMG Source: isu.pub
In conclusion, the Flashforge Adventurer 5M display panel proves to be a game-changer for 3D printing enthusiasts of all levels. With its innovative features such as real-time monitoring, easy navigation, and seamless control over essential settings, this display panel offers a comprehensive solution for optimizing your printing experience. Whether you’re a novice looking to streamline your workflow or a seasoned user seeking precision and efficiency, the Flashforge Adventurer 5M display panel is a must-have tool in your 3D printing arsenal.
Embrace the future of printing technology with the Flashforge Adventurer 5M and unlock a world of endless creative possibilities.