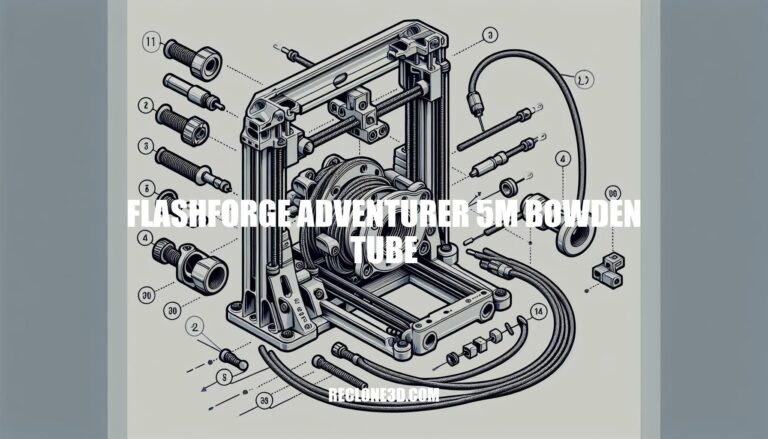
Ultimate Guide to Flashforge Adventurer 5M Bowden Tube
Welcome to the world of 3D printing, where precision meets innovation. Today, we’re exploring the realm of Bowden tubes, a vital component in enhancing your printing experience. Specifically, we’ll delve into the integration of the FlashForge Adventurer 5M Bowden Tube and how it can elevate your 3D printing endeavors.
Impressive Features of the FlashForge Adventurer 5M 3D Printer
The FlashForge Adventurer 5M is a 3D printer with some impressive features. Let’s dive into the details:
Printing Size: The Adventurer 5M offers a printing volume of 220 x 220 x 220 mm.
CoreXY Structure: This printer utilizes a CoreXY configuration, which ensures rapid yet stable movement during printing.
Auto Leveling: Say goodbye to manual bed leveling! The Adventurer 5M comes with auto bed leveling for a flawless first layer.
Quick-Release Nozzle: Swapping nozzles is a breeze with the quick-release design.
PEI Magnetic Bending Platform: The printing surface features a PEI magnetic bending platform, ensuring good adhesion and easy removal of prints.
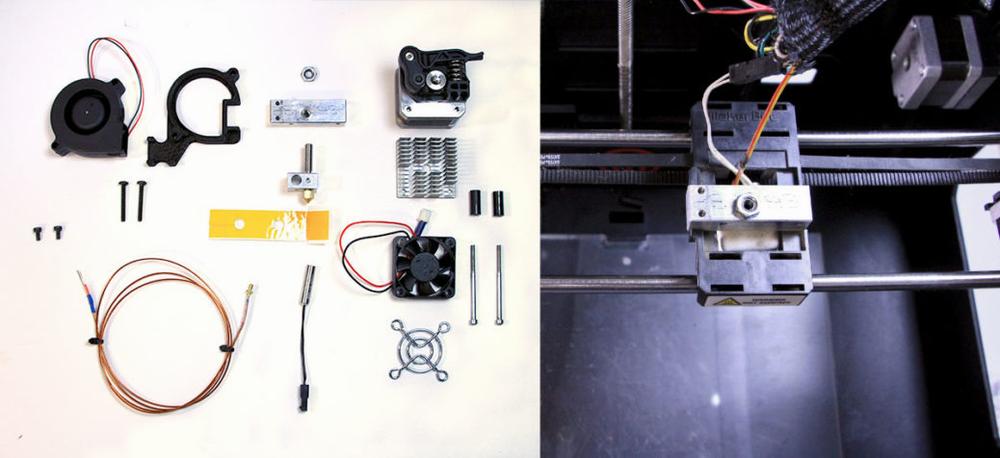
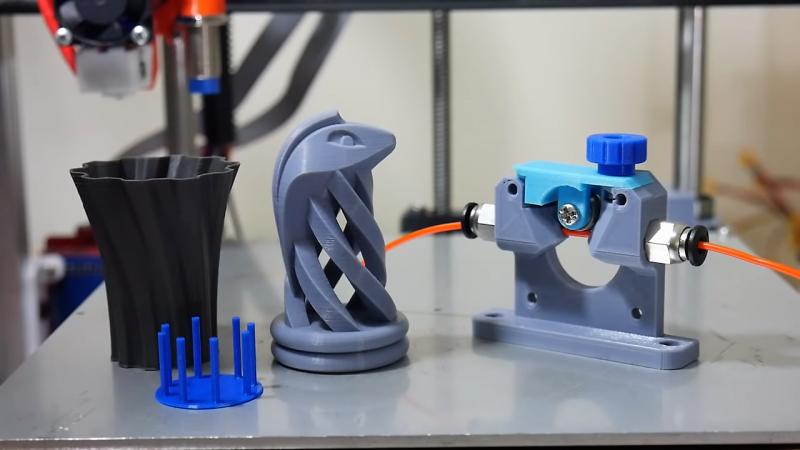
Now, let’s address the Bowden tube. If you encounter issues with the PTFE tubing releasing from the coupler (a common problem), you might need to replace it. There are helpful videos available that demonstrate how to replace the Bowden tube coupling on the Flashforge Adventurer 3D printer. Although the Adventurer 5M might have some differences, understanding the process for the Adventurer 3 could provide useful insights.
Advantages of Using a Bowden Tube
The Bowden tube plays a crucial role in 3D printing, especially in printers that utilize this setup. Let’s explore the advantages of using a Bowden tube:
Reduced Weight on the Print Head:
In a Bowden system, the extruder is mounted on the printer’s frame rather than directly on the printhead.
As a result, the printhead becomes lighter, which leads to faster and quieter printing performance.
The reduced weight allows for smoother printhead movements, minimizing issues like ringing and ghosting.
Improved Reliability:
The absence of the extrusion system (such as the motor and filament drive) on top of the nozzle ensures better reliability of the printing process.
With fewer components directly attached to the printhead, there are fewer points of failure.
Less Vibrations:
The lightweight design of the Bowden system contributes to reduced vibrations during printing.
These vibrations can negatively impact print quality, so minimizing them is beneficial.
Smooth Interior Surface and Reduced Friction:
The Bowden tube has a smooth interior surface, which helps reduce friction.
This smooth movement prevents clogs and ensures consistent printing quality.
Versatility with Filaments:
Bowden tubes can handle a wide range of filaments, including PLA, ABS, and TPU.
Users have the flexibility to experiment with different materials and create diverse 3D models.
Heat Resistance and Material Protection:
Bowden tubes are typically made of PTFE (polytetrafluoroethylene), which is highly resistant to high temperatures.
PTFE is also hydrophobic, non-stick, flexible, and dense.
It protects the filament from breaking or losing its form while traveling from the motor to the print head.
IMG Source: pcdn.co
How to Install and Maintain Bowden Tube in 3D Printers
The Bowden tube is an essential component in 3D printers, especially those with a Bowden extrusion system. Here are some steps for installing and maintaining the Bowden tube:
Disconnect the Bowden Tube:
First, switch off your 3D printer.
Disconnect the Bowden tube from the 3D printer.
Clean the Bowden Tube:
Use isopropyl alcohol to clean the Bowden tube. This helps remove any residue or contaminants.
Insert the Bowden Tube:
Insert the cleaned Bowden tube into the connector.
Make sure it is seated properly.
Tighten the Connector:
Tighten the connector to secure the Bowden tube in place.
Power Up the Printer:
Plug the 3D printer back into the power socket.
Test the Connection:
Verify that the Bowden tube is firmly attached and there are no leaks.
Run a test print to ensure proper filament flow through the tube.
Remember to regularly inspect
For more detailed information, you can refer to this article on Bowden tubes and their pros and cons.
IMG Source: all3dp.com
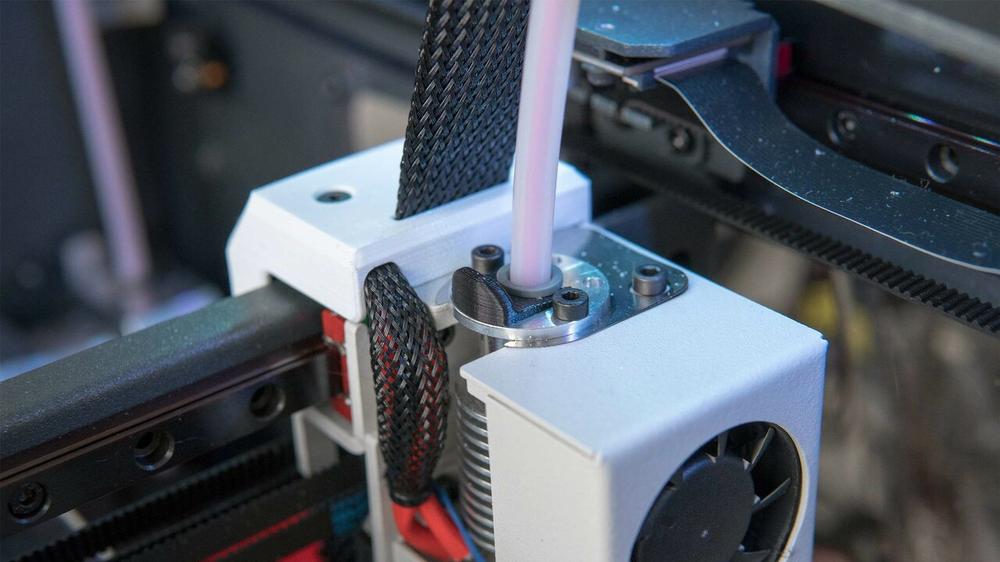
Troubleshooting Bowden Tube Issues in 3D Printing
Bowden tubes play a crucial role in 3D printing, especially in printers equipped with them. If you encounter issues related to Bowden tubes, here are some steps to troubleshoot and address common problems:
Switch Off and Unplug the Printer:
Begin by turning off your 3D printer and unplugging it from the power source. Safety first!
Disconnect the Bowden Tube From the 3D Printer:
Locate where the Bowden tube enters the printer’s extruder assembly (where the plastic filament melts before deposition).
There are two parts to this entry point: one end of the Bowden tube sits in an opening or port on the extruder assembly, while the other end connects to a threaded section that screws into another part of the printer.
Unscrew the threaded section (the end not in the extruder) to disconnect the Bowden tube.
Be careful not to lose or damage any parts.
Clean the Bowden Tube With Isopropyl Alcohol:
After disconnecting the Bowden tube, clean the PTFE-lined tube with diluted isopropyl alcohol and a paper towel.
Check for any filament pieces sticking out of the tube; if present, push them back into the extruder assembly.
Cleaning ensures smooth filament flow and prevents jams.
Reattach the Bowden Tube:
Insert the cleaned Bowden tube into the connector.
Tighten the connector securely to prevent leaks or disconnections.
Plug the 3D Printer Back In:
Reconnect the printer to the power socket.
Test the Connection:
Turn on the printer and verify that the Bowden tube is properly reattached.
Ensure there are no leaks or blockages.
Remember that after installing a new Bowden tube, some tuning may be necessary to optimize printing settings. Adjust parameters like print speed, retraction speed, and nozzle temperature as needed. Also, measure your filament diameter accurately, as using properly sized filament is crucial for Bowden tube performance.
IMG Source: 3dprintinguk.com
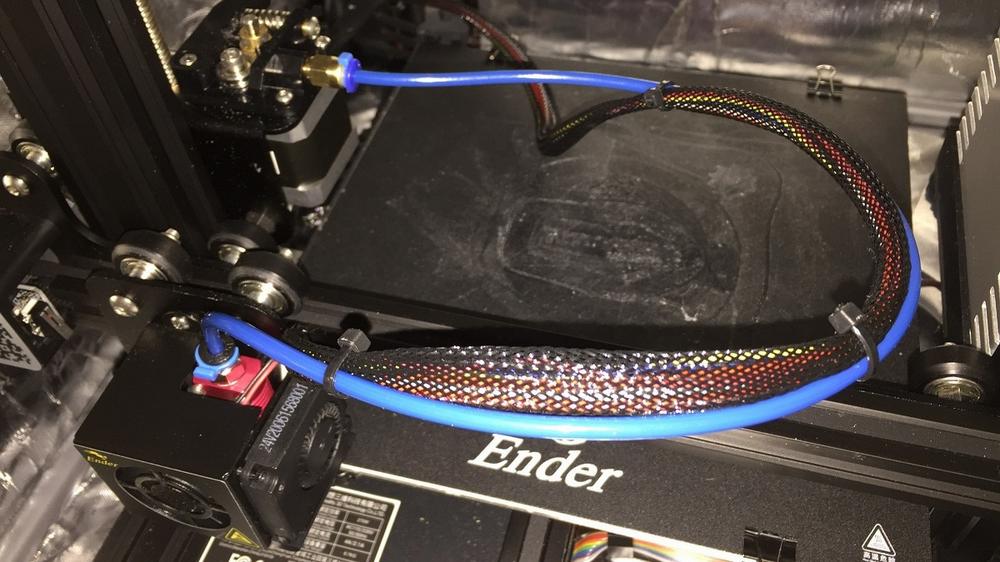
Exploring Bowden Tubes in 3D Printing
Let’s delve into the world of Bowden tubes and their impact on 3D printer performance.
A Bowden tube is a flexible conduit that connects the extruder (usually located at the printer’s base) to the hot end (where the filament is melted and deposited). Here are some key points about Bowden tubes:
Pros and Cons of Bowden Tubes:
Advantages:
Reduced Moving Mass: Since the extruder motor is away from the hot end, the moving mass is lower. This can lead to faster printing speeds and smoother motion.
Less Vibrations: The absence of a heavy extruder assembly near the hot end reduces vibrations during printing.
Longer Bowden Tubes: You can extend the Bowden tube to position the filament spool farther away from the printer, freeing up space.
Challenges:
Retraction Issues: Bowden setups may suffer from retraction-related problems due to the distance between the extruder and hot end. Retraction settings need careful tuning.
Flexible Filament Printing: Printing flexible filaments (like TPU) can be tricky with Bowden systems due to the tube’s compliance.
Accuracy and Stringing: Achieving precise retractions and minimizing stringing can be more challenging.
Print Quality and Speed:
Properly configured Bowden systems can yield excellent print quality and speed.
However, it’s essential to fine-tune retraction settings and choose the right filament for optimal results.
Reverse Bowden Setup:
Have you heard of the Reverse Bowden? It’s an interesting twist!
Instead of guiding the filament from the extruder to the hot end, the Reverse Bowden places the extruder near the hot end.
This setup can make direct-drive printers more reliable by reducing the Bowden-related challenges.
The pushing force occurs right at the hot end, improving filament control.
For more detailed information, you can explore resources like this article on All3DP or dive into the world of Reverse Bowden setups with Tom’s 3D.
IMG Source: hackaday.com
In conclusion, the Bowden tube is not just a simple conduit in 3D printing; it’s a critical element that can significantly impact your printing results. Understanding how to install, troubleshoot, and maximize the efficiency of the FlashForge Adventurer 5M Bowden Tube can elevate your printing projects to new heights. By following the best practices outlined in this guide, you’ll be better equipped to tackle any Bowden tube-related challenges and unleash the full potential of your 3D printer.