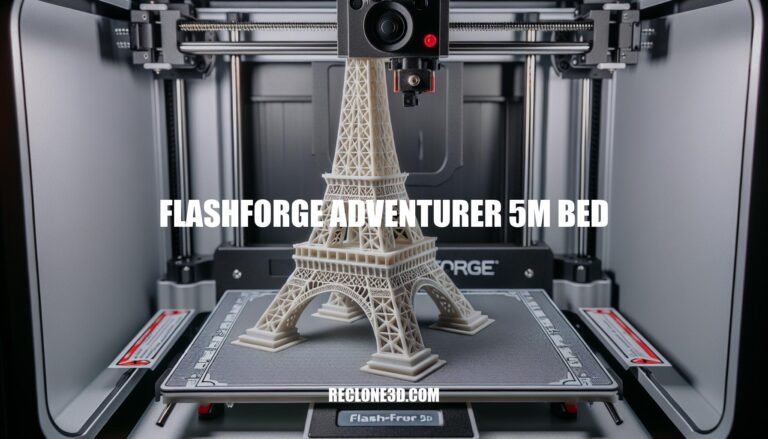
Ultimate Guide to the Flashforge Adventurer 5M Bed
Welcome to the world of 3D printing with the Flashforge Adventurer 5M. In this article, we will delve into the intricacies of calibrating and maintaining the Flashforge Adventurer 5M bed to ensure optimal performance and reliable printing results. Whether you are a novice or an experienced enthusiast, learning how to properly maintain your 3D printer bed can make a significant difference in the quality of your prints.
Let’s explore the essential steps to keep your Flashforge Adventurer 5M bed in excellent condition.
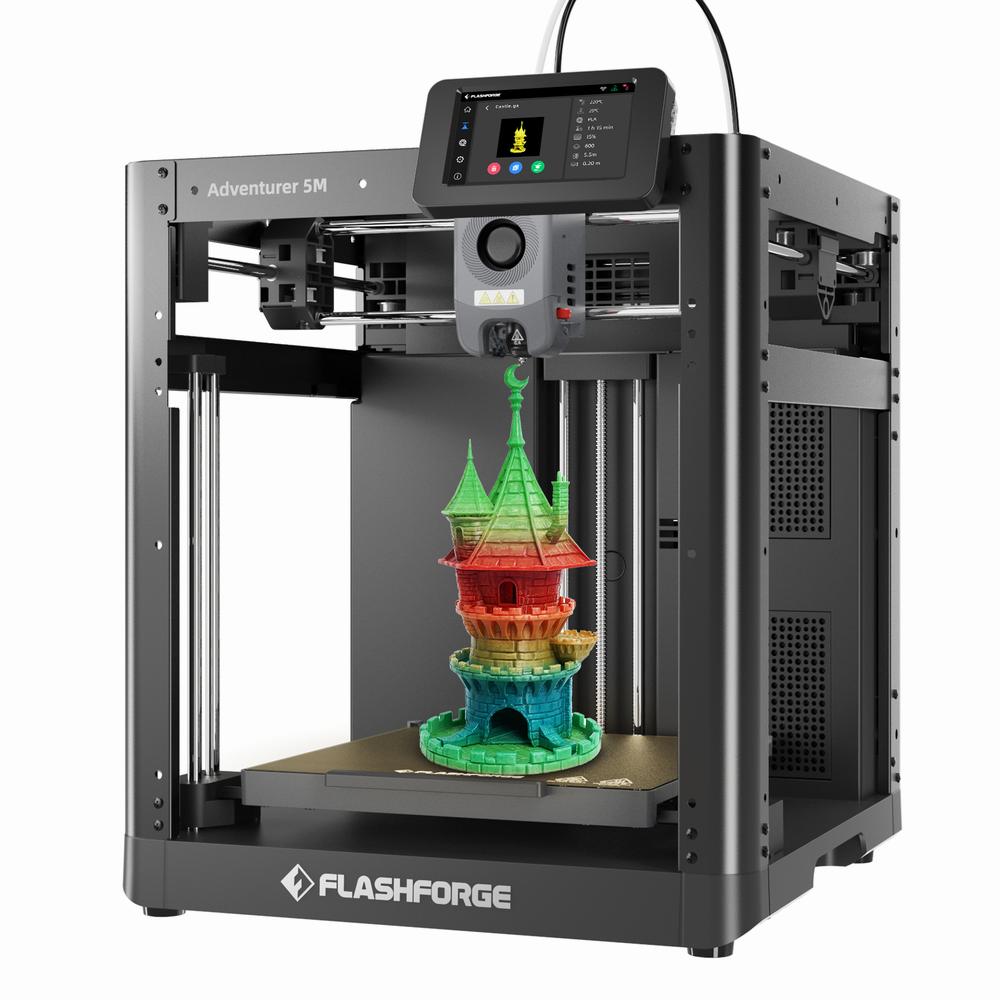
Flashforge Adventurer 5M 3D Printer Specifications
The Flashforge Adventurer 5M is a versatile 3D printer designed for various applications. Let’s dive into the details:
Specifications:
Build Size: The Adventurer 5M offers a printing size of 220 x 220 x 220 mm.
Printing Precision: It achieves a precision of approximately ±0.1 mm for a 100 mm cube test.
Max Extruder Speed: Up to 600 mm/s.
Layer Thickness: You can choose layer thicknesses between 0.1 mm and 0.4 mm.
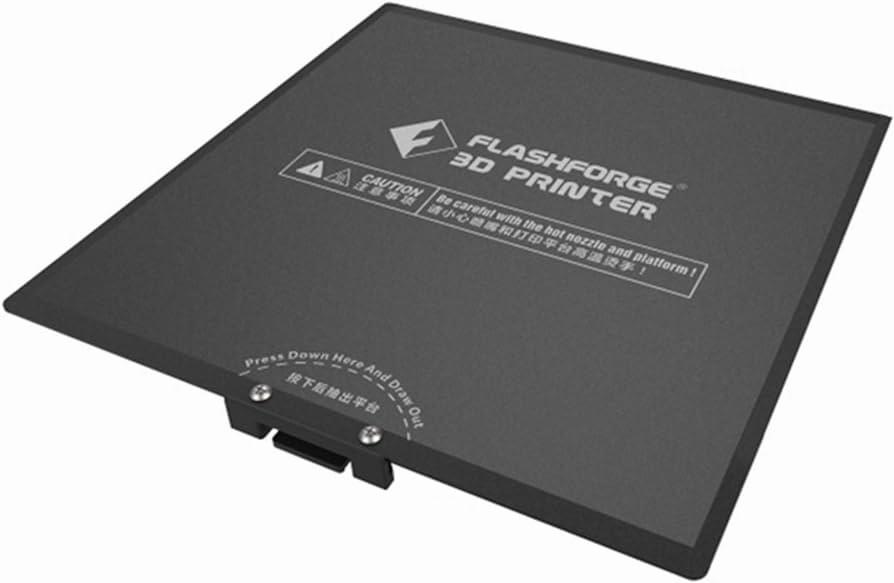
PEI Magnetic Bending Platform: The flexible magnetic printing platform allows for easy model removal and ensures a smooth bottom surface.
Quick-Release Nozzle: Switch between printing modes using quick-release nozzles in multiple diameters (0.25/0.4/0.6/0.8).
Auto Leveling: The advanced auto-leveling system measures the nozzle height relative to the build plate, compensating for any discrepancies and ensuring a flawless first layer.
Software Compatibility: The Adventurer 5M supports various printing modes and materials. You can streamline the slicing process using FlashPrint 5, which enables remote multi-device control, print classification management, and remote print status monitoring.
Fun Features:
Filament Run-out Reminder: Pause printing when filament runs out and prompt you to change filament.
Power Loss Recovery: Ensures seamless printing progress in case of power outages.
High-speed Filament Support: Try high-speed filaments for faster printing.
Integrated Printing Management: Control multiple devices, manage prints, and monitor status remotely using FlashPrint 5.
Ease of Use:
No Installation Required: Get started quickly, even if you’re new to 3D printing.
Fully Enclosed Design: Enjoy fast and easy printing while bonding with family, handling household repairs, or teaching creatively.
Key Features of Flashforge Adventurer 5M 3D Printer
Let’s explore the features of the Flashforge Adventurer 5M 3D printer:
Auto Leveling: The Adventurer 5M boasts an advanced auto-leveling system. It measures the nozzle height relative to the build plate, automatically compensating for any discrepancies. This ensures a flawless first layer without manual adjustments or print rafts.
Quick-Release Nozzle: Switch between printing modes effortlessly using quick-release nozzles in multiple diameters (0.25/0.4/0.6/0.8). This flexibility encourages your originality in 3D printing.
PEI Magnetic Bending Platform: The printer features a flexible magnetic printing platform with PEI (Polyetherimide) coating. This platform allows you to remove models quickly and ensures a smooth and fine bottom surface for your prints.
Software Compatibility:
FlashPrint: The included slicing software offers various printing modes and materials. It streamlines the slicing process and allows you to monitor print status and manage the printer online.
Cloud Control: Monitor your printing progress remotely using FlashForge Cloud.
Filament Run-Out Reminder: The printer pauses when filament runs out, prompting you to change filament. This feature prevents incomplete prints due to filament depletion.
Power Loss Recovery: In case of power outages, the Adventurer 5M ensures seamless printing progress by recovering from where it left off.
High-Speed Filament Support: The printer is compatible with high-speed filament, allowing you to explore faster printing options.
Integrated Printing Management: FlashPrint 5 enables remote multi-device control, print classification management, and remote print status monitoring.
Basic Parameters:
Extruder Quantity: 1
Printing Precision: ±0.1 mm (Test of 100mm cube)
Max Extruder Speed: 600 mm/s
Max Acceleration: 20,000 mm/s²
Layer Thickness: 0.1-0.4 mm
Build Size: 220 x 220 x 220 mm
The Adventurer 5M Pro, an upgraded version, also uses pressure sensing for automatic bed leveling, ensuring flawless initial layers without manual adjustments. Its dual-sided PEI platform allows fast and tool-free model removal. Additionally, the Adventurer 5M Pro features a closed structure with dual filtration (HEPA and activated carbon) for optimized air quality during printing, making it safe for home or classroom use.
In summary, the Flashforge Adventurer 5M offers a user-friendly experience, reliable features, and compatibility with various materials, making it a great choice for both beginners and experienced 3D printing enthusiasts.
IMG Source: flashforgeshop.com
Calibrating Your Flashforge Adventurer 5M Pro 3D Printer
Calibrating the bed of your Flashforge Adventurer 5M Pro is essential for achieving accurate and consistent 3D printing results. Let’s walk through the steps to calibrate your printer bed:
Automatic Leveling and Vibration Testing:
For the initial setup, it’s recommended to perform device calibration, which includes automatic leveling and vibration testing. This process takes approximately 7 minutes and significantly enhances the print success rate and overall print quality.
Follow the instructions on the screen during the initial setup to complete this calibration.
Cura Slicer Settings:
To utilize the full potential of your 3D printer, it’s crucial to adjust the slicer settings correctly. These settings determine how your printer prepares and executes each print.
Here are the optimized Cura settings for the Flashforge Adventurer 5M Pro:
Filament Type
Print Temperature (°C)
Bed Temperature (°C)
Print Speed (mm/s)
Layer Height
Retraction Distance (mm)
Infill Percentage
PLA
220
60
200
0.2 mm
0.8 at 30 mm/s
20%
ABS
250
100
200
0.2 mm
0.8 at 30 mm/s
20%
TPU
220
60
50-100
0.2 mm
1.2 at 30 mm/s
20%
PETG
230
80
150
0.2 mm
1.0 at 30 mm/s
20%
These settings serve as a solid foundation for high-quality printing results. Remember that specific filament calibration is also crucial for optimal outcomes.
Manual Calibration:
If you need to manually calibrate the build plate, follow these steps:
On the touch screen, select Home to reset all axes.
Then press Tools > Manual to move the Z-axis manually.
Press and hold the Z (minus) button until the plate lifts almost all the way up to the tip of the nozzle.
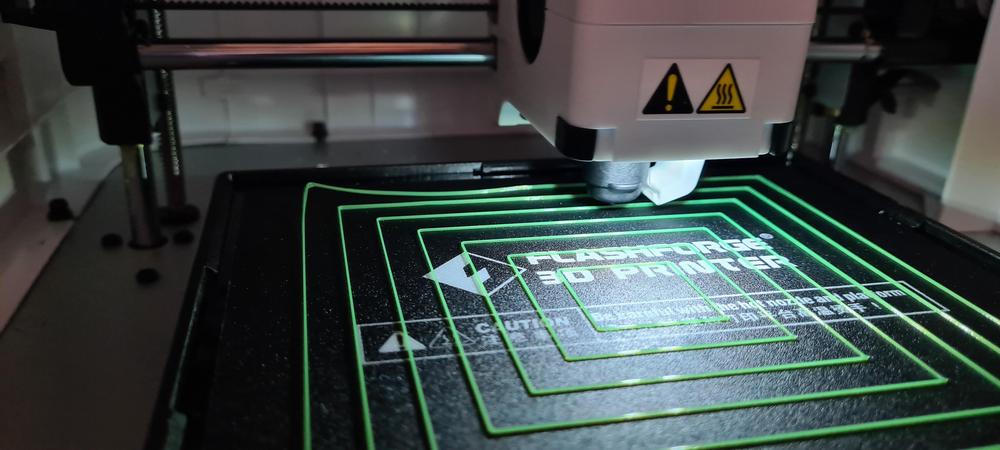
IMG Source: coryrylan.com
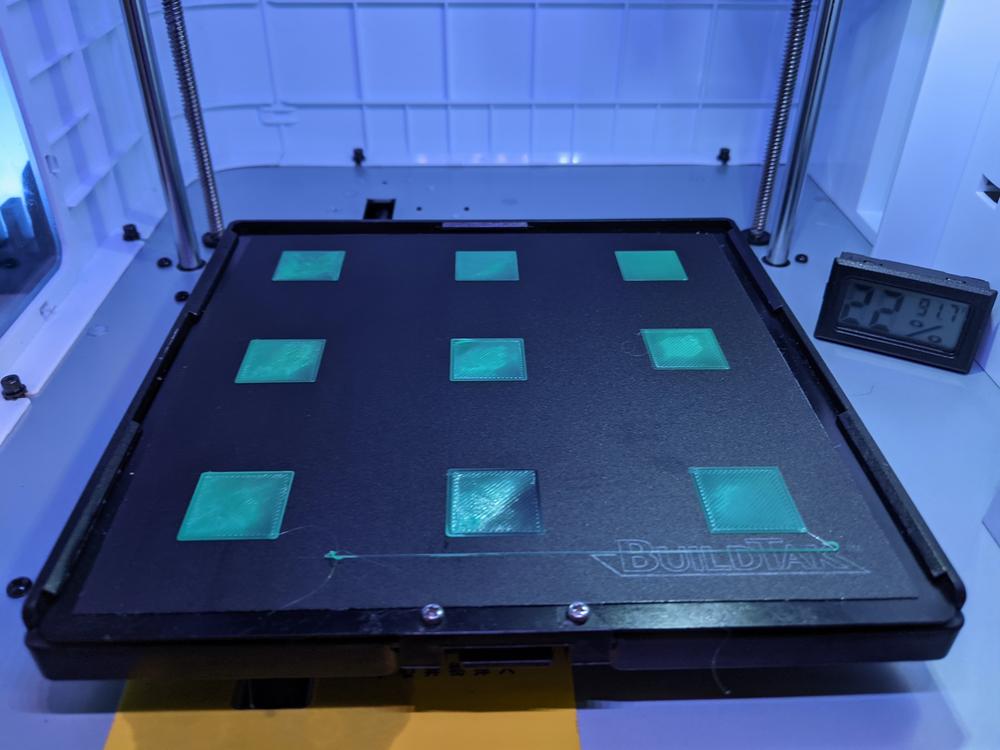
Printer Bed Maintenance Tips
Proper maintenance of your Flashforge Adventurer 5M printer bed is essential for optimal performance. Here are some guidelines to keep your printer bed in great shape:
Daily Maintenance:
Grease the Guide Rail: If the printer is not used for an extended period, apply grease to the guide rail. Regularly perform this maintenance every other month.
Filament Storage: To prevent moisture absorption, store filaments in a drying box.
HEPA Filter Replacement: If you use the printer frequently, consider replacing the HEPA filter cotton every 2 weeks. Here’s how:
Open the front door of the printer.
Locate the air filter.
Open the air filter cover, replace the cotton filter, and close the cover.
Print Bed Adhesion Tips:
Cooling Before Removal: Always allow the print bed to cool down before removing the print. This minimizes residue and ensures better adhesion.
Cleaning with Isopropyl Alcohol: After each print, clean the bed with a light spray of 99% isopropyl alcohol. This helps maintain good adhesion.
IMG Source: media-amazon.com
Troubleshooting Flashforge Adventurer 5M Bed Issues
Let’s troubleshoot the Flashforge Adventurer 5M bed issues. Here are some common problems and their solutions:
Filament Guide Tube Clogged:
Issue: During filament change, the filament cannot pass through the filament guide tube.
Causes:
Uneven (inclined) surface of the filament end, making it get stuck at the filament detection position.
Filament breaks off in the filament guide tube.
Solutions:
Rotate the filament or trim the filament end to ensure it feeds smoothly.
Remove any broken filament remains from the guide tube.
Ensure the nozzle temperature matches the filament’s setting.
Clear nozzle blockage using the provided unclogging pin tool.
If needed, replace the nozzle.
Verify there’s no extruder blockage.
No Extrusion on the First Layer:
Cause: Distance too close.
Solution: Re-level the bed.
Model Not Sticking to the Build Plate:
Cause: Build plate damage or severe wear, resulting in an uneven surface.
Solutions:
Increase the platform temperature.
Add a brim during slicing.
Apply glue.
Clean the platform to remove oil or dirt.
Bed Hitting the Extruder During Auto-leveling:
Cause: Filament residues at the nozzle tip or uncleared print bed.
Solutions:
Clean the nozzle and bed to remove residues.
Restart the printer and perform auto-leveling again.
Consider checking for firmware updates.
Remember to follow safety precautions while troubleshooting, and refer to the Flashforge Adventurer 5M user manual for detailed instructions
IMG Source: redd.it
In conclusion, maintaining the Flashforge Adventurer 5M bed is crucial for achieving consistent and high-quality 3D printing results. By following the daily maintenance routines, addressing common bed issues, and optimizing your slicer settings, you can maximize the performance and longevity of your printer. Remember, a well-maintained bed ensures smooth printing processes and helps you unleash your creativity.
Dive into the world of 3D printing with confidence, knowing that your Flashforge Adventurer 5M bed is in top-notch condition.