Ultimate Guide to Creality K1C Extruder: Features, Installation, and Maintenance
Welcome to the world of 3D printing with the cutting-edge Creality K1C extruder. In this article, we will explore the features and benefits of this innovative technology, focusing on its reliability, speed, and compatibility with carbon fiber materials. Whether you’re a seasoned professional or a hobbyist looking to elevate your printing capabilities, the Creality K1C extruder is designed to meet your needs and exceed your expectations.
Get ready to dive into the details of this exceptional 3D printing solution that is reshaping the industry.
Champion of Speed and Skills
Let’s delve into the fascinating world of the Creality K1C 3D Printer
The Creality K1C is a cutting-edge 3D printer that combines speed, precision, and versatility. Here’s what you need to know:
Champion of Speed and Skills:
The K1C is designed to cater to both hobbyists and professionals who demand fast printing capabilities, especially when working with carbon fiber materials.
It builds upon the foundation of the renowned Creality K1 model.
Key features include an enclosed Core XY FDM structure and speeds of up to 600 mm/s.
The “C” in K1C stands for “carbon,” emphasizing its compatibility with carbon fiber filament.
Let’s delve into the features of the Creality K1C 3D Printer, which is designed to be the “Champion of Speed and Skills.” This flagship model caters to both hobbyists and professionals, especially those working with carbon fiber materials. Here’s what you need to know:
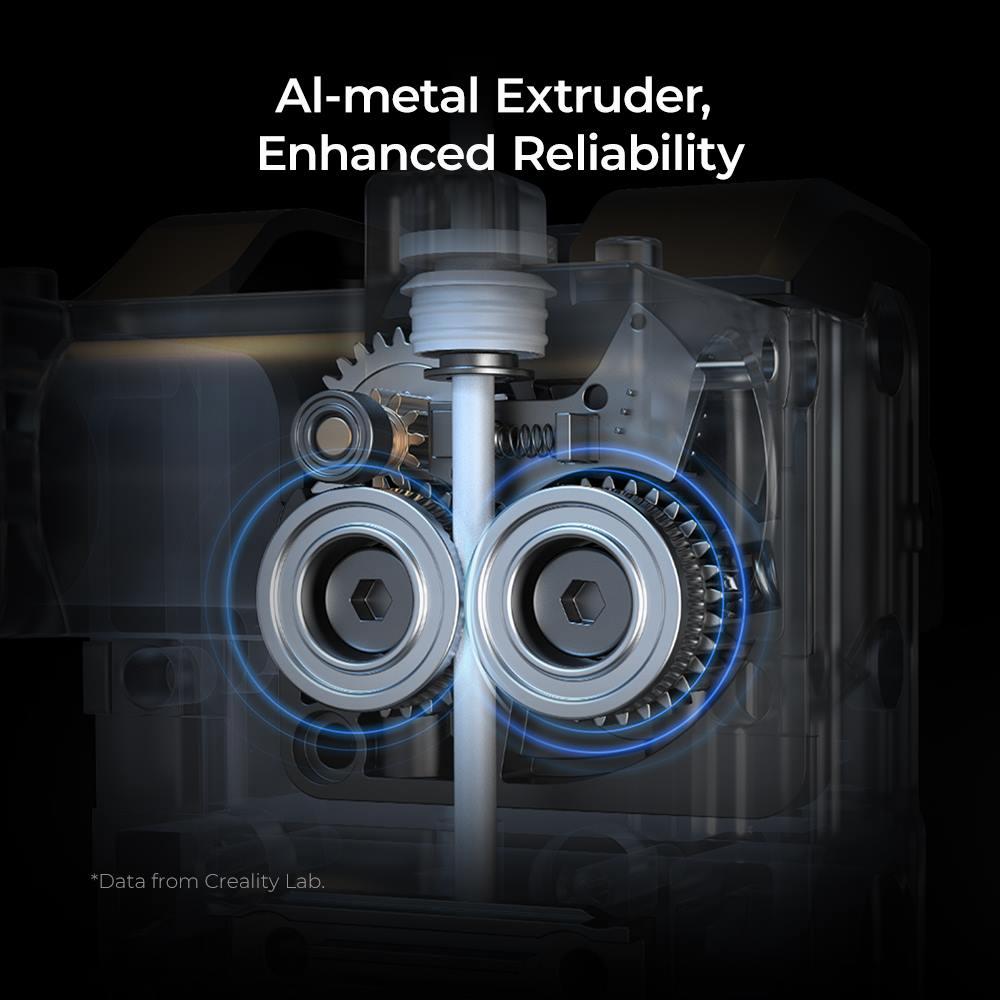
Reliable Extrusion:
The K1C boasts an all-metal extruder kit that ensures up to 1000 hours of clog-free extrusion. This reliability guarantees precise and consistent prints.
The extruder design includes a bolster spring and a ball plunger, providing an unyielding grip on the filament, eliminating any slack.
Quick-swap Tri-metal Nozzle:
The K1C features a proprietary “unicorn tri-metal” nozzle. This nozzle offers better thermal conductivity, wear resistance, and heat break performance compared to standard brass nozzles.
Max Printing Speed:
The K1C is capable of speeds up to 600 mm/s, making it a true champion of speed in the 3D printing world.
Support for Carbon Fiber Filaments:
The “C” in K1C stands for “carbon”, emphasizing its optimized compatibility with carbon fiber filament.
Its direct drive system is engineered to process carbon fiber filament with exceptional proficiency.
Intelligent AI Camera:
The K1C comes equipped with an AI camera that acts as your eyes during printing, enhancing convenience and monitoring.
The K1C utilizes a CoreXY motion structure, contributing to its impressive speed and precision.
Contemporary Style and Robust Build:
The printer features a solid frame using die-cast parts.
It has glass sides and a transparent lid for a sleek appearance.
An active carbon filter ensures clean air during printing.
Creality OS & Superb Software:
The K1C runs on an open-source Creality OS.
Creality Print provides more than just slicing capabilities.
Engage with the Creality Cloud online community.
Enjoy 24/7 smart customer service and a 1-year warranty.
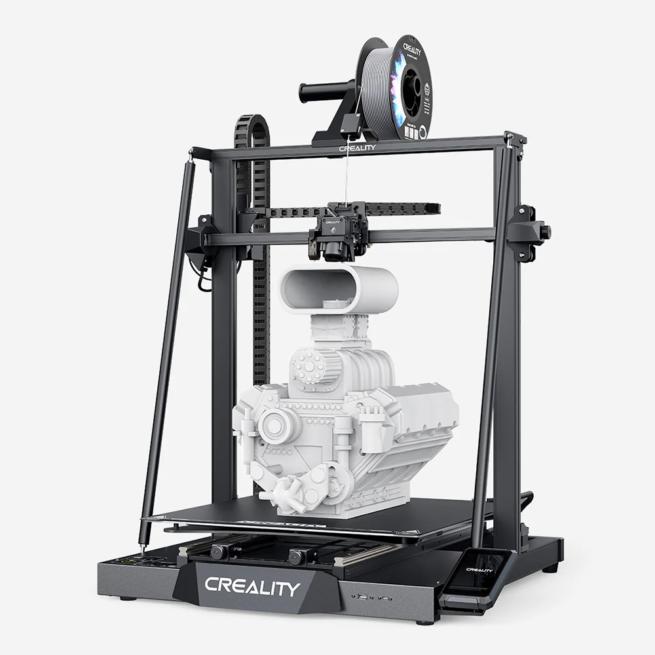
Technical Specifications:
Printing Technology: FDM
Build Volume: 220 x 220 x 250mm
Max Printing Speed: ≤600mm/s
Extruder: All-metal direct drive
Nozzle Temperature: ≤300°C
In summary, the Creality K1C combines speed, reliability, and compatibility with carbon fiber materials, making it an excellent choice for 3D printing enthusiasts and professionals alike.
IMG Source: shoplazza.com
Steps to Install and Calibrate Creality K1C Extruder
Let’s walk through the steps to install and calibrate the Creality K1C extruder on your 3D printer. The K1C features an all-metal extruder kit designed for clog-free extrusion and enhanced filament grip. Here’s what you need to do:
Extruder Installation:
Unplug your 3D printer from the power source for safety.
Remove any existing extruder assembly if you have one.
Attach the Creality K1C extruder to the designated mounting point on your printer’s frame.
Securely fasten the extruder using the provided screws.
Connect the extruder motor cable to the appropriate connector on the control board.
Filament Loading:
Heat the nozzle to around 180°C (even if it’s not loaded with filament).
Remove any previously loaded filament.
Detach the Bowden tube from the coupler on the extruder side (press down on the plastic coupler ring or unscrew it with a wrench).
Insert a new filament spool into the extruder.
Manually feed the filament through the Bowden tube until it reaches the nozzle.
Calibrating Esteps:
Remove the extruder motor and trim the filament flush with the bottom of the motor.
Instruct the printer to extrude what it thinks 50mm of filament is.
Trim the filament flush with the motor again.
Measure the actual extruded amount using calipers (with at least 2 decimal points).
Adjust the esteps value in your printer configuration based on the corrected measurement.
Nozzle Swapping:
The K1C comes with a “Unicorn” nozzle integrated with a heat break to prevent heat creep.
If needed, you can easily swap the nozzle with one hand.
Remember to consult the official Creality K1C user manual for detailed instructions and safety precautions
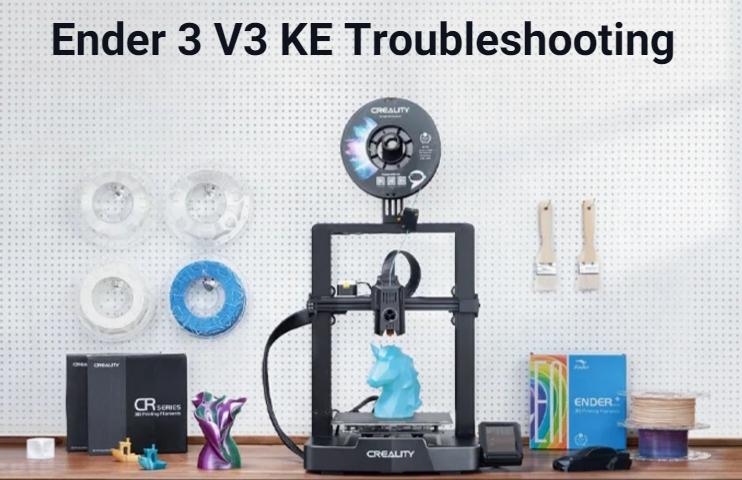
If you’re experiencing issues with your Creality K1C 3D printer’s extruder, here are some troubleshooting steps you can follow:
Conduct Print Tests:
Start by printing random models to identify any specific issues. Observe the print quality, layer adhesion, and any irregularities.
If you notice problems, proceed to the next steps.
Inspect Thermistor Wiring:
Check the wiring for both the heated bed thermistor and the extruder thermistor. Ensure they are properly connected.
Reconnect any loose wires.
Heat Testing:
Individually heat the extruder and the thermistor to determine which module is problematic.
If one of them is malfunctioning, consider replacing the corresponding parts.
Remember to consult the official user manual for your Creality K1C printer, as it may provide additional troubleshooting guidance. Additionally, you can explore community resources and guides for more detailed solutions.
IMG Source: staticdj.com
Creality K1C vs. Competitors: A Brief Overview
Let’s delve into a comparison of the Creality K1C extruder with its competitors. This will help you make an informed decision based on your specific needs.
Creality K1C vs. Competitors: A Brief Overview
Creality K1C
Extruder: The K1C features an all-metal extruder, specifically designed to withstand the wear and tear associated with carbon fiber filaments.
Other Features: The K1C is part of Creality’s flagship series and offers a range of accessories and upgrades.
Competitors (K1 and K1 Max)
Extruder: The K1 utilizes a standard plastic extruder, while the K1 Max may have its own unique extruder design.
Comparison: The K1C’s all-metal extruder sets it apart from its counterparts, making it better suited for handling tougher filament materials.
In summary, if you prioritize durability and compatibility with carbon fiber filaments, the Creality K1C is an excellent choice. However, if you’re considering other models like the K1 or K1 Max, be aware of their extruder differences.
IMG Source: redd.it
In conclusion, the Creality K1C extruder stands out as a champion of speed, reliability, and innovation in the world of 3D printing. With its all-metal construction, clog-free extrusion, and support for carbon fiber filaments, the K1C offers a superior printing experience for enthusiasts and professionals alike. The intelligent AI camera, CoreXY motion structure, and user-friendly features further enhance its appeal.
Whether you’re installing and calibrating the extruder, troubleshooting issues, or comparing it to competitors, the Creality K1C continually proves its worth. Embrace the future of 3D printing with the Creality K1C extruder and unlock a world of limitless possibilities.