The Ultimate Guide to Creality K1 Max Heated Bed Thermistor
Welcome to the fascinating world of 3D printing, where precision and innovation converge to create wonders. Today, we delve into the intricate realm of thermistors, focusing on the crucial component of the Creality K1 Max – the Heated Bed Thermistor. Join us as we explore the ins and outs of this essential element and its impact on your printing endeavors.
Creality K1 Max 3D Printer Thermistor Features
The Creality K1 Max3D printer features a heated bed with a thermistor for temperature sensing. Let’s delve into some details:
Thermistor Type: The K1 Max utilizes a 100k NTC 3950 thermistor for monitoring the heated bed temperature. This type of thermistor is commonly used in 3D printers to measure temperature accurately.
Chamber Temperature Reading: Interestingly, the K1 Max also provides a chamber temperature reading. Users have observed that this reading is genuine and corresponds to the actual temperature inside the printer’s chamber. For instance, when the printer is enclosed in a makeshift styrofoam box for an ABS print, the chamber temperature can rise to around 59°C to 60°C. Keep in mind that this reading is distinct from the nozzle and hot bed temperatures.
Chamber Heating Mechanism: Unlike a dedicated chamber heater, the K1 Max passively heats the chamber. As the bed and hot end heat up, some of that heat spreads into the chamber. This gradual heating process is evident when the bed takes a few minutes to reach 100°C.
Location of the Thermistor: The thermistor responsible for measuring the chamber temperature is located in the upper right rear of the printer. It appears as a small silver cylinder poking out below the cable tray.
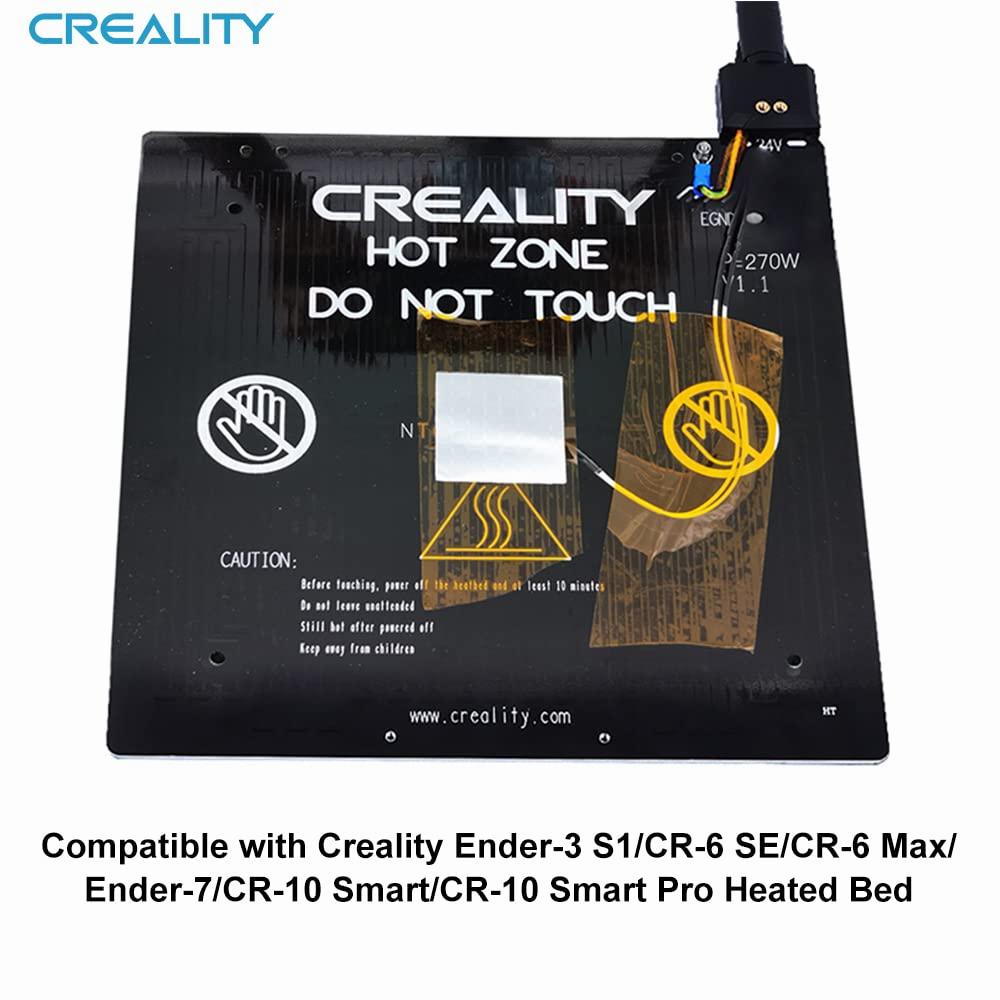
Creality K1 Max Heated Bed Specifications
The Creality K1 Max 3D printer features a heated bed with the following specifications:
Thermistor: It uses a 100k NTC 3950 thermistor.
Voltage: The heated bed operates at 24V.
Wattage: It has a power rating of 250W.
Amps: The current drawn by the heated bed is approximately 10.4A.
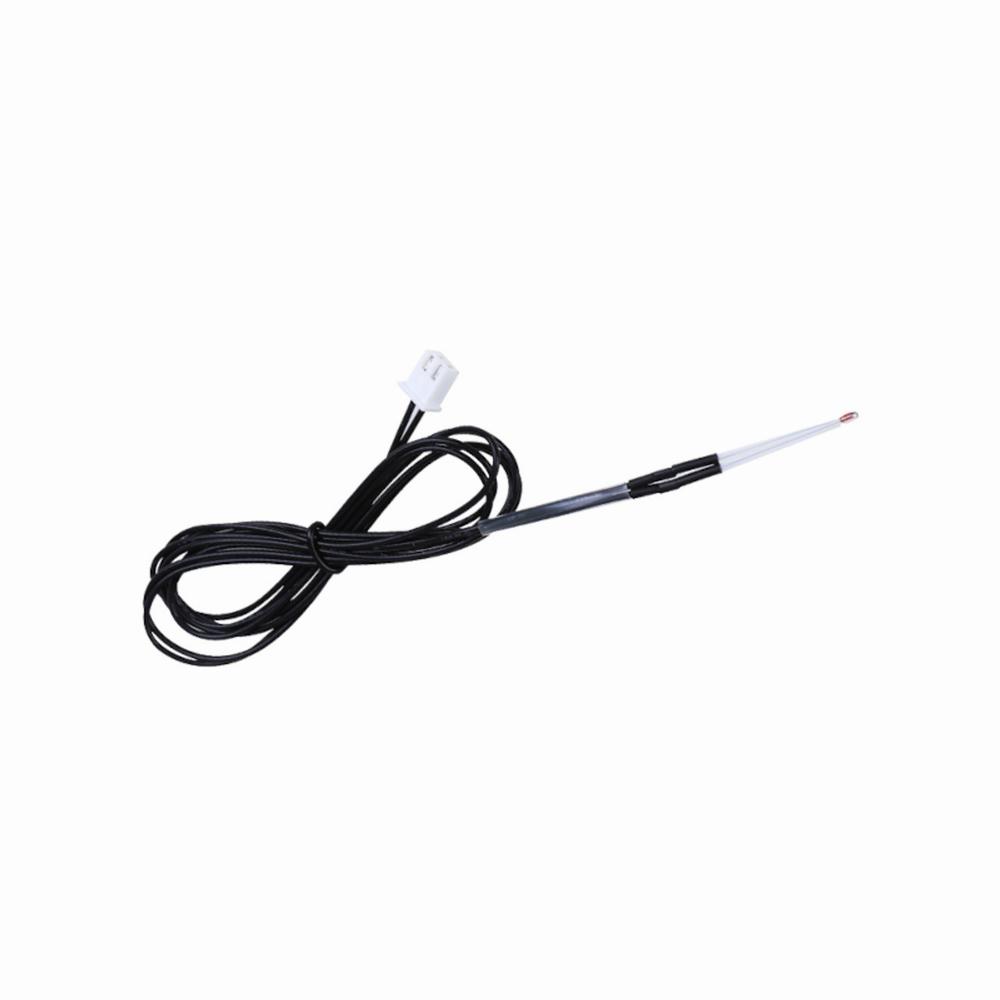
Wire Length: The thermistor’s wire length is 700mm.
Mounting: The heated bed is attached using 3M 468MP Adhesive.
Size: The heated bed dimensions are 235x235mm.
Weight: It weighs approximately 7.4 ounces.
IMG Source: bigcommerce.com
What Does a Thermistor Do in a 3D Printer?
Let’s delve into the world of 3D printer thermistors
What Does a Thermistor Do in a 3D Printer?
A thermistor is an essential component in FDM (Fused Deposition Modeling) printers. But before we dive into its job, let’s understand what a thermistor actually is. 🤔
Thermistors, short for “Thermal Resistors”, are electrical devices whose resistance varies with temperature. There are two main types:
Negative Temperature Coefficient (NTC) Thermistors: Their resistance decreases as the temperature rises.
Positive Temperature Coefficient (PTC) Thermistors: Their resistance increases with higher temperatures.
How Is a Thermistor Used in 3D Printers?
In 3D printers, thermistors serve as temperature sensing devices. You’ll find them in critical areas like the hot end (where the filament melts) and the heated bed. Here’s how they contribute:
Temperature Monitoring: Thermistors continuously monitor the temperature in these areas and relay this data back to the printer’s micro-controller.
Control Mechanism: The micro-controller uses the thermistor’s feedback to regulate the print temperature, ensuring it stays within the desired range.
Replacing and Attaching a Thermistor
Now, let’s talk about practical aspects. Thermistors are delicate instruments, and their proper functioning is crucial. Here’s how to handle them:
Replacing the Thermistor on Your Hot End:
The hot end thermistor is often tucked away in hard-to-reach spots. Be gentle when removing it to avoid damage.
Follow your printer’s specific instructions for replacement. Usually, it involves disconnecting wires, unscrewing the old thermistor, and attaching the new one.
Calibrate the new thermistor (more on that below).
Replacing the Thermistor on Your Print Bed:
Similar to the hot end, the print bed thermistor requires care during replacement.
Follow the manufacturer’s guidelines to ensure proper installation.
Calibrating Your 3D Printer Thermistor
Calibration ensures accurate temperature readings. Here’s how:
Check the Resistance of the Thermistor:
Use a multimeter to measure the resistance of your thermistor.
Compare it to the expected value (usually specified by the manufacturer).
Thermal Runaway and Unusual Temperatures:
If your printer experiences thermal runaway (where the temperature spirals out of control), it could be due to a faulty thermistor.
Abnormally high print temperatures might also indicate a thermistor issue.
Best Thermistor Replacements:
Consider reliable replacements like:
HICTOP 100K ohm NTC 3950 Thermistors
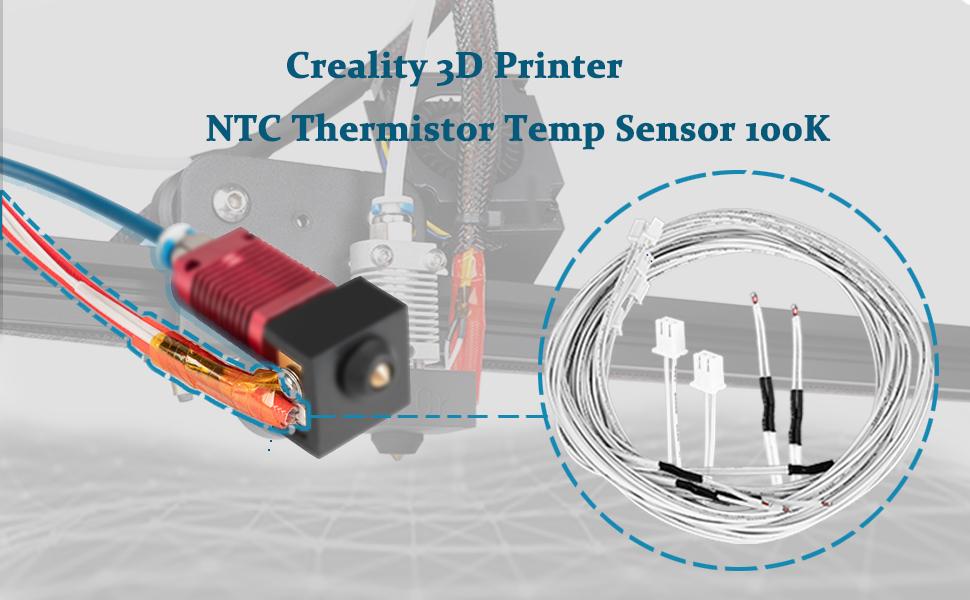
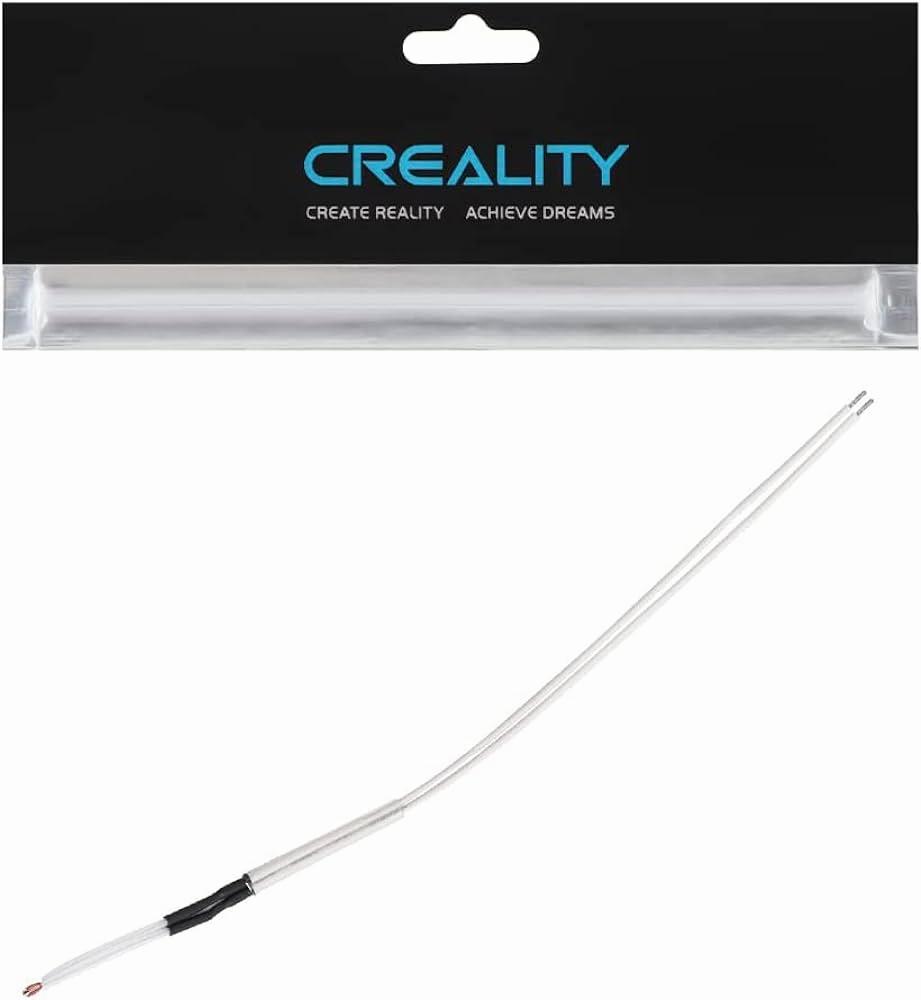
Creality 3D Printer NTC Thermistor Temp Sensor.
For more detailed instructions, you can explore resources like the 3D Printer Thermistor Guide or your printer’s user manual
IMG Source: media-amazon.com
Proper Maintenance Tips for Creality K1 Max Heated Bed Thermistor
Proper maintenance of the Creality K1 Max heated bed thermistor is essential for optimal 3D printing performance. Here are some tips to keep your printer in top shape:
Unplug the Printer: Before performing any maintenance, ensure your printer is unplugged from the power source to guarantee safety.
Disassemble the Printer Bed:
Remove the screws securing the bed to the printer.
Carefully detach the bed from the printer.
Remove the Thermistor:
Heat the bed to around 70 degrees Celsius.
Use pliers to gently remove the damaged thermistor.
Replace the Thermistor:
Obtain a replacement thermistor suitable for your Creality K1 Max.
Install the new thermistor in the designated position on the heated bed.
Reassemble the Printer Bed:
Securely attach the bed back to the printer using the screws.
Calibration and Testing:
After reassembly, perform a calibration to ensure accurate temperature readings.
Test the heated bed to verify that the new thermistor is functioning correctly.
Remember to follow the manufacturer’s guidelines and consult the official Creality K1 Max service tutorial for specific instructions. Regular maintenance will help prolong the life of your printer and maintain consistent print quality.
Additionally, you might find useful resources and tips from the Creality K1 and K1 Max community, including YouTube videos and forums. Feel free to explore these channels for more insights on printer maintenance and optimization:
Comparison of Creality K1 Max Heated Bed Thermistor
Let’s delve into a comparison of the Creality K1 Max and its heated bed thermistor with its competitors.
Creality K1 Max:
The Creality K1 Max is a premium 3D printer that emphasizes high-speed printing, automatic calibration, and user-friendliness.
Key features:
Large Build Volume: It offers a larger build volume compared to most of its competitors.
Direct-Drive Extruder: The K1 Max utilizes a direct-drive extruder.
High-Flow Hotend: It incorporates a new high-flow hotend design, allowing for faster print speeds.
Heated Bed: Yes, the Creality K1 Max comes with a heated bed capable of reaching temperatures up to 100°C .
Maximum Print Speed: The K1 Max can achieve a maximum print speed of 600 mm/s, although optimal print quality may require slower speeds .
Competitors:
Unfortunately, specific details about the heated bed thermistor of the Creality K1 Max in comparison to its competitors are not readily available in the search results.
However, the K1 Max’s impressive features, such as its large build volume and high-speed capabilities, make it a strong contender in the 3D printing market.
In summary, the Creality K1 Max
IMG Source: media-amazon.com
In conclusion, the Creality K1 Max Heated Bed Thermistor plays a pivotal role in ensuring the optimal functioning of your 3D printer. From temperature monitoring to control mechanisms, this tiny yet powerful device is key to achieving consistent print quality. By following proper maintenance procedures and utilizing high-quality replacements, you can prolong the life of your printer and unlock its full potential.
Remember, a well-maintained thermistor leads to flawless prints and a seamless printing experience. Stay tuned for more insights and tips to enhance your 3D printing journey.