If you’re considering a Creality K1 Max Frame Replacement, you’re in the right place. The frame of your 3D printer plays a crucial role in its performance and durability. In this guide, we’ll explore various options and considerations you can delve into to enhance your printing experience and ensure optimal functionality.
Whether you’re looking to upgrade, troubleshoot, or customize your Creality K1 Max, we’ve got you covered with valuable insights and recommendations.
Options for Replacing Creality K1 Max Frame
If you’re looking to replace the frame of your Creality K1 Max 3D printer, there are a few options and considerations you can explore:
Official Replacements from Creality:
Creality offers replacement parts for their printers, including the K1 Max. You can find these on the Creality Official Store. They have various accessories and kits, such as the K1 MAX Mega Accessory Pack and the Ender-3 V3 SE Ultimate Accessory Pack. Additionally, they provide items like the Creality Space Pi Filament Dryer, Creality Nebula Smart Kit, and Creality Sonic Pad.
Upgraded Extruder:
Some users have opted for an upgraded extruder for the K1 Max. This extruder can be replaced by the user without voiding the warranty, as long as you follow the online video instructions for replacing extruder parts.
Aftermarket Parts:
The K1 community has started exploring aftermarket parts. For instance, there’s a TriangleLabs drop-in hot end replacement that someone shared on the K1 Facebook group. While it’s not entirely clear if it’s better than the stock hot end, it’s exciting to see new options emerge.
Service Tutorial:
Creality Cloud provides a service tutorial for replacing the extrusion kit on the K1 Max. You can find more details in their portfolio.
Signs of a Worn-Out 3D Printer Nozzle
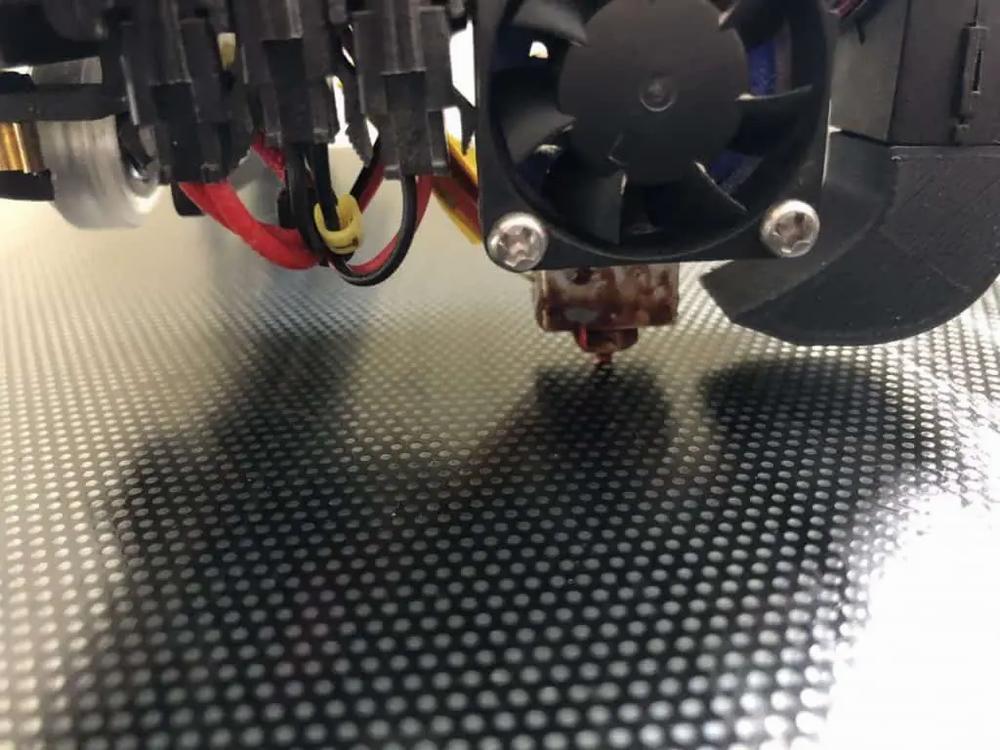
Let’s delve into the signs that indicate a worn-out 3D printer nozzle. The nozzle plays a crucial role in determining the quality of your printed objects. Here are some key indicators to watch out for:
Poor Object Quality:
Just like any printing machine, a 3D printer relies on data from digital files to create physical designs. The nozzle significantly impacts the output quality.
If you notice straining, artifacts, spots resembling spaghetti, holes, bubbles, or weak layer adhesion in your printed models, it’s time to investigate further.
While other factors could contribute to poor quality, the nozzle is often the first suspect.
Physical Examination:
Inspect the nozzle for scratches, bumps, and marks. These imperfections can affect the quality of printed objects.
Although minor dings may not immediately impact print quality, neglecting them could lead to more significant issues over time.
Remember, a well-maintained nozzle ensures better results.
Diameter Slack and Dull Tip:
Check if the nozzle diameter has changed. A worn-out nozzle might exhibit variations in its internal diameter.
Additionally, examine the tip of the nozzle. If it appears dull or worn, it’s a sign that replacement is necessary.
IMG Source: 3dprintscape.com
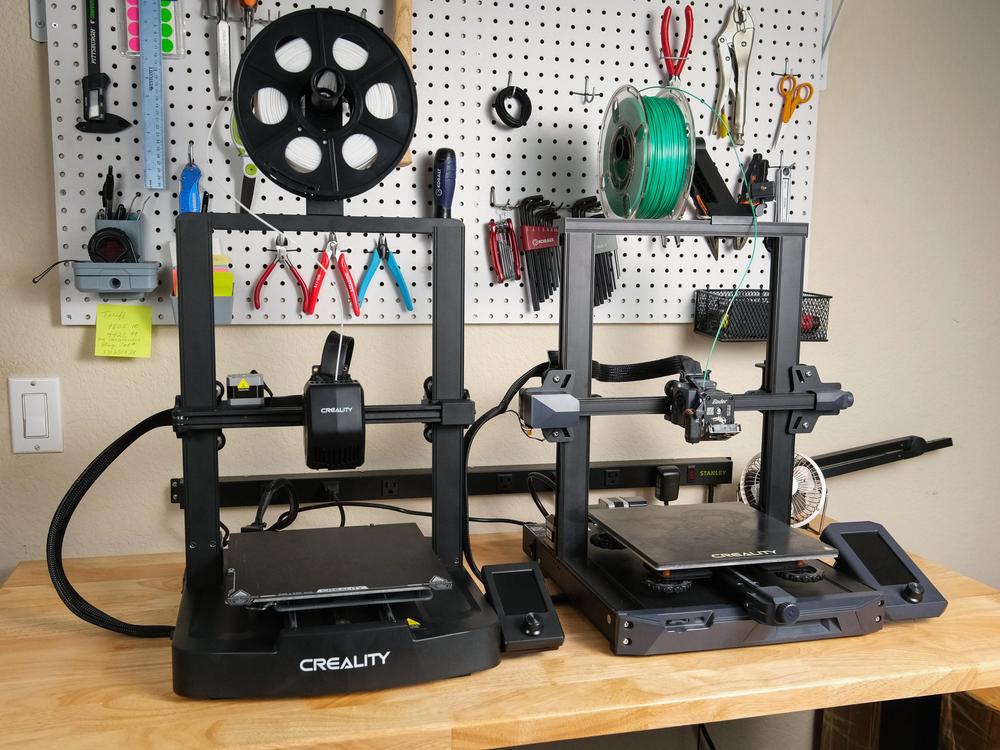
Factors to Consider When Selecting a Replacement Frame for Your Creality K1 Max 3D Printer
When selecting a replacement frame for your Creality K1 Max 3D printer, there are several important factors to take into account:
Cost: Replacing the frame yourself can save you money on labor costs, but it may require purchasing tools and replacement parts. Consider your budget and whether you’re comfortable with a DIY approach.
Time: Replacing the frame yourself can be time-consuming, especially if you’re not experienced with 3D printers. Assess how much time you’re willing to invest in the replacement process.
Complexity: Replacing the frame involves knowledge of the printer’s internal components and assembly. If you’re confident in your technical skills, a DIY replacement might be feasible. Otherwise, seeking professional help is a viable option.
Additionally, you might want to explore other upgrades and modifications for your Creality K1 Max. Here are some ideas:
LED Lighting System: Consider upgrading the lighting system with an LED kit that provides a diffused, aluminum-framed light bar. This can enhance visibility and color accuracy for photography inside the printer enclosure.
Other Mods and Upgrades: Explore other modifications and enhancements recommended by the 3D printing community. These could include improvements to filament paths, Klipper firmware adjustments, and more.
IMG Source: squarespace-cdn.com
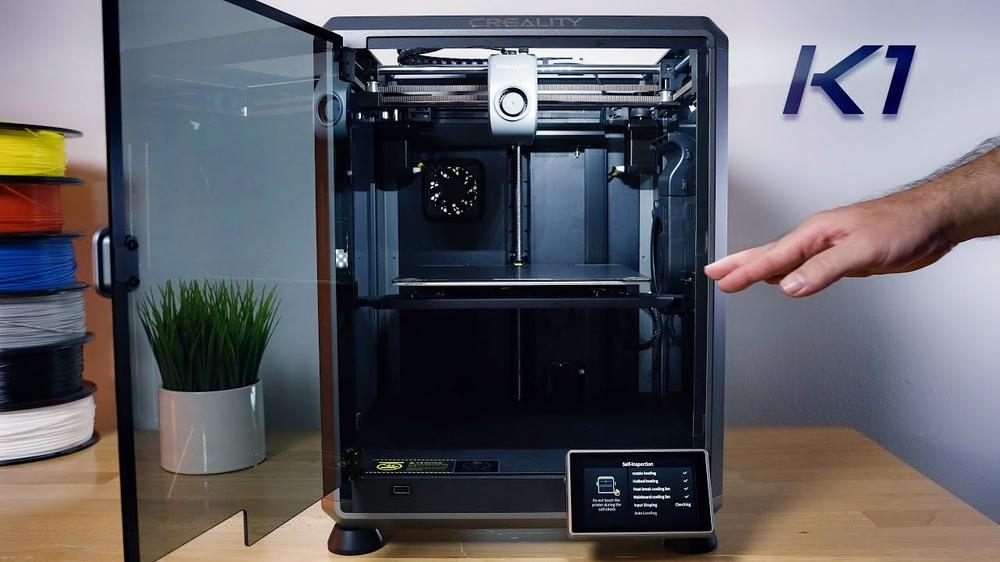
Replacing the Frame of Your Creality K1 Max 3D Printer: A Step-by-Step Guide
Replacing the frame of your Creality K1 Max 3D printer is an essential task if you encounter issues or need an upgrade. Here’s a step-by-step guide to help you through the process:
Buy a Suitable Replacement Frame:
Purchase a suitable replacement frame from a reliable seller. You can find these frames on platforms like Amazon or the Creality Official Store.
Turn Off and Unplug the Printer:
Before starting any disassembly, ensure that your printer is turned off and unplugged from the power source.
Remove Printer Components:
Carefully disassemble the printer by removing its parts and components from the existing frame. Pay attention to details like wires, connectors, and screws.
Detach Front and Back Metal Plates:
Locate the front and back metal plates of the printer frame.
Unscrew and detach these plates from the existing frame.
Remove the Old Frame:
Gently remove the old frame from the printer chassis.
Take your time to avoid damaging any components.
Install the New Frame:
Insert the new frame into the printer chassis.
Align it properly and secure it using the appropriate screws.
Remember to follow safety precautions and take your time during each step. If you encounter any difficulties, consult the user manual provided by Creality for specific instructions
IMG Source: ytimg.com
Importance of Post-Replacement Testing
The post-replacement testing phase is critical for achieving optimized 3D printer performance. Let’s delve into why it matters:
Quality Assurance and Verification:
After replacing any component (such as a nozzle, filament, or motor), testing ensures that the new part functions as expected.
It verifies that the replacement was successful and that the printer can still produce high-quality prints.
Calibration and Fine-Tuning:
Replacing parts can impact the printer’s calibration settings.
Post-replacement testing allows you to recalibrate and fine-tune parameters such as layer height, print speed, and temperature.
Proper calibration ensures accurate dimensions, layer adhesion, and overall print quality.
Detecting Anomalies and Issues:
Testing helps identify any anomalies or issues introduced during the replacement process.
For example, if the new nozzle isn’t properly aligned, it could lead to uneven extrusion or clogs.
Detecting such problems early prevents wasted time and material.
Material Compatibility:
Different components may interact differently with specific filament types.
Post-replacement testing ensures compatibility between the new part and the chosen filament.
It helps avoid issues like warping, poor layer bonding, or nozzle jams.
It reduces the chances of failed prints due to unnoticed issues.
Reliable performance is crucial for both hobbyists and professional users.
In summary, post-replacement testing is like a thorough health checkup for your 3D printer. It ensures smooth operation, high-quality prints, and a positive user experience. Remember to document any changes made during testing for future reference.
IMG Source: mdpi.com
In conclusion, replacing the frame of your Creality K1 Max 3D printer is a significant step towards maintaining or improving its overall performance. By carefully selecting the right replacement frame and following a systematic approach to the replacement process, you can ensure that your printer continues to meet your expectations. Additionally, conducting thorough post-replacement testing is essential for verifying the quality of the replacement, optimizing performance parameters, and ensuring consistent print results.
Remember, whether you choose official replacements from Creality, upgraded extruders, or aftermarket parts, the key is to prioritize the longevity and functionality of your 3D printer for many successful projects to come.