Ultimate Guide to Creality Ender 7 Belts

Ultimate Guide to Creality Ender 7 Belts

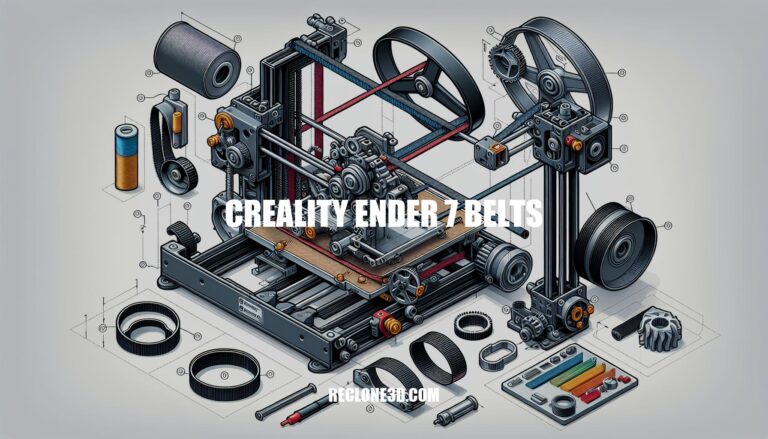
Are you looking to enhance the performance of your Creality Ender 7 3D printer through optimized belt maintenance and upgrades? Dive into the world of Creality Ender 7 belts to discover essential information on belt specifications, replacement procedures, firmware updates, and more. Understanding the intricacies of your printer’s belts is crucial for ensuring smooth operation and high-quality prints.

Understanding Belts for the Creality Ender-7

The Creality Ender-7 is a remarkable 3D printer, and understanding its components is essential for maintenance and upgrades. Let’s delve into the details about the belts for the Ender-7:

  1. Belt Specifications:

    • X-Axis Belt: The X-axis belt is responsible for the movement along the horizontal axis (left to right). It ensures precise positioning of the print head.
    • Y-Axis Belt: The Y-axis belt controls the movement along the vertical axis (front to back). It determines the printer’s build volume.
  2. Belt Replacement:

  3. Firmware and Software:

    • To keep your Ender-7 running smoothly, make sure you have the latest firmware. You can download it from the official Creality website: Ender-7 Software & Firmware Download.
    • Additionally, explore the Creality Cloud Firmware section for more updates: Ender-7 Firmware.

Creality Ender 7 Belt and Copper Bushings Guide

The Creality Ender 7 is a fast 3D printer that promises to deliver prints at breakneck speeds. When it comes to belts, here’s what you need to know:

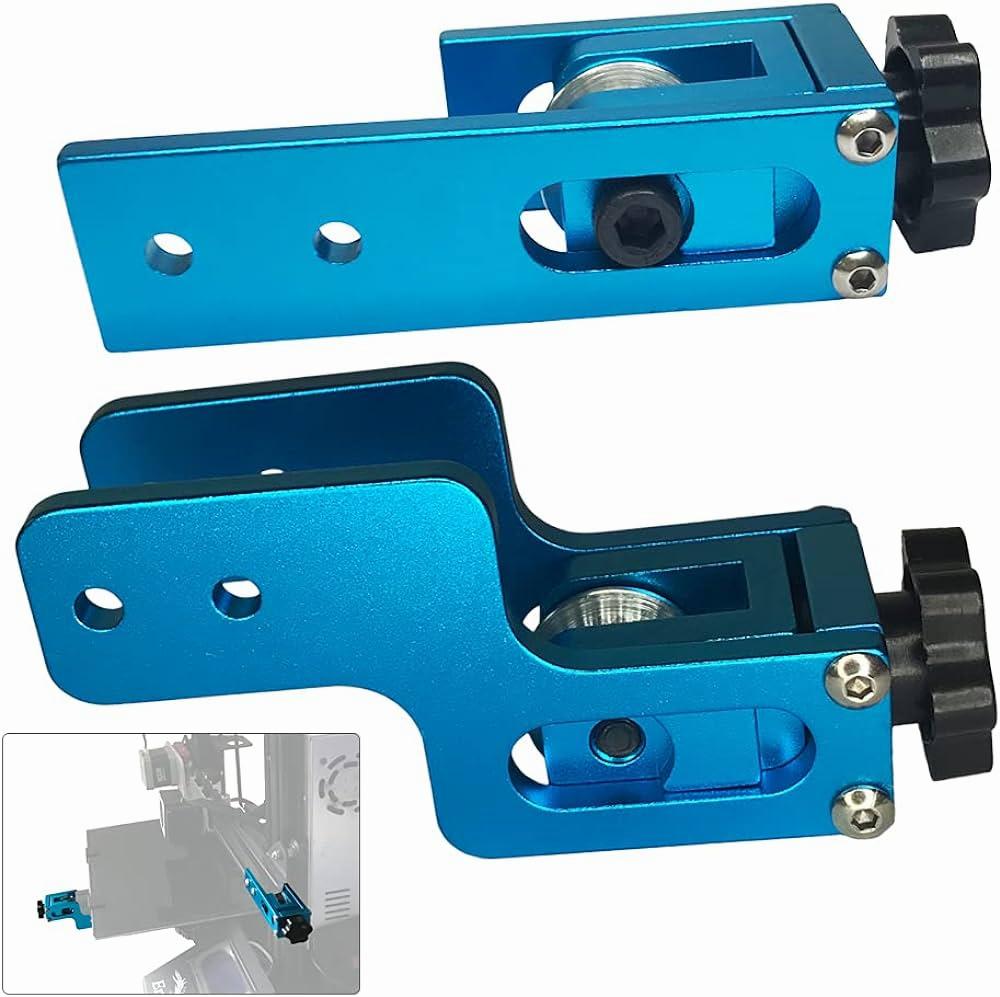
  1. Belt Kit: If you’re looking for replacement belts, Creality offers a Belt Kit that includes belts suitable for various 3D printers. These belts are 2GT W6 type and come in different lengths. You can cut them to the required size and attach copper bushings to both ends.

    Keep a 1-2mm clearance between the copper bushing and the belt connector. Here are some compatible models and their respective belt specifications:

    • Ender 7: The X-axis belt length is 3340mm.
    • Ender 3: The X-axis belt length is 786mm, and the Y-axis belt length is 743mm.
    • Ender 3 Pro: Both X-axis and Y-axis belts are 786mm.
    • Ender 3 V2: X-axis belt is 798mm, and Y-axis belt is 740mm.
    • Ender 3 Max: X-axis belt is 925mm, and Y-axis belt is 970mm.
    • Ender 5: X-axis belt is 950mm, and Y-axis belt is 925mm.
    • Ender 5 Plus: X-axis belt is 1210mm, and Y-axis belt is 1220mm.
    • Ender 6: X-axis belt is 1600mm.
    • Ender 7: The Y-axis belt length is 3340mm.

    Remember that the length of the belt must correspond to the specified parameters, with a tolerance of +1.5mm. Ensure the cross-section is flat for optimal performance.

  2. Copper Bushings: If you need copper bushings separately, you can check with the manufacturer or authorized suppliers to see if they offer them as standalone components.

The image shows a comparison between the new and old models of a product, with the new model on the left and the old model on the right.

IMG Source: ebayimg.com


Y-axis Synchronous Belt Replacement Steps

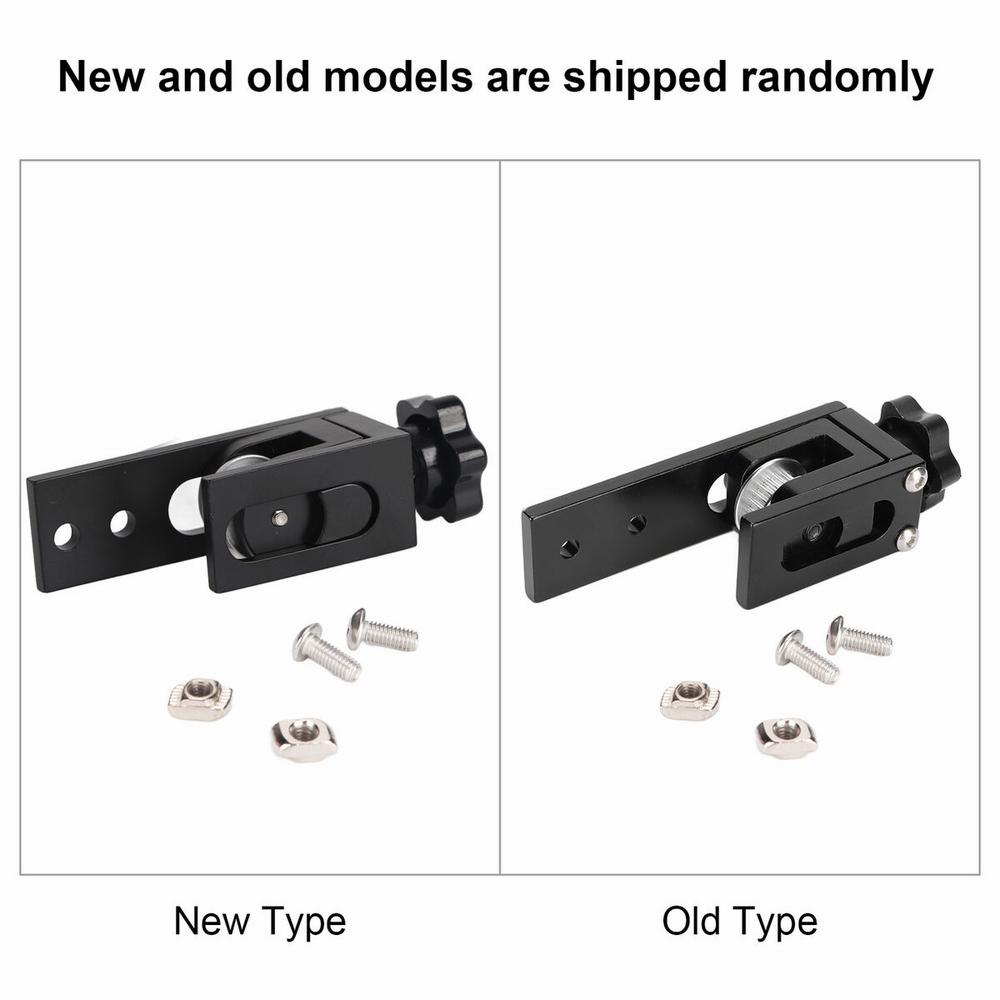
Proper belt maintenance is crucial for keeping your Creality Ender 7 3D printer in optimal condition. Regular care ensures smooth operation and accurate prints. Here are some steps you can follow for Y-axis synchronous belt replacement:

  1. Inspect the Belt:

    • Check the Y-axis belt for signs of wear, fraying, or damage.
    • Ensure it is properly tensioned and aligned.
  2. Loosen the Tension:

    • Access the belt tensioner (usually located near the Y-axis motor).
    • Loosen the tension by adjusting the tensioner screws or bolts.
  3. Remove the Old Belt:

    • Carefully detach the belt from the Y-axis carriage and motor pulley.
    • Keep track of any belt clips or fasteners.
  4. Install the New Belt:

    • Thread the new synchronous belt through the Y-axis carriage and around the motor pulley.
    • Make sure it follows the correct path and aligns with the existing belt clips.
  5. Tension Adjustment:

    • Gradually tighten the tensioner screws or bolts until the belt is snug but not overly tight.
    • Test the tension by gently pushing the Y-axis carriage back and forth. It should move smoothly without excessive play.
  6. Check Alignment:

    • Verify that the belt runs parallel to the Y-axis rail.
    • Adjust as needed to maintain proper alignment.
  7. Test Print:

    • Run a test print to ensure the Y-axis movement is accurate and consistent.
    • Fine-tune the tension if necessary.

Remember to consult your printer’s manual or official Creality resources for specific instructions related to your Ender 7 model. Regular maintenance, including belt care, will help prolong the life of your printer and improve print quality.

A close-up of the X-axis of a 3D printer, showing the belt, wheels, and eccentric nuts.

IMG Source: ebayimg.com


Tips for Belt Maintenance in Ender 7 3D Printer

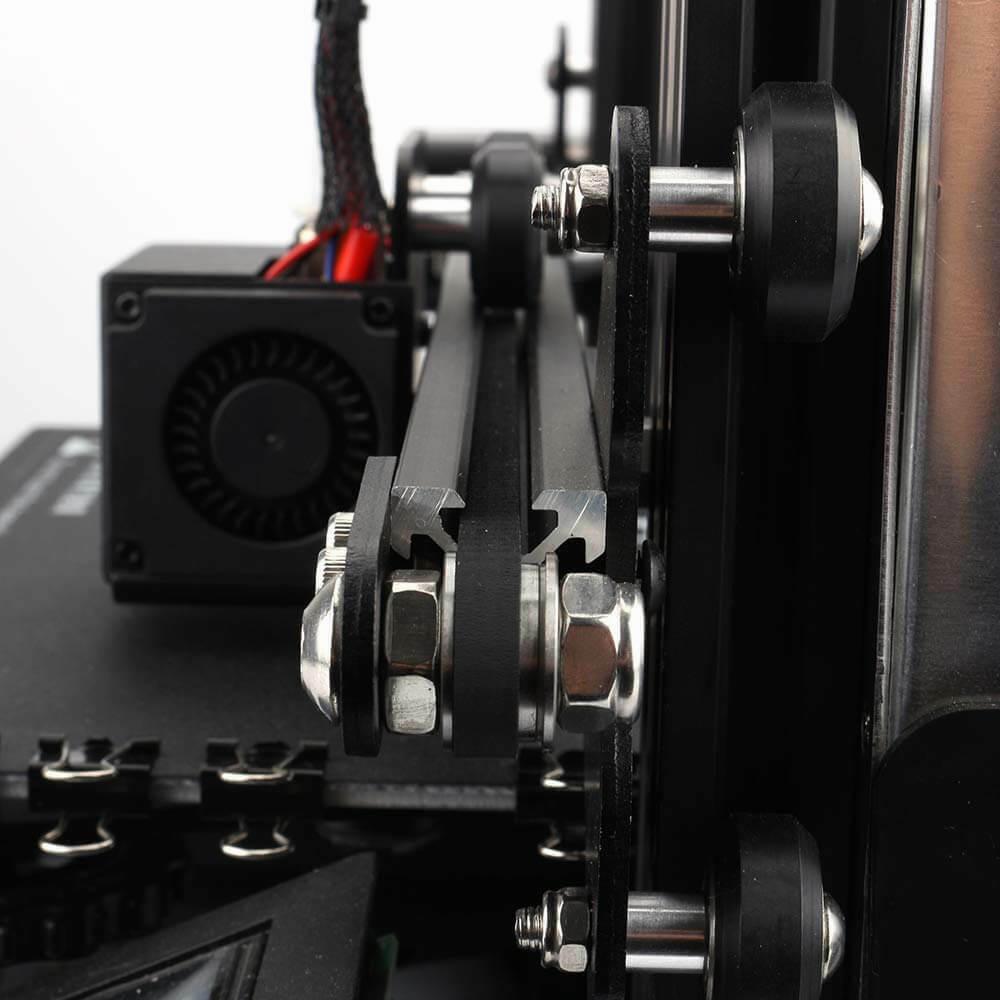
Proper care of the belts in your Ender 7 3D printer is essential for maintaining print quality and preventing issues. Here are some tips to keep your belts in good condition:

  1. Tighten the Belts: Ensure that the belts are properly tensioned. Loose belts can lead to inaccuracies in print dimensions and affect overall print quality. Refer to your printer’s manual or online resources for guidance on adjusting belt tension.

  2. Inspect for Damage: Regularly check the belts for signs of wear, fraying, or damage. If you notice any issues, consider replacing the damaged belt promptly. A damaged belt can negatively impact print accuracy.

  3. Clean the Belts: Dust and debris can accumulate on the belts over time. Use a soft brush or cloth to gently clean the belts. Avoid using any abrasive materials that could scratch or damage them.

  4. Lubrication: Unlike some other printer components, 3D printer belts do not require lubrication. In fact, applying lubricant can attract dust and debris, leading to more problems. Keep the belts clean and dry.

  5. Check Pulleys and Idlers: Inspect the pulleys and idler wheels that guide the belts. Make sure they are secure and rotate smoothly. Tighten any loose screws or nuts.

  6. Avoid Overloading the Printer: Excessive stress on the belts due to heavy print loads can cause premature wear. Be mindful of the weight and size of the objects you print.

A 3D printer with a red print bed and a black frame is shown with a close-up of the belts and gears.

IMG Source: ytimg.com


Enhancing Creality Ender 7 3D Printer Performance

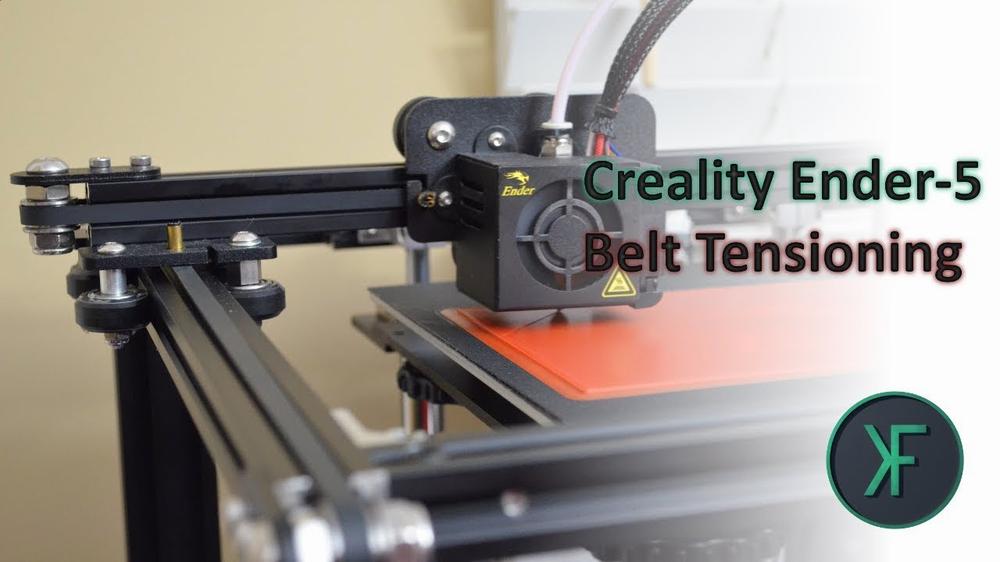
Improving your Creality Ender 7 3D printer’s performance with upgraded belts is a great idea. Here are some steps and recommendations to enhance your printing experience:

  1. Properly Tighten Your 3D Printer Belt:

    • Ensure that the belts are neither too loose nor too tight.
    • Proper tension prevents slipping while improving print accuracy.
    • Aim for a belt tension similar to a stretched rubber band.
    • Consider using a belt tensioner like the UniTak3D Upgrade X-Axis Belt Tensioner.
  2. Decrease Jerk, Acceleration, & Printing Speed:

    • Adjust these settings in your slicer software to optimize print quality and reduce belt slipping.
  3. Check for Loose Screws & Nuts:

    • Regularly inspect and tighten any loose screws or nuts on your printer.
    • Pay attention to the pulleys, motor mounts, and belt tensioning components.
  4. Install a Cooling Fan or Heatsink:

    • Heat can affect belt performance. Consider adding a cooling fan or heatsink to prevent overheating.
  5. Inspect Pulleys for Damage:

    • Damaged pulleys can cause belt slipping. Check for wear, cracks, or misalignment.
    • Replace any damaged pulleys promptly.
  6. Ensure Correct Motor Driver Current:

    • Proper motor current ensures smooth movement and prevents skipping steps.
    • Adjust the motor current settings as needed.
  7. Replace Damaged Belts or Bearings:

    • If your belts are worn out or damaged, replace them promptly.
    • Also, check the condition of bearings and replace any that show signs of wear.

Additionally, consider exploring upgrades like the Triple Lead Screw Upgrade Kit, which enhances stability and smooth operation. This kit replaces the Z-linear motion system with linear bearings and rods, improving overall performance.

For more detailed instructions, you can refer to the Creality Ender 7 Service Tutorial Videos

A pair of blue anodized aluminum belt tensioners for a 3D printer.

IMG Source: media-amazon.com


In conclusion, the proper care and maintenance of the Creality Ender 7 belts play a vital role in maintaining the printer’s efficiency and print quality. By following the recommended belt replacement procedures, checking for wear and tension, and exploring potential upgrades, you can maximize the performance of your 3D printer. Remember to consult official resources for accurate information and to stay updated on firmware releases.

Investing time and effort into your Creality Ender 7 belts will result in smoother printing experiences and long-term durability for your printer.

Comments

    Leave a Reply

    Your email address will not be published. Required fields are marked *