Let’s dive into the world of 3D printing and explore the intricacies of the Creality Ender-3 V3 SE bed. The bed of a 3D printer plays a crucial role in the quality and success of your prints. From heated beds to leveling springs, there are various components and upgrades that can enhance your printing experience.
Join us as we unravel the features and maintenance tips for the Creality Ender-3 V3 SE bed, ensuring that your 3D printing journey is smooth and rewarding.
Creality Ender-3 V3 SE Bed Overview
Let’s discuss the bed of the Creality Ender-3 V3 SE.
The Ender-3 V3 SE is a 3D printer that follows the Cartesian design principle, featuring a Bed Slinger motion system for stability and precision. Here are some key details about the bed:
Heated Bed: The Ender-3 V3 SE comes with a heated bed, which is essential for ensuring proper adhesion of the printed layers to the build surface. The heated bed replacement kit includes a 24V DC heated bed with a wattage of 270W and dimensions of 235 x 235 x 3mm.
Glass Bed: Some users opt to replace the original bed with a glass bed. You can use a tinted glass (approximately 4mm thick, cut to 235×235 mm). It’s not necessary to buy expensive branded glass beds; local glass stores can provide suitable options. To install it:
Remove the original build plate and two screws.
Place the glass bed on top of the magnetic bed (no need to remove the magnetic bed).
Secure it with paper tape.
Clean the surface with alcohol.
Perform auto-leveling and test prints to ensure proper adhesion.
Leveling Springs: Manual bed leveling can significantly improve print quality. Consider replacing the existing screws and spacers with longer M4 screws and springs. Here’s how:
Use a spirit level to identify unevenness.
Tighten screws where needed and loosen where necessary.
Utilize mesh data for fine adjustments.
After several iterations, achieve a good bed level (with a variation of around 0.1 mm).
Remember that firmware updates may also play a role in addressing bed leveling issues. Keep an eye out for improved firmware versions that handle mesh data more effectively.
Key Features of Creality Ender-3 V3 SE 3D Printer Bed
Let’s explore the key features of the Creality Ender-3 V3 SE 3D printer’s bed:
Build Volume: The Ender-3 V3 SE offers a build volume of 220 × 220 × 250 mm, providing ample space for your 3D printing projects.
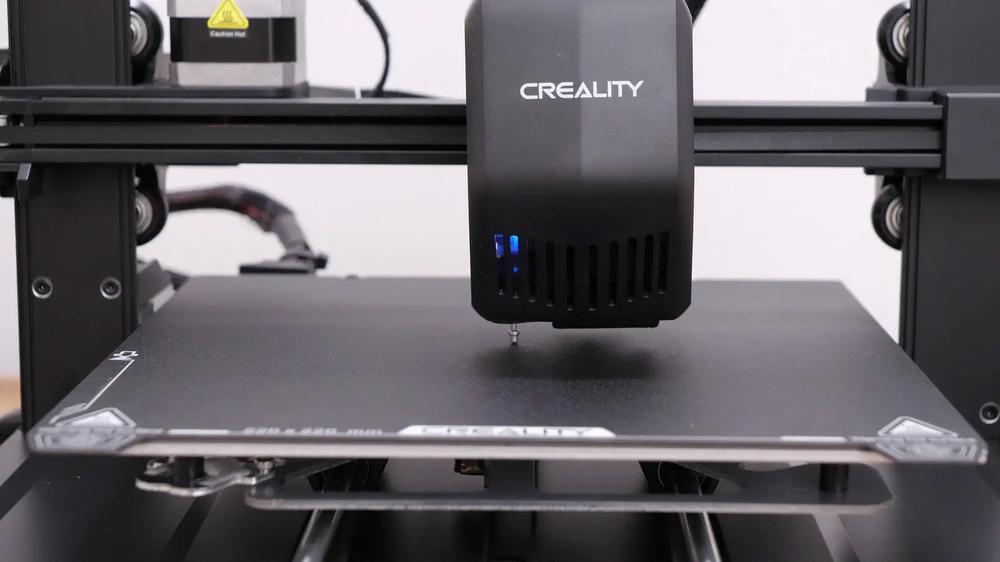
Automatic Bed Leveling: This printer comes equipped with fully automatic bed leveling, which simplifies the setup process and ensures a level print surface. No more manual adjustments needed.
Direct Drive Extruder (“Sprite”): The direct drive extruder design allows for smoother filament feeding and better print quality. It’s a great feature for beginners and experienced users alike.
Print Bed Material: The Ender-3 V3 SE features a PC Spring Steel print bed. This material provides good adhesion for prints while allowing easy removal once they’re done.
Nozzle and Bed Temperature: The nozzle temperature can reach up to 260°C, while the bed temperature can go up to 100°C. These temperature ranges accommodate various filament types and help achieve optimal print results.
In summary, the Creality Ender-3 V3 SE strikes a balance between affordability, performance, and user-friendly features. While it requires some fine-tuning for optimal results, it’s an excellent choice for beginners venturing into the world of 3D printing
IMG Source: howtomechatronics.com
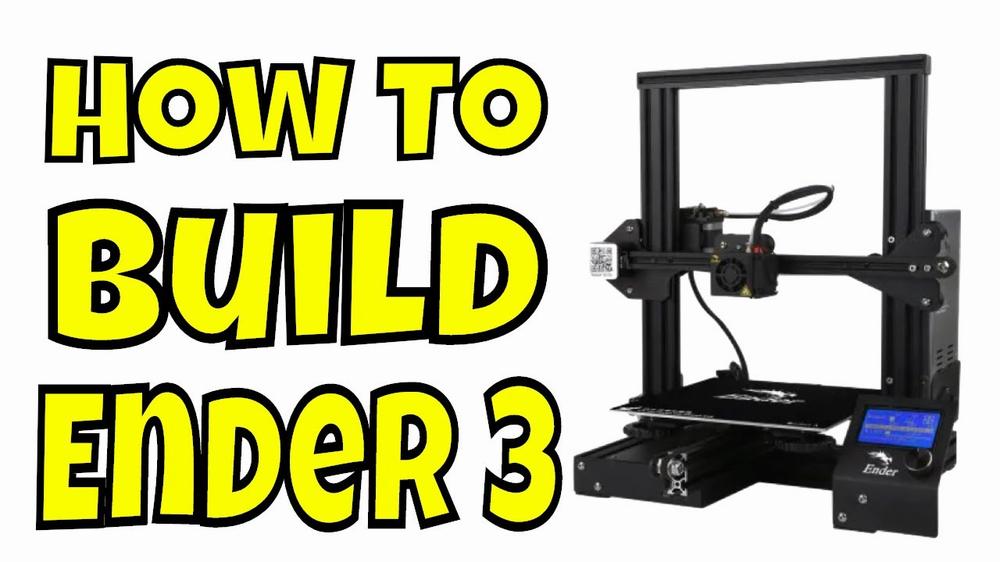
Creality Ender-3 V3 SE Bed Installation Guide
Let’s walk through the bed installation process for the Creality Ender-3 V3 SE 3D printer. Here are the steps:
Mount the Gantry Frame Assembly to the Printer Base:
Use the four largest screws (two on each side) to secure the Gantry Frame to the Printer Base.
Display Screen Installation:
Follow the instructions in the user manual to install the display screen.
Load filament into the printer following the recommended procedure.
Remember to refer to the official Creality Ender-3 V3 SE User Manual for detailed step-by-step instructions and safety precautions. If you encounter any issues or have questions, feel free to reach out to Creality’s customer support.
IMG Source: ytimg.com
Maintaining Your Creality Ender-3 V3 SE 3D Printer Bed
Maintaining your Creality Ender-3 V3 SE 3D printer bed is essential for its longevity and optimal performance. Here are some key steps to keep your printer bed in great shape:
Check and Adjust Belts:
Regularly inspect the X and Y belts that move the print head and the heated bed. These belts should be taut, like a guitar string. If they’re loose, use the larger Allen wrench provided with the printer to tighten them.
Loosen the locking screws that hold the tension wheel in place.
Pry back the wheel to tension the belt firmly.
Once it’s under tension, tighten the locking screws to maintain the tension.
Repeat this process for both the X and Y belts if necessary.
Well-adjusted belts lead to better print quality and smoother surfaces.
Clean the Fans:
There are two fans around the hot end of the Ender-3.
Regularly clean these fans to prevent dust buildup and ensure proper cooling.
Use a cotton swab and rubbing alcohol (at least 90% strength) to remove any oils or dirt from the fan blades.
The alcohol evaporates quickly, so it won’t harm the printer components.
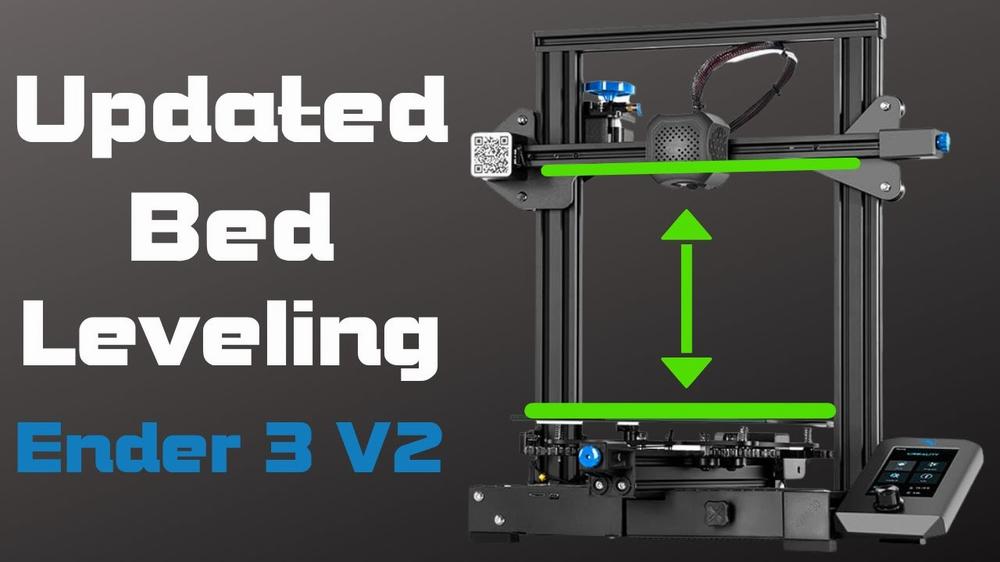
Bed Leveling:
Proper bed leveling is crucial for successful prints.
Follow these steps for bed leveling:
Auto Home: Go to the PREPARE menu, scroll down to AUTO HOME, and press the knob. The hot end will move to the left front of the bed and stop.
Disable Steppers: Scroll to DISABLE STEPPERS and press the control knob.
The bed isn’t physically adjustable, but the printer creates a level mesh in software to compensate for any unevenness.
If you encounter significant bed unevenness (more than 0.4 mm), consider requesting replacement parts or a partial refund.
Regularly clean the print bed surface to ensure good adhesion.
Use isopropyl alcohol or warm soapy water to remove any residue.
Avoid using abrasive materials that could damage the bed coating.
Check Wiring and Connections:
Inspect all wiring and connections to ensure they’re secure.
Loose wires can lead to printing issues or even damage the printer.
IMG Source: ytimg.com
Common Issues with Creality Ender-3 V3 SE Bed
Let’s address common issues related to the Creality Ender-3 V3 SE bed. Whether you’re dealing with motion anomalies, temperature fluctuations, or extrusion problems, here are some solutions to optimize your 3D printing experience:
Under-Extrusion:
Symptoms: Prints appear weak, with gaps or inconsistent layers.
Solution: Check the filament feed. Ensure the nozzle is clean and properly calibrated. Adjust the extrusion multiplier in your slicer settings if needed.
Missing Layers:
Symptoms: Larger prints may exhibit gaps or skipped layers.
Solution: Verify that the Z-axis is moving smoothly. Check for loose belts or binding. Adjust the layer height and ensure proper bed leveling.
Bed Adhesion:
Symptoms: Prints don’t adhere well to the bed.
Solution: Clean the print surface thoroughly. Use a suitable adhesive like painter’s tape, glue stick, or a specialized bed adhesive. Ensure proper bed leveling and temperature settings.
Slicer Settings:
Symptoms: Poor print quality, incorrect dimensions, or unexpected results.
Solution: Review your slicer settings. Pay attention to layer height, infill density, print speed, and cooling settings. Optimize for your specific filament and model.
Axis Misalignment:
Symptoms: Prints are skewed or misaligned.
Solution: Check the alignment of X, Y, and Z axes. Tighten belts, lubricate rods, and ensure smooth movement. Calibrate the printer to correct any misalignment.
For more detailed troubleshooting, you can also refer to Creality’s comprehensive guide here.
IMG Source: staticdj.com
In conclusion, the bed of the Creality Ender-3 V3 SE is a vital aspect of the 3D printing process, impacting print quality and overall user experience. By understanding the heated bed, glass bed options, leveling springs, and maintenance techniques, you can optimize your printing setup for successful creations. Whether you’re a beginner or a seasoned maker, investing time in bed maintenance and upgrades can elevate your printing projects to new heights.
Remember, a well-tuned bed is the foundation of successful prints with the Creality Ender-3 V3 SE. Happy printing!