Ultimate Guide to Anycubic Kobra 2 Plus Bowden Tube

Ultimate Guide to Anycubic Kobra 2 Plus Bowden Tube

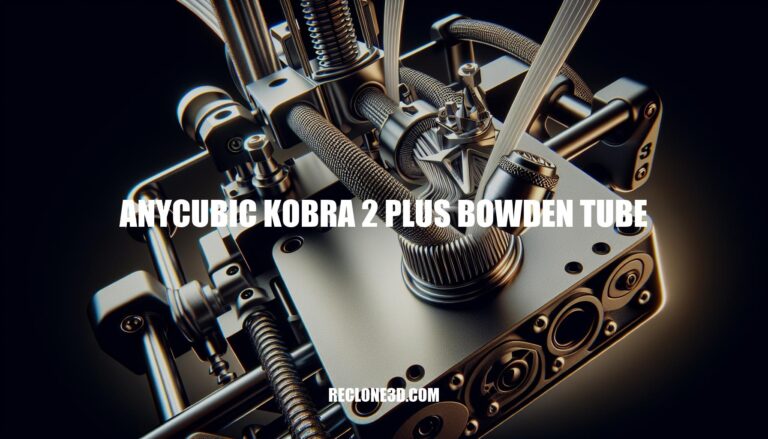
Welcome to the world of 3D printing with the Anycubic Kobra 2 Plus. Today, we’ll explore the intricacies of the Bowden Tube in this cutting-edge printer, revealing how it enhances your printing experience. Discover the crucial role the Bowden Tube plays in guiding filament for precise and efficient printing, setting the stage for seamless model creation and advanced printing capabilities.

Tips for Replacing Bowden Tube on Anycubic Kobra 2 Plus 3D Printer

The Anycubic Kobra 2 Plus is a large-format 3D printer with a print size of 320 x 320 x 400 mm, allowing you to create models of approximately 41 liters in volume in a single print. It features a Bowden extruder and a double-threaded z-axis moving structure, which enhances stability and enables high-speed printing while maintaining intricate model details.

Now, regarding the Bowden tube, if you need to check or replace it, here are some tips:

  1. Inspect the Tube: First, examine the existing Bowden tube. Look for any signs of wear, kinks, or damage. If you notice any issues, it’s time for a replacement.

  2. Replacement Process: While I don’t have a specific video for the Anycubic Kobra 2 Plus, the general process for replacing a Bowden tube is similar across various printers. Here’s what you can do:

    • Purchase a Replacement Tube: You can find replacement Bowden tubes online. Brands like Capricorn offer high-quality tubes that improve filament flow.
    • Remove the Old Tube: Carefully detach the old tube from both the extruder and the hotend. Pay attention to how it’s connected.
    • Install the New Tube: Insert the new Bowden tube, ensuring it’s securely seated at both ends. Make sure there are no gaps or leaks.
    • Calibration: After replacing the tube, recalibrate your printer to ensure proper filament feeding and printing.
  3. Community Resources: You might find helpful discussions and videos on forums like Reddit. For instance, there’s a thread about tube replacement for the Anycubic Kobra, which could provide useful insights.

Benefits of Bowden Tube

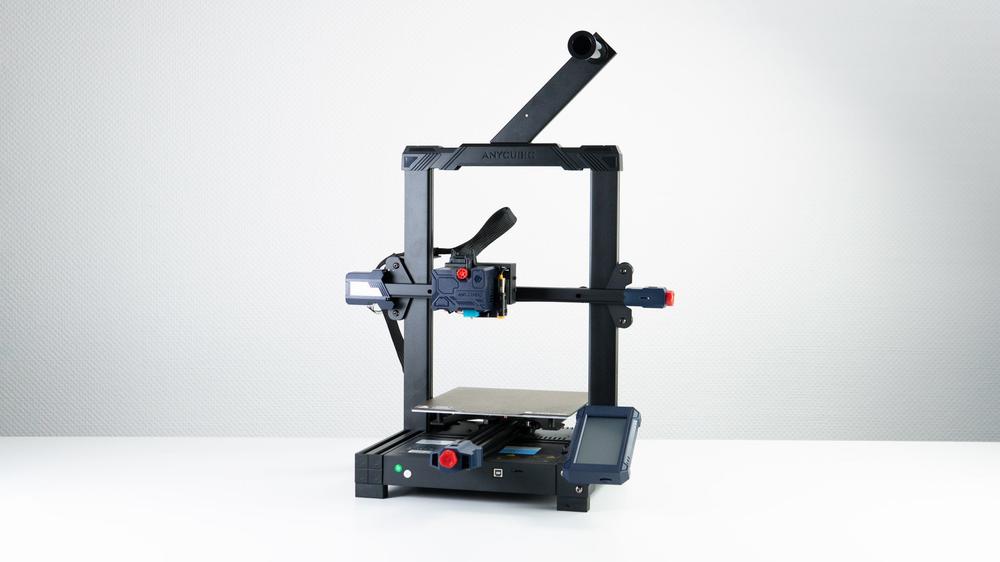
The Anycubic Kobra 2 Plus is the flagship 3D printer from Anycubic in 2023, designed to enhance your 3D printing experience with smart control and faster printing capabilities. Let’s delve into the specifics of the Bowden Tube compatibility and the benefits it offers:

  1. Bowden Tube Compatibility:

    • The Kobra 2 Plus features a Bowden extruder system, which means that the filament is fed through a Bowden tube from the extruder motor to the hotend.
    • This design allows for a lighter extruder assembly since the motor is separated from the hotend.
    • The Bowden tube acts as a conduit, guiding the filament to the nozzle during printing.
    • It’s essential to ensure that the Bowden tube is in good condition and properly seated to prevent issues like filament jams or inconsistent extrusion.
  2. Benefits of Bowden Tube:

    • Reduced Moving Mass: By having the extruder motor separate from the hotend, the moving mass is minimized. This can lead to faster print speeds and smoother motion.
    • Less Vibrations: The Bowden setup reduces vibrations transmitted to the print head during rapid movements, resulting in higher print quality.
    • Longer Bowden Tubes: Bowden systems allow for longer Bowden tubes, which can be advantageous for larger printers like the Kobra 2 Plus. Longer tubes provide more flexibility in printer placement and cable management.
    • Less Weight on the Print Head: Since the extruder motor is located away from the print head, there’s less weight to move during rapid changes in direction.
    • Compatibility with Flexible Filaments: Bowden setups are well-suited for printing flexible filaments like TPU, as the filament path is less constrained.

In summary, the Bowden tube system in the Anycubic Kobra 2 Plus contributes to improved print quality, faster speeds, and versatility in filament choices. If you encounter any issues related to the Bowden tube, consider checking or replacing it following the manufacturer’s guidelines.

A blue and black 3D printer is printing a blue object on a glass bed.

IMG Source: the-gadgeteer.com


Installing Bowden Tube for Anycubic Kobra 2 Plus 3D Printer

Let’s walk through the installation of the Bowden Tube for your Anycubic Kobra 2 Plus 3D printer. The Bowden tube is a critical component that guides filament from the extruder to the hotend. Here are the steps to install it:

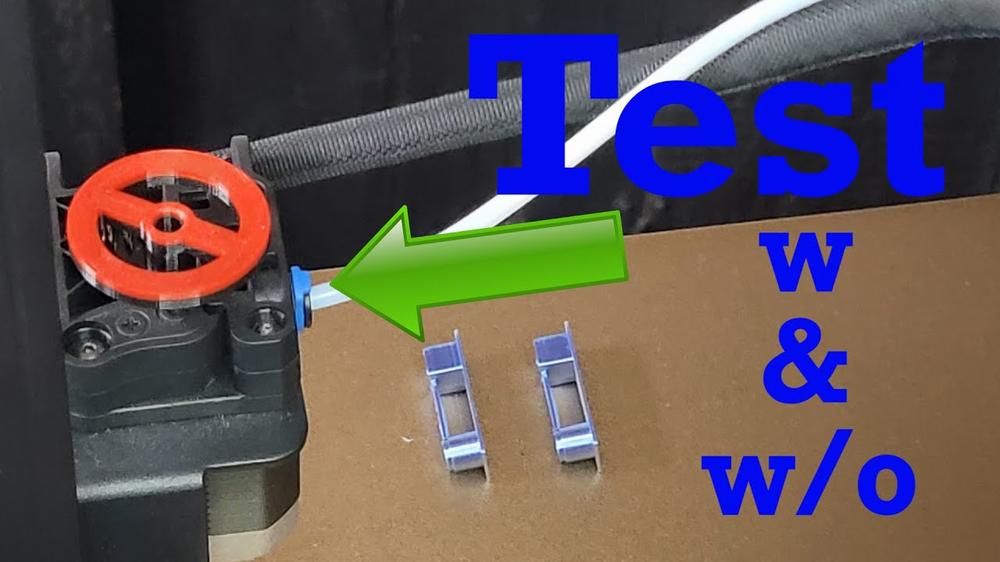
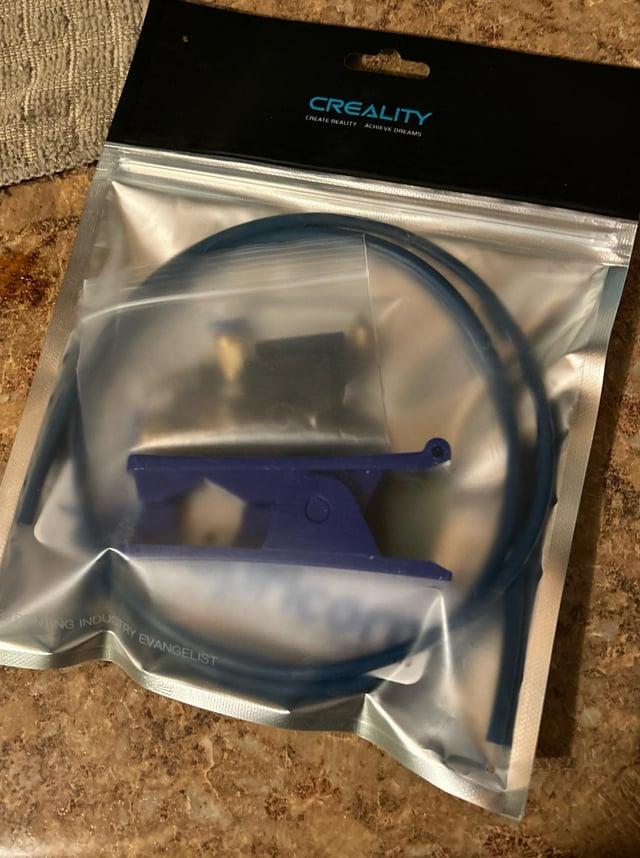
  1. Identify the Tube: First, locate the Bowden tube. It’s a short PTFE tube that guides filament into the hotend. You’ll find it near the extruder assembly.

  2. Check for Damage: Inspect the existing tube. If it’s damaged or has come loose, you’ll need to replace it. Don’t worry; Anycubic Kobra printers usually come with a spare tube in a small ziplock bag.

  3. Remove Filament: If the tube has come out while changing filaments, gently put it back in place. It’s not connected to anything; it just sits on top. Refer to this picture for clarification: .

  4. Replacement: If you need to replace the tube, consider getting a Capricorn tube. You can find these on Amazon. Alternatively, reach out to Anycubic customer support; they might direct you or even provide a replacement if you’re within warranty.

3D printer Bowden tube coupler test, with and without the blue ring.

IMG Source: ytimg.com


Anycubic Kobra 2 Plus Overview

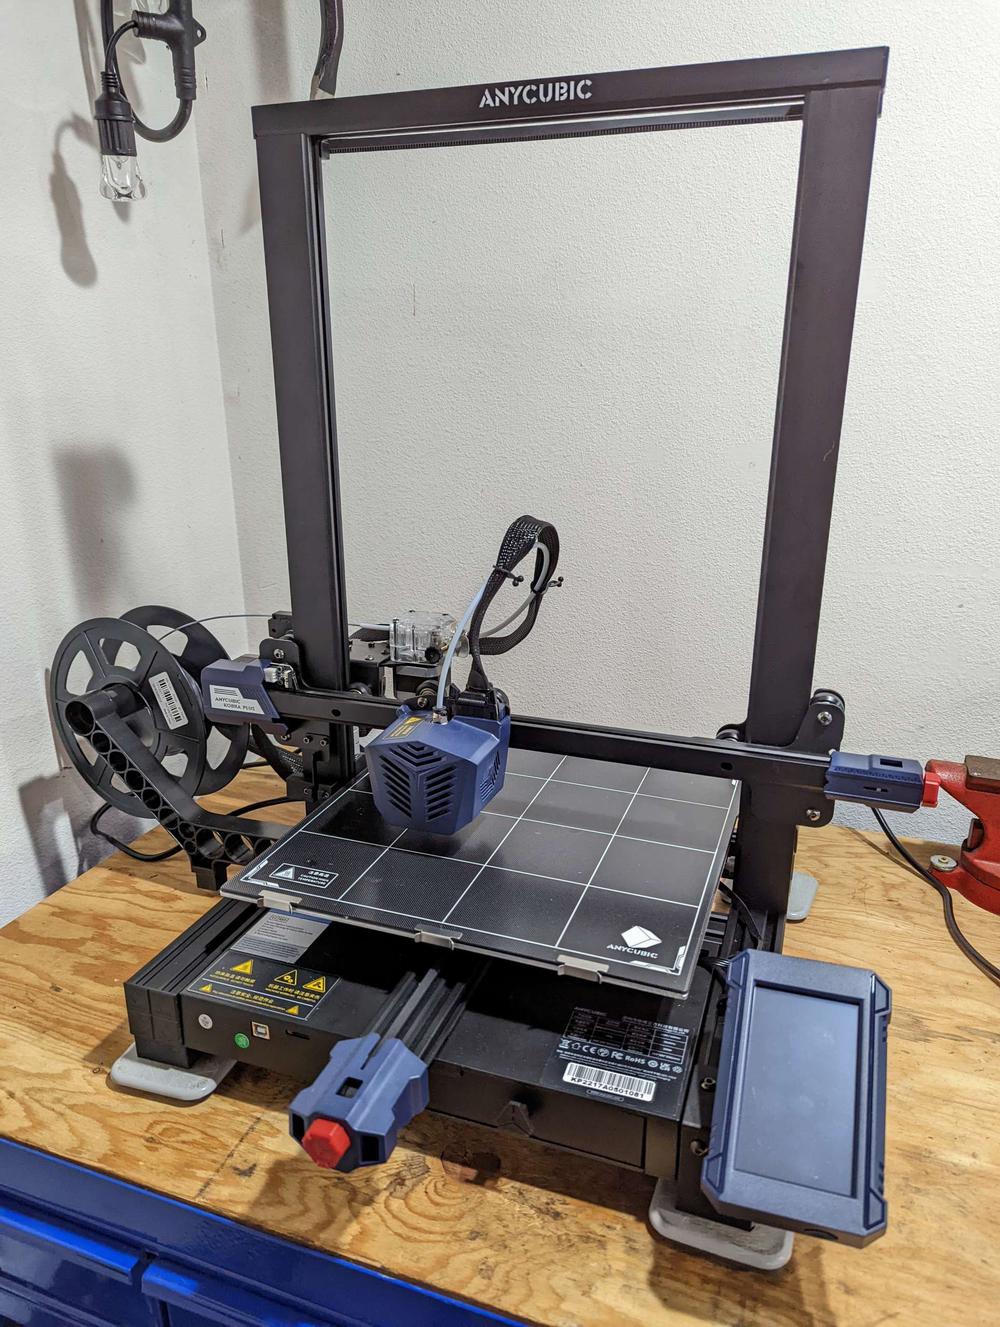
The Anycubic Kobra 2 Plus is a high-speed 3D printer with a large build volume. Let’s delve into its features and capabilities:

  1. Build Volume: The Kobra 2 Plus boasts an impressive build volume of 320 x 320 x 400mm (approximately 15.7 x 12.6 x 12.6 inches). This ample space allows you to create big models without compromising on size.

  2. Print Speed: Anycubic claims that the Kobra 2 Plus is 10 times faster than traditional models. It can even print a 3Dbenchy (a popular benchmark model) in just 17 minutes. This speed is achieved despite sticking to the traditional “bed-slinger” design, where the print surface moves back and forth while the print head moves side to side and upwards.

  3. Design: The Kobra 2 Plus features:

    • Automatic leveling: Ensures precise bed calibration.
    • A 4.3-inch touchscreen: For intuitive control.
    • A direct-drive extruder: Equipped with all-metal gears for efficient material heating and melting.
    • Dual fans: Enhance smooth printing.
  4. Quality and Filament: With the right filament, the Kobra 2 Plus delivers decent print quality. It uses standard 1.75mm filament, commonly PLA. You can even print large models by splitting them into smaller sections and assembling them using superglue.

  5. Comparison with Other Models:

    • Kobra 2 Neo: The budget model with a maximum print speed of 250mm per second.
    • Kobra 2: Prints at 300mm per second.
    • Kobra 2 Pro: Theoretical speed of up to 500mm per second.
    • Kobra 2 Max: Prints enormous models up to 420x420x500mm.

In summary, the Anycubic Kobra 2 Plus is a good-value 3D printer for those seeking a large build volume and faster printing times. While it has its shine, be aware of some issues with cloud printing and noisy fans. The price for the Kobra 2 Plus is $449.

Black and blue Anycubic Kobra 3D printer with a touchscreen.

IMG Source: all3dp.com


Troubleshooting Anycubic Kobra 2 Plus Bowden Tube

Troubleshooting issues with the Anycubic Kobra 2 Plus Bowden tube can be frustrating, but let’s tackle it step by step. Here are some suggestions to address the problem:

  1. Filament Stuck in Bowden Tube:

    • Release the Bowden Tube: First, take off the bowden connector lock (usually a zip tie or a plastic clip) on the hotend. Press down the fitting to release the lock on the PTFE tube. Try to pull the tube out.

      If it’s too hard, unscrew the connector.

    • Disconnect Heat Cartridge and Thermistor: Disconnect the heat cartridge and thermistor from the hotend PCB.
    • Unscrew the Lower Part of Hotend: You can unscrew the lower part of the hotend (from the heatbreak) off the heatsink.
    • Remove the Nozzle: Optionally, take off the heat cartridge and the thermistor. You should be able to unscrew the nozzle using a hex wrench. Then, heat up the heatbreak to clean up any filament residue or consider replacing it.
  2. Alternative Approach:

    • If disassembling seems daunting, try this alternative:
      • Heat the Bowden Tube: Use a hairdryer to heat the section of the Bowden tube where the filament is stuck.
      • Push Filament Back In: Let the extruder push new filament through, which may help dislodge the stuck filament.
  3. Prevent Future Issues:

    • Consider replacing the PTFE tube with a better quality one. The stock tube provided with the printer can sometimes cause clogs due to melting.

A blue Capricorn Bowden tube and coupler in a plastic bag.

IMG Source: redd.it


In conclusion, mastering the Anycubic Kobra 2 Plus Bowden Tube is key to unlocking the full potential of your 3D printing projects. By understanding its compatibility and benefits, you can ensure smoother printing processes and optimal performance. Whether you’re troubleshooting issues, replacing the tube, or seeking tips for seamless operation, the Bowden Tube remains a pivotal component in your 3D printing journey with the Anycubic Kobra 2 Plus.

Embrace the power of this innovative technology and elevate your printing experience to new heights.

Comments

    Leave a Reply

    Your email address will not be published. Required fields are marked *