Enhance Your 3D Printing with Anycubic Kobra 2 Neo Belts

Enhance Your 3D Printing with Anycubic Kobra 2 Neo Belts

Have you ever wondered how crucial the belts are in ensuring the precise and smooth operation of your Anycubic Kobra 2 Neo 3D printer? Proper maintenance of these belts is essential for achieving accurate 3D prints. In this guide, we will delve into the detailed steps of replacing both the X-axis and Y-axis belts to optimize the performance of your printer.

Replacing Belts in Anycubic Kobra 2 Neo 3D Printer

Let’s talk about the belts in the Anycubic Kobra 2 Neo 3D printer. Properly maintained belts are crucial for accurate and smooth 3D printing. Here’s how you can replace the belts for both the X-axis and Y-axis:

  1. X-Axis Belt Replacement:

    • Tools Needed:
      • M2.0 Allen wrench
      • M2.5 socket head cap screw wrench
    • Steps:
      1. Unscrew the 2 screws at the rear of the X-axis motor cover using the M2.0 Allen wrench and set the cover aside.
      2. Use the M2.5 socket head cap screw wrench to unscrew the 2 screws that fix the X-axis tensioner.
      3. Unscrew the nut for adjusting the belt tension in a counterclockwise direction and set it aside.
  2. Y-Axis Belt Replacement:

    • Tools Needed:
      • Allen keys
    • Steps:
      1. Unscrew the nut on the Y-axis tensioner for adjusting the belt tension in a counterclockwise direction.
      2. Unscrew the 2 fixing screws that secure the Y-axis tensioner on the Y-axis carriage.
      3. Use auxiliary tools to remove the copper buckles at both ends of the belt from the bottom of the printing platform.

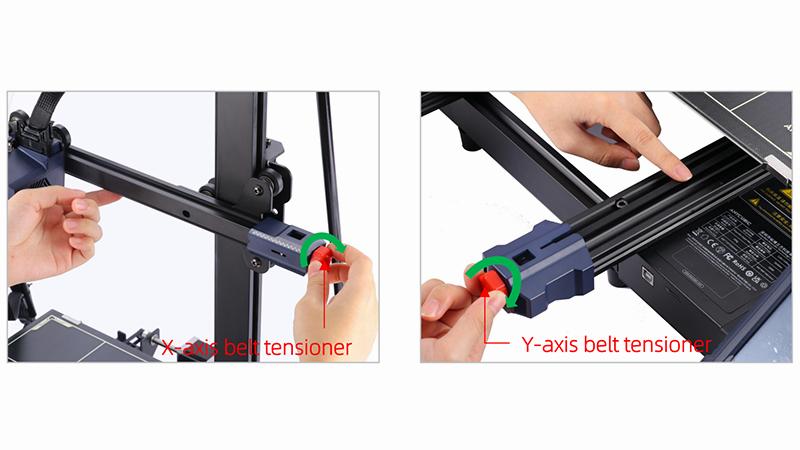
Remember, maintaining proper belt tension ensures precise movement and reliable 3D prints. If your Anycubic Kobra 2 Neo doesn’t have adjustable tensioners, consider exploring DIY 3D printed belt tensioners to enhance your printer’s performance

Performance Benefits of Anycubic Kobra 2 Neo

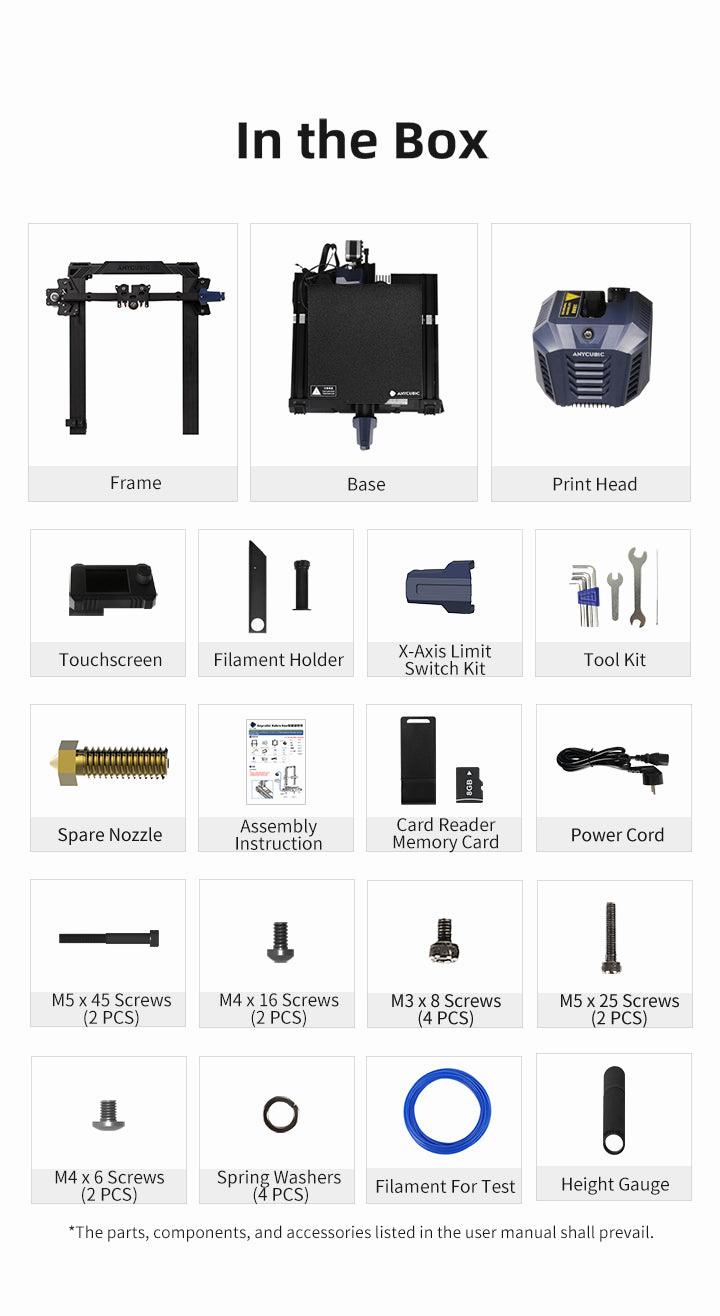
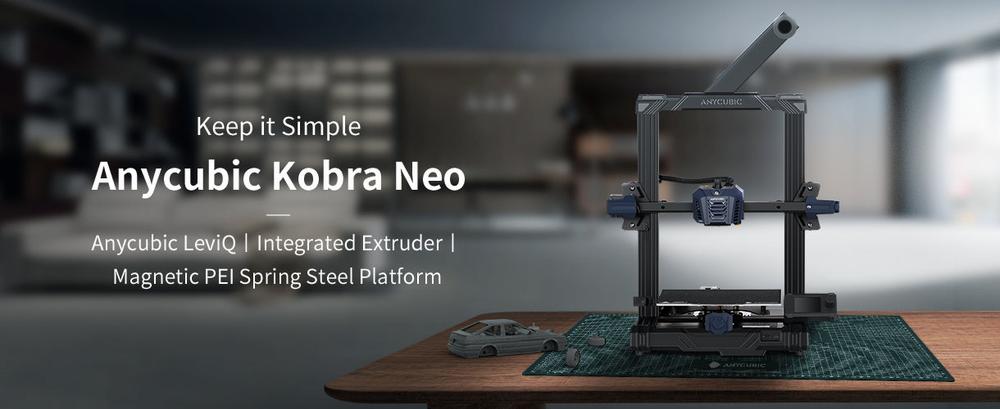
The Anycubic Kobra 2 Neo offers several performance benefits compared to its predecessor, the Kobra Neo:

  1. Printing Speed: The Kobra 2 Neo outperforms the Kobra Neo in terms of printing speed. Its faster printing capabilities make it an excellent choice for beginners who want efficient results.

  2. Intelligent Leveling System: The Kobra 2 Neo features a more intelligent leveling system, which simplifies bed calibration and ensures better print quality.

  3. Sturdier Frame and Hardware: The Kobra 2 Neo boasts a sturdier frame and hardware, enhancing overall stability during printing. This robust construction contributes to better reliability and consistent performance.

While the Kobra Neo had some issues, such as cheaply made bed temperature sensor wires and limitations due to its small screen, the Kobra 2 Neo aims to address these concerns and provide an improved experience for users

Black and blue 3D printer with a spool of filament on the side.

IMG Source: protomont.com


Installing Belts for Anycubic Kobra 2 Neo 3D Printer

Here’s a guide on how to install the belts for the Anycubic Kobra 2 Neo 3D printer:

  1. X-Axis Belt Installation:

    • Tools Needed: Allen keys.
    • Steps:
      1. Use an M2.0 Allen wrench to unscrew the 2 screws at the rear of the X-axis motor cover, and set the cover aside.
      2. Next, use the M2.5 socket head cap screw wrench to unscrew the 2 screws that fix the X-axis tensioner.
      3. Take out the new belt and fasten one end of the belt to the left side of the sheet metal.
      4. Route the belt around the X-axis motor, ensuring that the teeth of the belt align with the teeth of the motor pulley.
      5. Thread the other end of the belt through the X-axis profile, ensuring smooth passage through the profile.
  2. Y-Axis Belt Replacement:

    • Tools Needed: None specified.
    • Steps:
      1. Unscrew the nut on the Y-axis tensioner for adjusting the belt tension in a counterclockwise direction.
      2. Unscrew the 2 fixing screws that secure the Y-axis tensioner on the Y-axis carriage.
      3. Use auxiliary tools to remove the copper buckles at both ends of the belt from the bottom of the printing platform.

For more detailed information, you can refer to the official Anycubic guides:

The image shows a list of the parts and accessories included in the box of the Anycubic Kobra 3D printer.

IMG Source: shopify.com


Anycubic Kobra 2 Neo Printer Belt Maintenance Tips

Here are some maintenance tips for the Anycubic Kobra 2 Neo printer belts:

  1. Check Belt Tension Regularly: After printing approximately 3 to 5 times, it’s essential to inspect the belt tension. Belts tend to loosen with prolonged use, so ensure they are appropriately tightened if necessary.

  2. Keep Belts Clean: Dust and material debris can accumulate on the belts over time. To maintain stable printer operation, keep the belts clean and free from any contaminants.

  3. Inspect for Wear and Cracks: Regularly examine the condition of the belts. Look for signs of wear, cracks, or any other damage. If you notice any issues, consider replacing the belts.

  4. Adjusting Belt Tension: The Anycubic Kobra 2 Neo comes equipped with turnable adjusters for the X and Y axes. You can easily tighten the belts using these adjusters without needing any additional tools.

If you need to replace the Y-axis belt specifically, follow these steps:

  1. Unscrew the nut on the Y-axis tensioner in a counterclockwise direction.
  2. Unscrew the two fixing screws that secure the Y-axis tensioner on the Y-axis carriage.
  3. Use auxiliary tools to remove the copper buckles at both ends of the belt from the bottom of the printing platform.

The image shows the locations of the X-axis and Y-axis belt tensioners on a 3D printer.

IMG Source: shopify.com


Anycubic Kobra 2 Neo Specifications and Compatibility

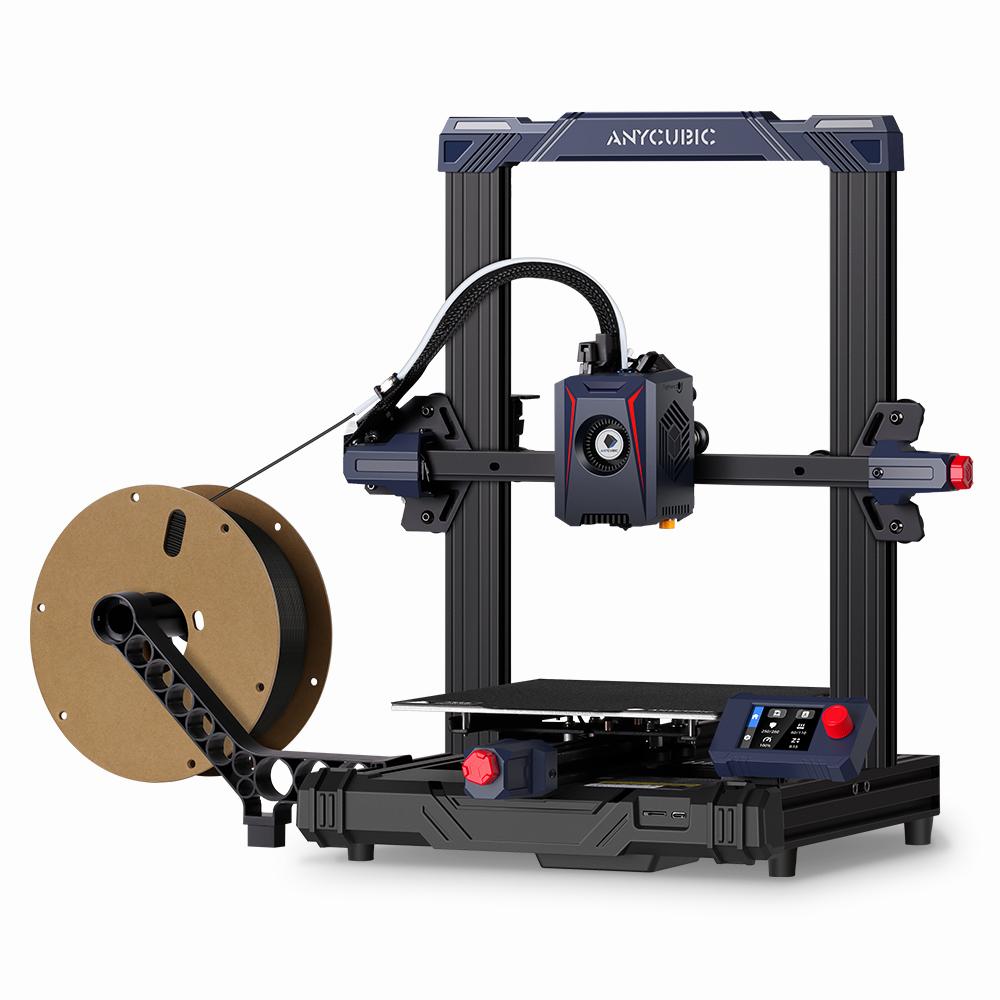
The Anycubic Kobra 2 Neo is an entry-level high-speed 3D printer with several noteworthy features. Let’s explore its specifications and compatibility with popular 3D printing clients:

  1. Specifications of Anycubic Kobra 2 Neo:

    • Printer Model Name: Anycubic Kobra 2 Neo
    • Bed Type: Square
    • Bed Size: 220 x 220 mm
    • Max Print Height: 250 mm
    • Heated Bed: Yes
    • Max Extruder Temperature: 260°C
    • Max Bed Temperature: 110°C
    • Filament Width: 1.75 mm
    • Probing Tool / Auto Bed Leveling: Yes
    • Direct Drive: Yes
  2. Compatibility with 3D Printing Clients:

    • SimplyPrint: Yes, the Anycubic Kobra 2 Neo is compatible with SimplyPrint.
      • How to Set Up SimplyPrint on Anycubic Kobra 2 Neo: Follow the setup guide provided by SimplyPrint.
    • OctoPrint: Yes, the Anycubic Kobra 2 Neo is compatible with OctoPrint.
      • How to Set Up OctoPrint on Anycubic Kobra 2 Neo: Refer to the OctoPrint setup instructions for this printer.
    • Mainsail: Yes, the Anycubic Kobra 2 Neo is compatible with Mainsail.
      • How to Set Up Mainsail on Anycubic Kobra 2 Neo: Follow the Mainsail setup guide specific to this printer.
    • Fluidd: Yes, the Anycubic Kobra 2 Neo is compatible with Fluidd.
      • How to Set Up Fluidd on Anycubic Kobra 2 Neo: Consult the Fluidd setup instructions tailored for this printer.

Remember that compatibility details are subject to updates, so always check the latest information from reliable sources.

The image shows a black and blue Anycubic Kobra Neo 3D printer with a magnetic PEI spring steel platform, and a small blue toy car printed on it.

IMG Source: shopify.com


In conclusion, the belts play a vital role in the functionality of the Anycubic Kobra 2 Neo. By regularly checking and adjusting the belt tension, keeping them clean, and inspecting for any signs of wear, you can ensure that your printer operates at its best. Remember, maintaining the Anycubic Kobra 2 Neo belts is key to achieving consistent and high-quality 3D prints.

Whether you are a beginner or experienced user, following these maintenance tips will help you make the most out of your 3D printing experience with the Anycubic Kobra 2 Neo.

Comments

    Leave a Reply

    Your email address will not be published. Required fields are marked *