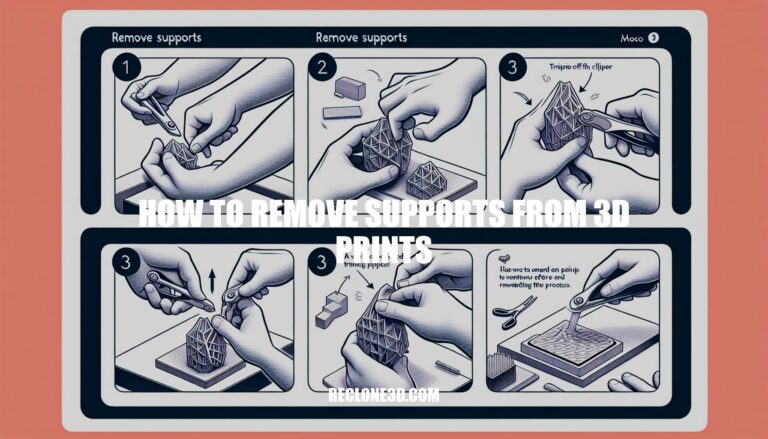
Have you ever wondered how to remove supports from 3D prints without damaging your intricate creations? Delicately removing support structures is a crucial post-processing step in the world of additive manufacturing. In this guide, we will delve into effective techniques and tools to help you master the art of support removal for your 3D prints.
Removing supports from a 3D print can be done carefully to avoid damaging the print. Here are some general steps to follow:
Adjust Settings: If possible, adjust your 3D printer settings to make supports easier to remove. This includes increasing the Z distance between the support and the print, and using a support interface layer with a different pattern direction.
Orient the Model: Try to orient the model in a way that minimizes the need for supports.
Use Tools: Employ tools like clippers, metal spatula, metal hooks, or a wood burning tool to carefully remove the supports. Always wear safety glasses and a respirator when working with plastic to protect yourself.
Go Slow: Take your time and be patient. Rushing the process can damage the model or the fine details.
Post-Processing: After removing the supports, you may need to sand the areas to smooth out any imperfections. Remember, the best method may vary depending on your specific 3D printing project, so it’s always good to refer to the manual or guidelines provided with your 3D printer for the best results.
When it comes to removing support material from your 3D prints, having the right tools can make the process significantly easier. Let’s explore some of the best tools you can use:
Flush Cutter: This snipping tool often comes standard with most 3D printers. It’s excellent for removing the bulk of supports around a print. While the one that comes with your printer might not be the highest quality, you can opt for a better-quality flush cutter to make the task smoother.
Tweezers: Needle-nose pliers or tweezers are handy for precise removal of smaller support sections. They allow you to carefully cut and break off extraneous 3D printed supports. Be cautious when using them to avoid damaging your print.
Nose Pliers: Similar to tweezers, needle-nose pliers can help you remove supports effectively. They allow you to smoothly clip supports off at the base, especially smaller sections.
X-acto Knife: An X-acto knife is a versatile tool for cutting away small supports. It’s particularly useful for intricate areas where precision is required.
Remember that removing supports can be tedious and sometimes messy. Plastic is a hard material, and when 3D printing at small layers, it can easily come off sharp. Take care to avoid injury and analyze your model to identify support locations before removing them.
Learning how to remove FDM supports effectively is a valuable skill for any 3D printing enthusiast.
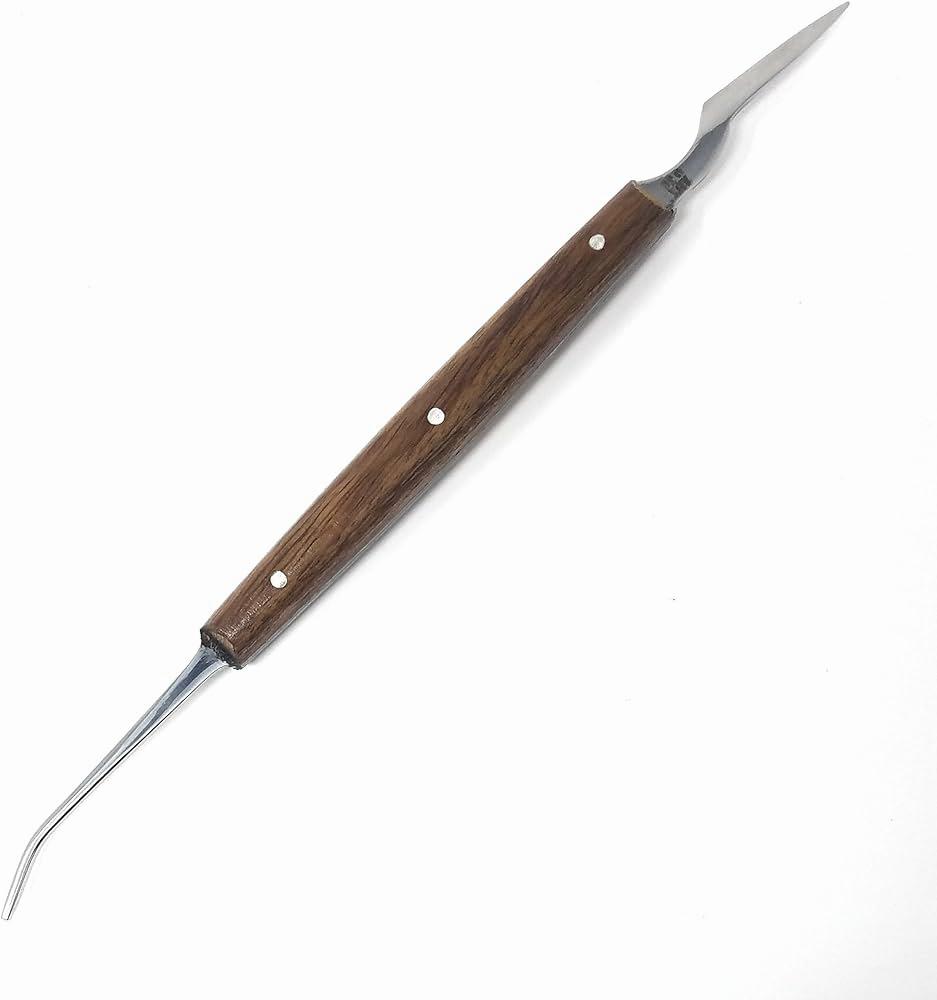
IMG Source: media-amazon.com
In the realm of additive manufacturing (AM), the process of creating parts by layering materials, the removal of support structures is a crucial step. These structures are necessary during printing to prevent part deformation, especially for overhanging surfaces. However, once the part is built, these support structures become undesirable and need to be removed during post-processing.
Let’s delve into some techniques for delicate support removal in AM:
Manual Removal:
Wire Electrical Discharge Machining (EDM):
In summary, while manual removal is cost-effective, it may not be suitable for delicate scenarios. Wire EDM offers better surface quality but comes with thermal effects. Manufacturers must weigh these factors when choosing the most appropriate support-removal technique for their specific AM applications.
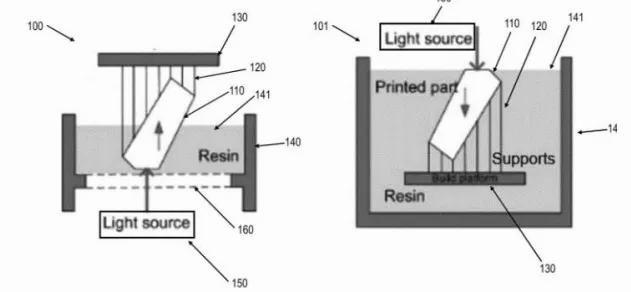
IMG Source: mit.edu
When it comes to removing supports in 3D printing, it’s essential to follow safety precautions to ensure both your well-being and the integrity of your printed objects. Here are some guidelines to keep in mind:
Wear Protective Gear:
Work in a Well-Ventilated Area:
Choose the Right Moment:
Gather the Necessary Tools:
IMG Source: amazonaws.com
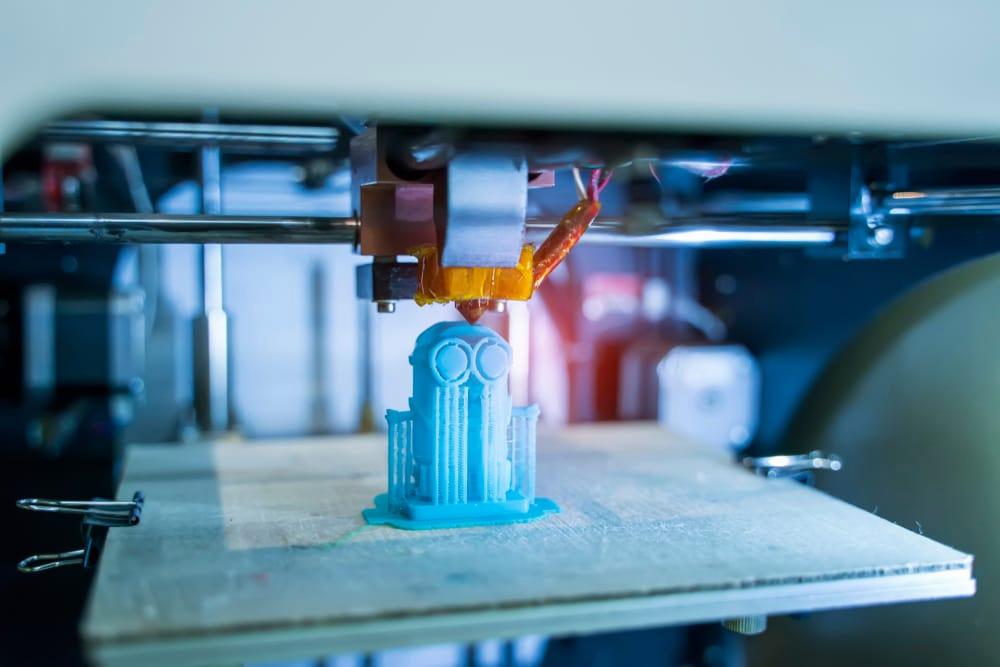
Optimizing support removal and post-processing for 3D prints is crucial to achieve high-quality results. Let’s explore some effective strategies:
Proper Orientation: Play around with the orientation of your 3D model before printing. A well-chosen orientation can reduce the need for extensive supports or make their removal easier.
Soluble Filament: If possible, use soluble filament for support structures. This allows you to dissolve the supports without manual effort.
Support Infill Density: Adjust the support infill density. Lower density means less material to remove.
Optimal Support Structure: Choose an optimal support structure. Some slicers offer different support patterns; experiment to find what works best for your model.
Increased Z-Distance and XY-Distance: Increase the Z-distance (vertical gap) and XY-distance (horizontal gap) between the model and supports. This makes removal easier.
Use the Right Tools: Invest in tools specifically designed for support removal. These can include angled tweezers, needle-nose pliers, or specialized support removal tools.
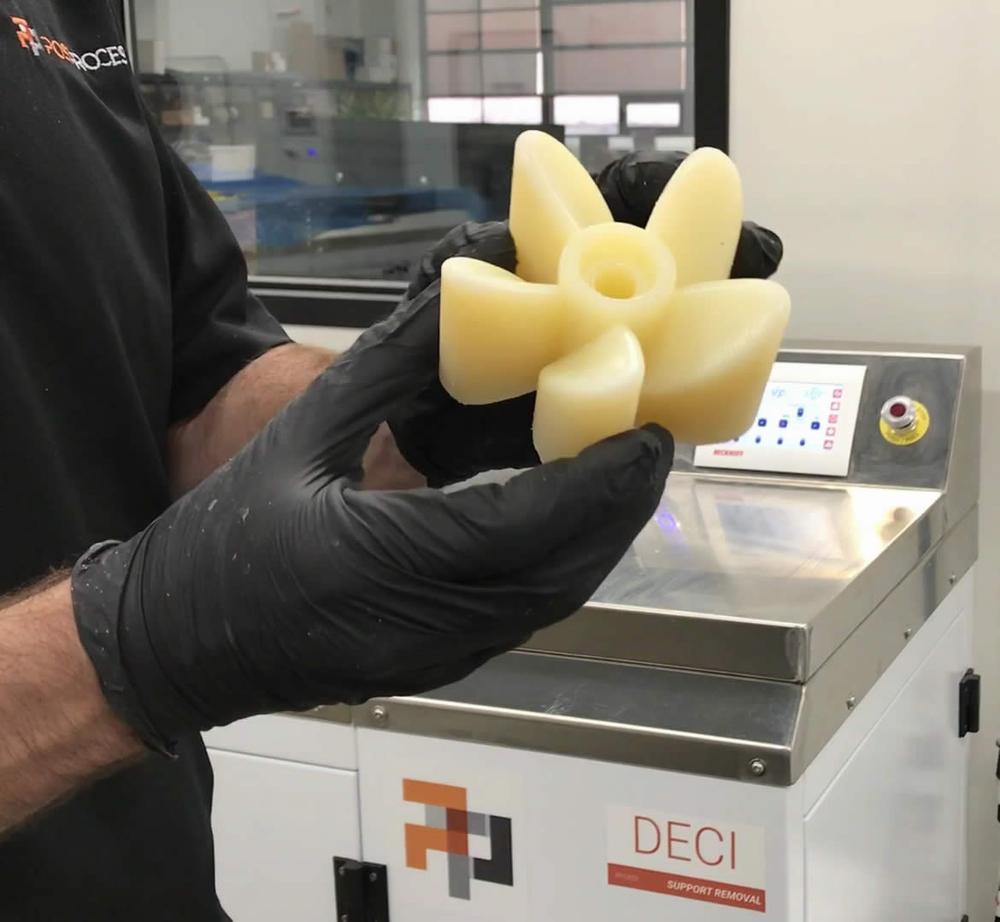
Automated Solutions: Consider using automated support removal systems like those offered by PostProcess. These machines streamline the process, improve consistency, and reduce manual labor.
For more detailed information, you can explore resources like Wevolver’s guide on how to remove supports from 3D prints and MatterHackers’ article on best practices for post-processing resin 3D printed parts.
IMG Source: javelin-tech.com
Remember, understanding how to remove supports from 3D prints opens the door to endless possibilities in the realm of additive manufacturing. So, equip yourself with the knowledge and tools needed to bring your 3D printing projects to new heights.