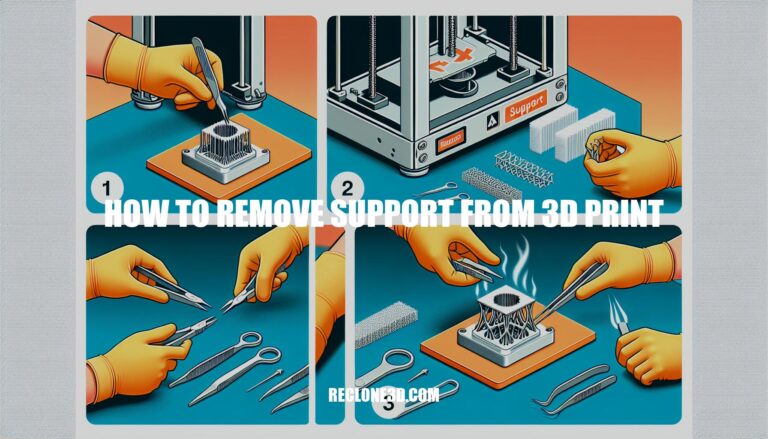
Welcome to the world of 3D printing, where creativity knows no bounds. In this guide, we will delve into the art of support removal from 3D prints. Mastering the technique of removing supports is essential for achieving flawless, professional-grade prints.
Whether you’re a seasoned maker or just starting out, understanding how to remove supports from your 3D prints can elevate the quality of your creations to new heights. So, let’s explore the intricacies of removing supports from 3D prints and uncover the best practices for achieving impeccable results.
Tips for Removing Supports from 3D Prints
Removing supports from a 3D print can be done carefully to avoid damaging the print. Here are some general steps to follow:
Adjust Settings: If possible, adjust your 3D printer settings to make supports easier to remove. This includes increasing the Z distance between the support and the print, and using a support interface layer with a different pattern direction.
Orient the Model: Try to orient the model in a way that minimizes the need for supports.
Use Tools: Employ tools like clippers, metal spatula, metal hooks, or a wood burning tool to carefully remove the supports. Always wear safety glasses and a respirator when working with plastic to protect yourself.
Go Slow: Take your time and be patient. Rushing the process can damage the model or the fine details.
Post-Processing: After removing the supports, you may need to sand the areas to smooth out any imperfections.
Remember, the best method may vary depending on your specific 3D printing project, so it’s always good to refer to the manual or guidelines provided with your 3D printer for the best results
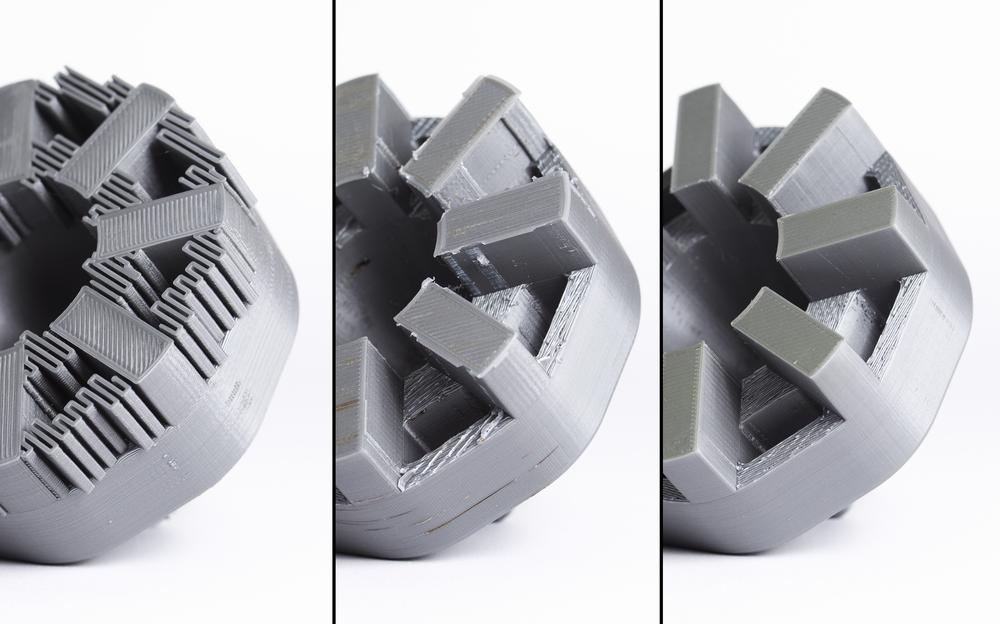
Types of 3D Printing Support Structures Explained
When it comes to 3D printing support structures, there are several types you can use to ensure successful prints. Let’s explore them:
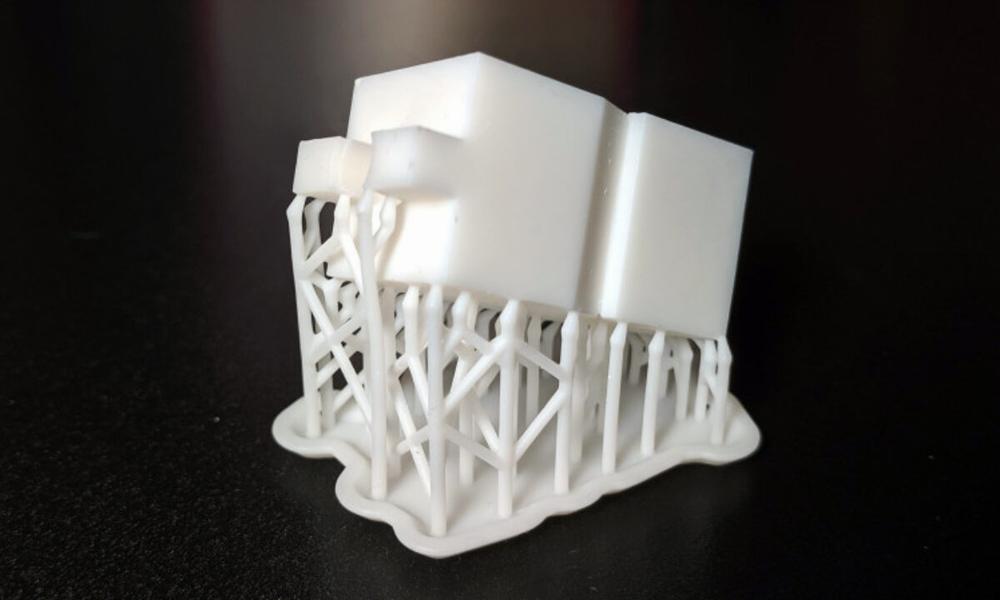
Linear Supports (Accordion or Lattice):
These supports touch the entire underside of an overhang.
Ideal for angular, steep, and flat overhangs.
They resemble columns that grow from the platform up to the overhang’s bottom.
Commonly used in prints and set by default in slicer software like Cura.
Pros: Reliable support for steep, flat, and angular overhangs; great for bridges.
Cons: Often hard to remove due to their extensive contact with the model.
Tree Supports:
More complex than linear supports.
Resemble a tree structure.
Connect to the model at various points, providing targeted support.
Useful for intricate shapes and delicate overhangs.
Pros: Precise support where needed; easier to remove than linear supports.
Cons: May require fine-tuning to avoid excessive material usage.
Break-Away Supports:
These supports are manually removed after printing.
Typically used with FDM (Fused Deposition Modeling) printers.
They break away cleanly from the model.
Pros: Easy to remove; minimal impact on the model’s surface.
Cons: Manual removal can be time-consuming.
Dissolvable Supports:
Made from water-soluble materials (e.g., PVA filament).
Used alongside the primary material (e.g., PLA).
Dissolve in water, leaving no trace.
Ideal for complex geometries and intricate internal structures.
Pros: No manual removal required; supports inaccessible areas.
Cons: Requires a dual-extruder printer; additional cost.
Interface Layers:
Not standalone supports but improve adhesion between the support and the model.
Printed as a thin layer between the model and the support.
Enhances stability during printing.
Pros: Better support bonding; smoother surface finish.
Cons: Adds a slight delay to printing time.
IMG Source: sculpteo.com
Tips and Tools for Easier Support Removal
Removing supports from 3D prints can be a crucial step to achieve a clean and polished final result. Here are some tips and tools to make support removal easier:
Orientation Matters:
Experiment with the orientation of your 3D model in the printing space. Adjust it to minimize the need for supports.
Follow the 45-degree rule to determine when and where supports are necessary. Reducing the number of supports by even 10% can be beneficial.
Fewer supports mean less filament usage, reduced waste, and shorter printing time.
Soluble Filament:
If possible, print your supports using soluble filament. Submerge the finished print in an appropriate solvent (like water) to dissolve the supports.
This method requires a 3D printer with a dual-extruder setup. Soluble filaments include Polyvinyl Alcohol (PVA) (suitable for PLA) and High Impact Polystyrene (HIPS) (for ABS).
Support Infill Density:
Adjust the support infill density in your slicer settings. Design supports to be easily pried away while maintaining structural integrity.
Lower infill density can make removal easier without compromising the print’s stability.
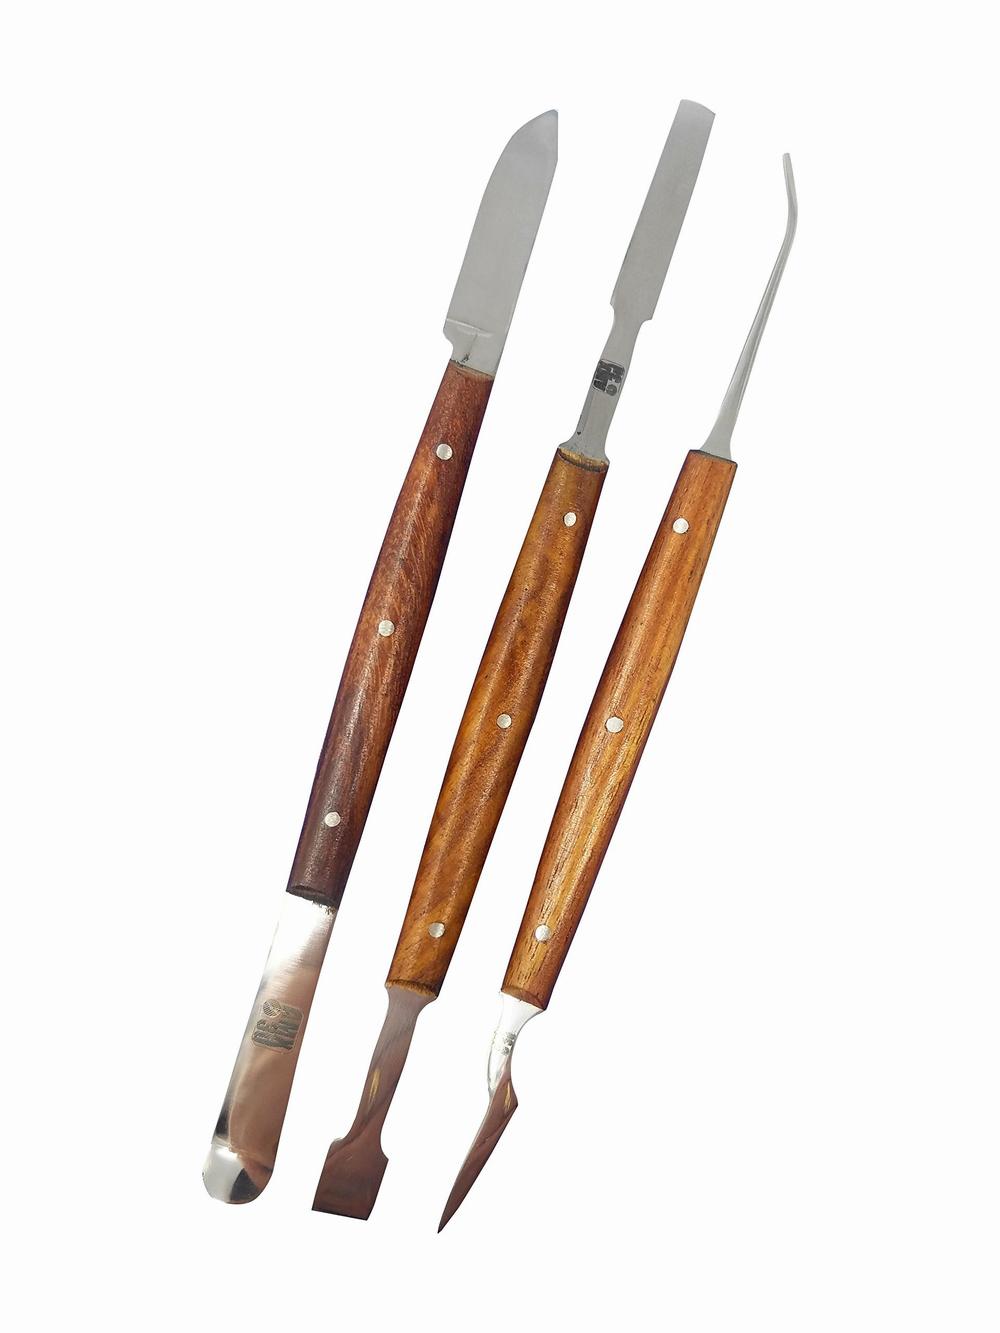
Tools for Support Removal:
Flush Cutters: These are perfect for cutting away support material close to the print, allowing for easier sanding and finishing.
Tweezer Nose Pliers: Useful for grabbing and pulling out small support remnants.
X-acto Knife: Be cautious when using it to remove tight spaces or residues, as it can also cut into the print surface.
IMG Source: media-amazon.com
Effective Support Structure Removal Techniques
Removing support structures from 3D prints is essential to achieve a clean and professional finish. Let’s explore some best practices and techniques for effective support removal:
Slicer Settings for Easy Support Removal:
Support Z-Distance: Before printing, configure your slicer settings to determine the gap between your print’s lowest point and the top of the support structure. A smaller gap results in better surface finish but harder removal, while a larger gap makes removal easier but may compromise surface quality. Experiment with small increments (e.g., 0.05 mm) to find the ideal balance for your specific project.
Support Interface: Consider adding a support interface. This acts as a buffer zone between your print and the support structures. Adjust the interface layers’ thickness and density to achieve a smooth detachment process.
Some slicers offer options for different interface patterns.
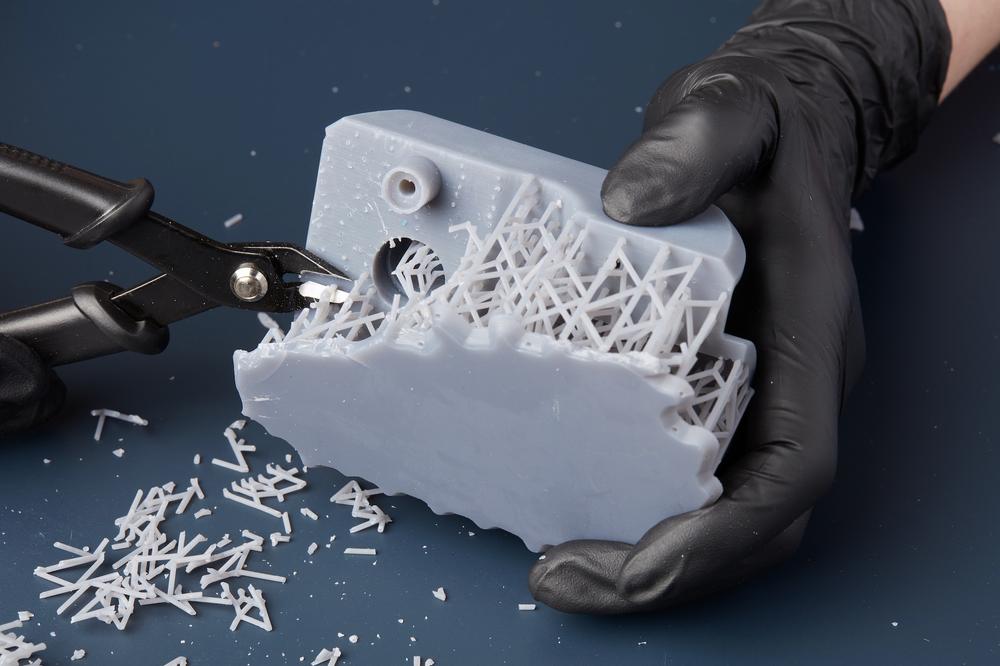
Manual Support Removal Methods:
Using Pliers or Tweezers: For larger supports, grip and gently remove them using pliers or tweezers. Grasp the support close to its base to minimize the risk of damaging the print.
Snapping Supports Off by Hand: For smaller or delicate supports, carefully snap them off by hand. Apply pressure at the base of the support to cleanly remove it.
Mechanical Support Removal Methods:
Mini Rotary Tool: These handheld rotary tools come with various attachments. Use saw-like attachments to detach supports along the model’s surface. Sanding heads can delicately etch away supports that are too close to the surface for easy removal.
Work methodically and consider removing supports in layers if feasible.
Additional Techniques:
Heat Gun or Hair Dryer: Soften the supports with heat and peel them off carefully.
Knife or Needle-Nose Pliers: For precise removal, cut and break off extraneous supports. Heating a knife blade can help seamlessly remove supports from the print surface.
Dissolving Supports: If you used dissolvable supports (e.g., PVA or HIPS), immerse the print in water or limonene to remove them.
IMG Source: amazonaws.com
Benefits of Post-Processing in 3D Printing
Post-processing is a crucial step in the 3D printing workflow, offering several benefits that enhance the quality, functionality, and aesthetics of printed objects. Let’s delve into why post-processing matters:
Post-processing techniques improve the smoothness and appearance of 3D printed objects. By sanding, polishing, and painting, you can achieve a more refined surface finish.
Removing visible layer lines helps create a professional and visually appealing result.
Improving Mechanical Properties:
Raw 3D printed parts may exhibit limitations in terms of strength and durability.
Post-processing methods, such as heat treatment or reinforcement, can enhance mechanical properties. For instance, annealing PLA or ABS can increase their strength and toughness.
Achieving Dimensional Accuracy and Tolerances:
3D printers may introduce slight deviations from the intended dimensions due to factors like layer adhesion and cooling.
Post-processing steps like machining or sanding can fine-tune the dimensions, ensuring better accuracy and adherence to tolerances.
Functional and Practical Modifications:
Post-processing allows for functional improvements. For example, you can add threaded inserts, create smoother joints, or integrate additional features.
Surface treatments can also make parts more resistant to wear and environmental factors.
Cost-Effective Alternatives:
Some post-processing techniques can give plastic parts characteristics similar to metal parts at a reduced cost.
By applying coatings or finishes, you can achieve the desired properties without expensive materials.
In summary, post-processing transforms raw 3D prints into refined, functional, and aesthetically pleasing objects, making it an essential aspect of the additive manufacturing process.
IMG Source: amazonaws.com
As we conclude our journey into the realm of 3D printing support structures, one thing becomes clear – mastering the art of support removal is a game-changer in achieving impeccable 3D prints. By carefully adjusting settings, choosing the right support type, and utilizing effective tools, you can streamline the support removal process and enhance the overall quality of your prints. Remember, each print is unique, so don’t be afraid to experiment and find the method that works best for you.
With the knowledge and tips shared in this guide, you’re equipped to tackle any support removal challenge that comes your way. Happy printing and may your creations be support-free and flawless!