Welcome to the world of 3D printing with the Anycubic Kobra 2 Neo! Today, we dive into the heart of this printer to explore one of its key components: the Anycubic Kobra 2 Neo Build Plate. Discover how this innovative build plate elevates your printing experience with its unique features and functionalities.
Get ready to unleash your creativity and precision with the Kobra 2 Neo.
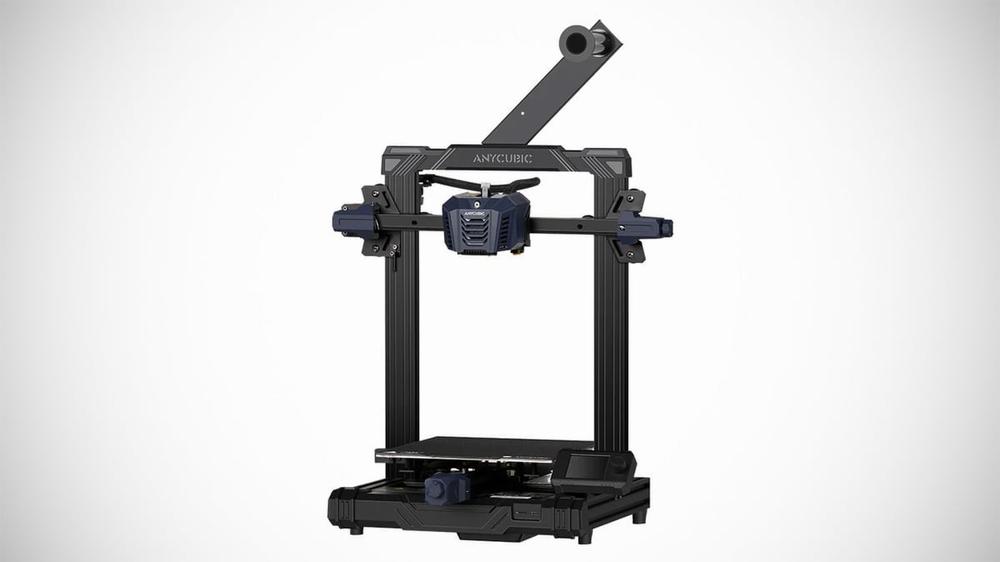
The Anycubic Kobra 2 Neo features a build plate with dimensions of 220x220x250 mm. This magnetic spring steel plate has two different sides: one that ensures excellent adhesion during printing when it’s hot, and another side that allows for easy removal after cooling. The printer’s settings can be conveniently adjusted via the user-friendly touch screen. If you’re looking for a fast-speed 3D printer under $200, the Kobra 2 Neo could be your prime choice. With impressive printing speeds of up to 250mm/s, it combines precision and affordability for your printing endeavors
The Anycubic Kobra 2 Neo is an impressive entry-level 3D printer that combines affordability with speed. Here are the key features of its build plate:
Build Surface: The Kobra 2 Neo features a powder-coated PEI printing plate. This surface is robust, magnetic, and heat-resistant, ensuring excellent bed adhesion when printing. The PEI coating helps prints adhere well during the printing process.
Heat Resistance: The build plate is designed to withstand high temperatures, allowing for consistent and reliable printing. It ensures that your prints adhere properly without warping or detachment.
Easy Print Removal: Once your print is complete, you can easily release it from the build plate by bending the plate. This convenience simplifies the post-printing process.
Size: The Kobra 2 Neo’s build plate offers a standard print size, suitable for a variety of projects.
Remember, the Kobra 2 Neo is all about precision, affordability, and motion—making it an excellent choice for those looking to explore 3D printing without breaking the bank.
If you’ve just received your Kobra 2 Neo, check out the quick start guide to get started with assembly, initial setup, and your first print.
IMG Source: all3dp.com
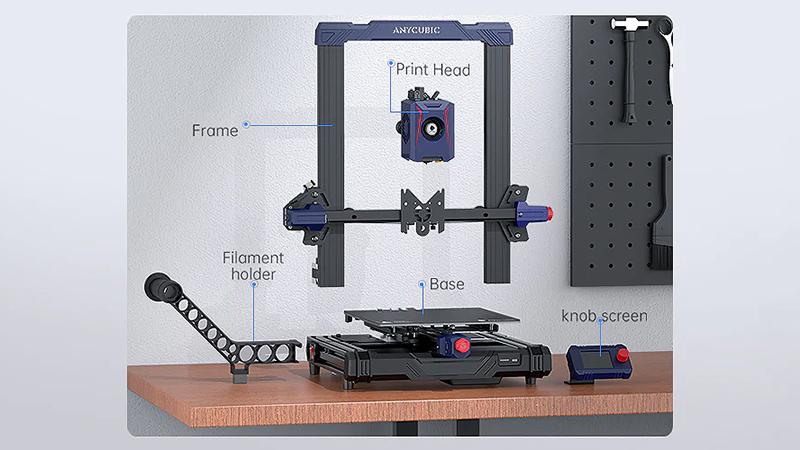
Let’s get you started with the Anycubic Kobra 2 Neo. Here’s a quick guide for installing the build plate:
Unboxing and Initial Setup:
Assembly Process:
Leveling and Calibration:
First Print:
IMG Source: shopify.com
Proper maintenance of your Anycubic Kobra 2 Neo build plate is essential for optimal 3D printing results. Here are three steps to keep your build plate in great condition:
Remove Failed Prints and Debris:
Apply Isopropyl Alcohol (IPA):
Clean and Wipe the Print Bed:
IMG Source: shopify.com
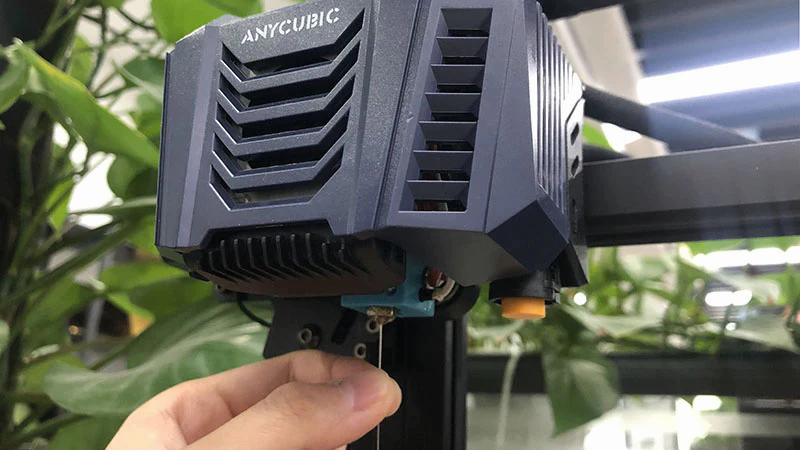
If you’re experiencing issues with your Anycubic Kobra 2 Neo build plate, here are some troubleshooting steps you can take:
Adjust Z Offset:
Correct nozzle-to-bed distance improves printing results.
Adjust Bed Temperature:
Use Solid Glue (PVP):
Remember to experiment and adjust until you achieve the best printing results. If you encounter further issues, feel free to reach out to Anycubic’s official after-sales support for assistance
IMG Source: scribdassets.com
Embrace the precision, affordability, and motion that the Anycubic Kobra 2 Neo Build Plate offers, and let your imagination come to life with every print.