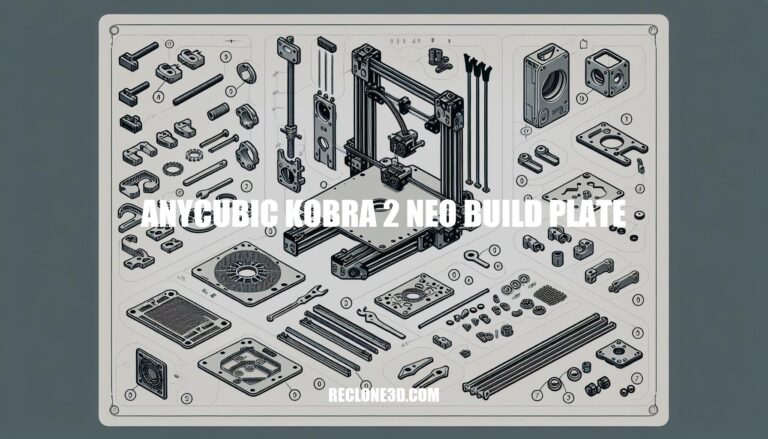
Welcome to the world of 3D printing with the Anycubic Kobra 2 Neo! Today, we dive into the heart of this printer to explore one of its key components: the Anycubic Kobra 2 Neo Build Plate. Discover how this innovative build plate elevates your printing experience with its unique features and functionalities.
Get ready to unleash your creativity and precision with the Kobra 2 Neo.
The Anycubic Kobra 2 Neo features a build plate with dimensions of 220x220x250 mm. This magnetic spring steel plate has two different sides: one that ensures excellent adhesion during printing when it’s hot, and another side that allows for easy removal after cooling. The printer’s settings can be conveniently adjusted via the user-friendly touch screen. If you’re looking for a fast-speed 3D printer under $200, the Kobra 2 Neo could be your prime choice. With impressive printing speeds of up to 250mm/s, it combines precision and affordability for your printing endeavors
The Anycubic Kobra 2 Neo is an impressive entry-level 3D printer that combines affordability with speed. Here are the key features of its build plate:
Build Surface: The Kobra 2 Neo features a powder-coated PEI printing plate. This surface is robust, magnetic, and heat-resistant, ensuring excellent bed adhesion when printing. The PEI coating helps prints adhere well during the printing process.
Heat Resistance: The build plate is designed to withstand high temperatures, allowing for consistent and reliable printing. It ensures that your prints adhere properly without warping or detachment.
Easy Print Removal: Once your print is complete, you can easily release it from the build plate by bending the plate. This convenience simplifies the post-printing process.
Size: The Kobra 2 Neo’s build plate offers a standard print size, suitable for a variety of projects.
Remember, the Kobra 2 Neo is all about precision, affordability, and motion—making it an excellent choice for those looking to explore 3D printing without breaking the bank.
If you’ve just received your Kobra 2 Neo, check out the quick start guide to get started with assembly, initial setup, and your first print.
Let’s get you started with the Anycubic Kobra 2 Neo. Here’s a quick guide for installing the build plate:
Unboxing and Initial Setup:
Assembly Process:
Leveling and Calibration:
First Print:
Proper maintenance of your Anycubic Kobra 2 Neo build plate is essential for optimal 3D printing results. Here are three steps to keep your build plate in great condition:
Remove Failed Prints and Debris:
Apply Isopropyl Alcohol (IPA):
Clean and Wipe the Print Bed:
If you’re experiencing issues with your Anycubic Kobra 2 Neo build plate, here are some troubleshooting steps you can take:
Adjust Z Offset:
Correct nozzle-to-bed distance improves printing results.
Adjust Bed Temperature:
Use Solid Glue (PVP):
Remember to experiment and adjust until you achieve the best printing results. If you encounter further issues, feel free to reach out to Anycubic’s official after-sales support for assistance
In conclusion, the Anycubic Kobra 2 Neo Build Plate proves to be a game-changer in the realm of 3D printing. Its robust build surface, heat resistance, and easy print removal make it a standout component of the Kobra 2 Neo printer. By following maintenance tips and troubleshooting methods, you can ensure optimal printing results and prolong the lifespan of your build plate.
Embrace the precision, affordability, and motion that the Anycubic Kobra 2 Neo Build Plate offers, and let your imagination come to life with every print.